
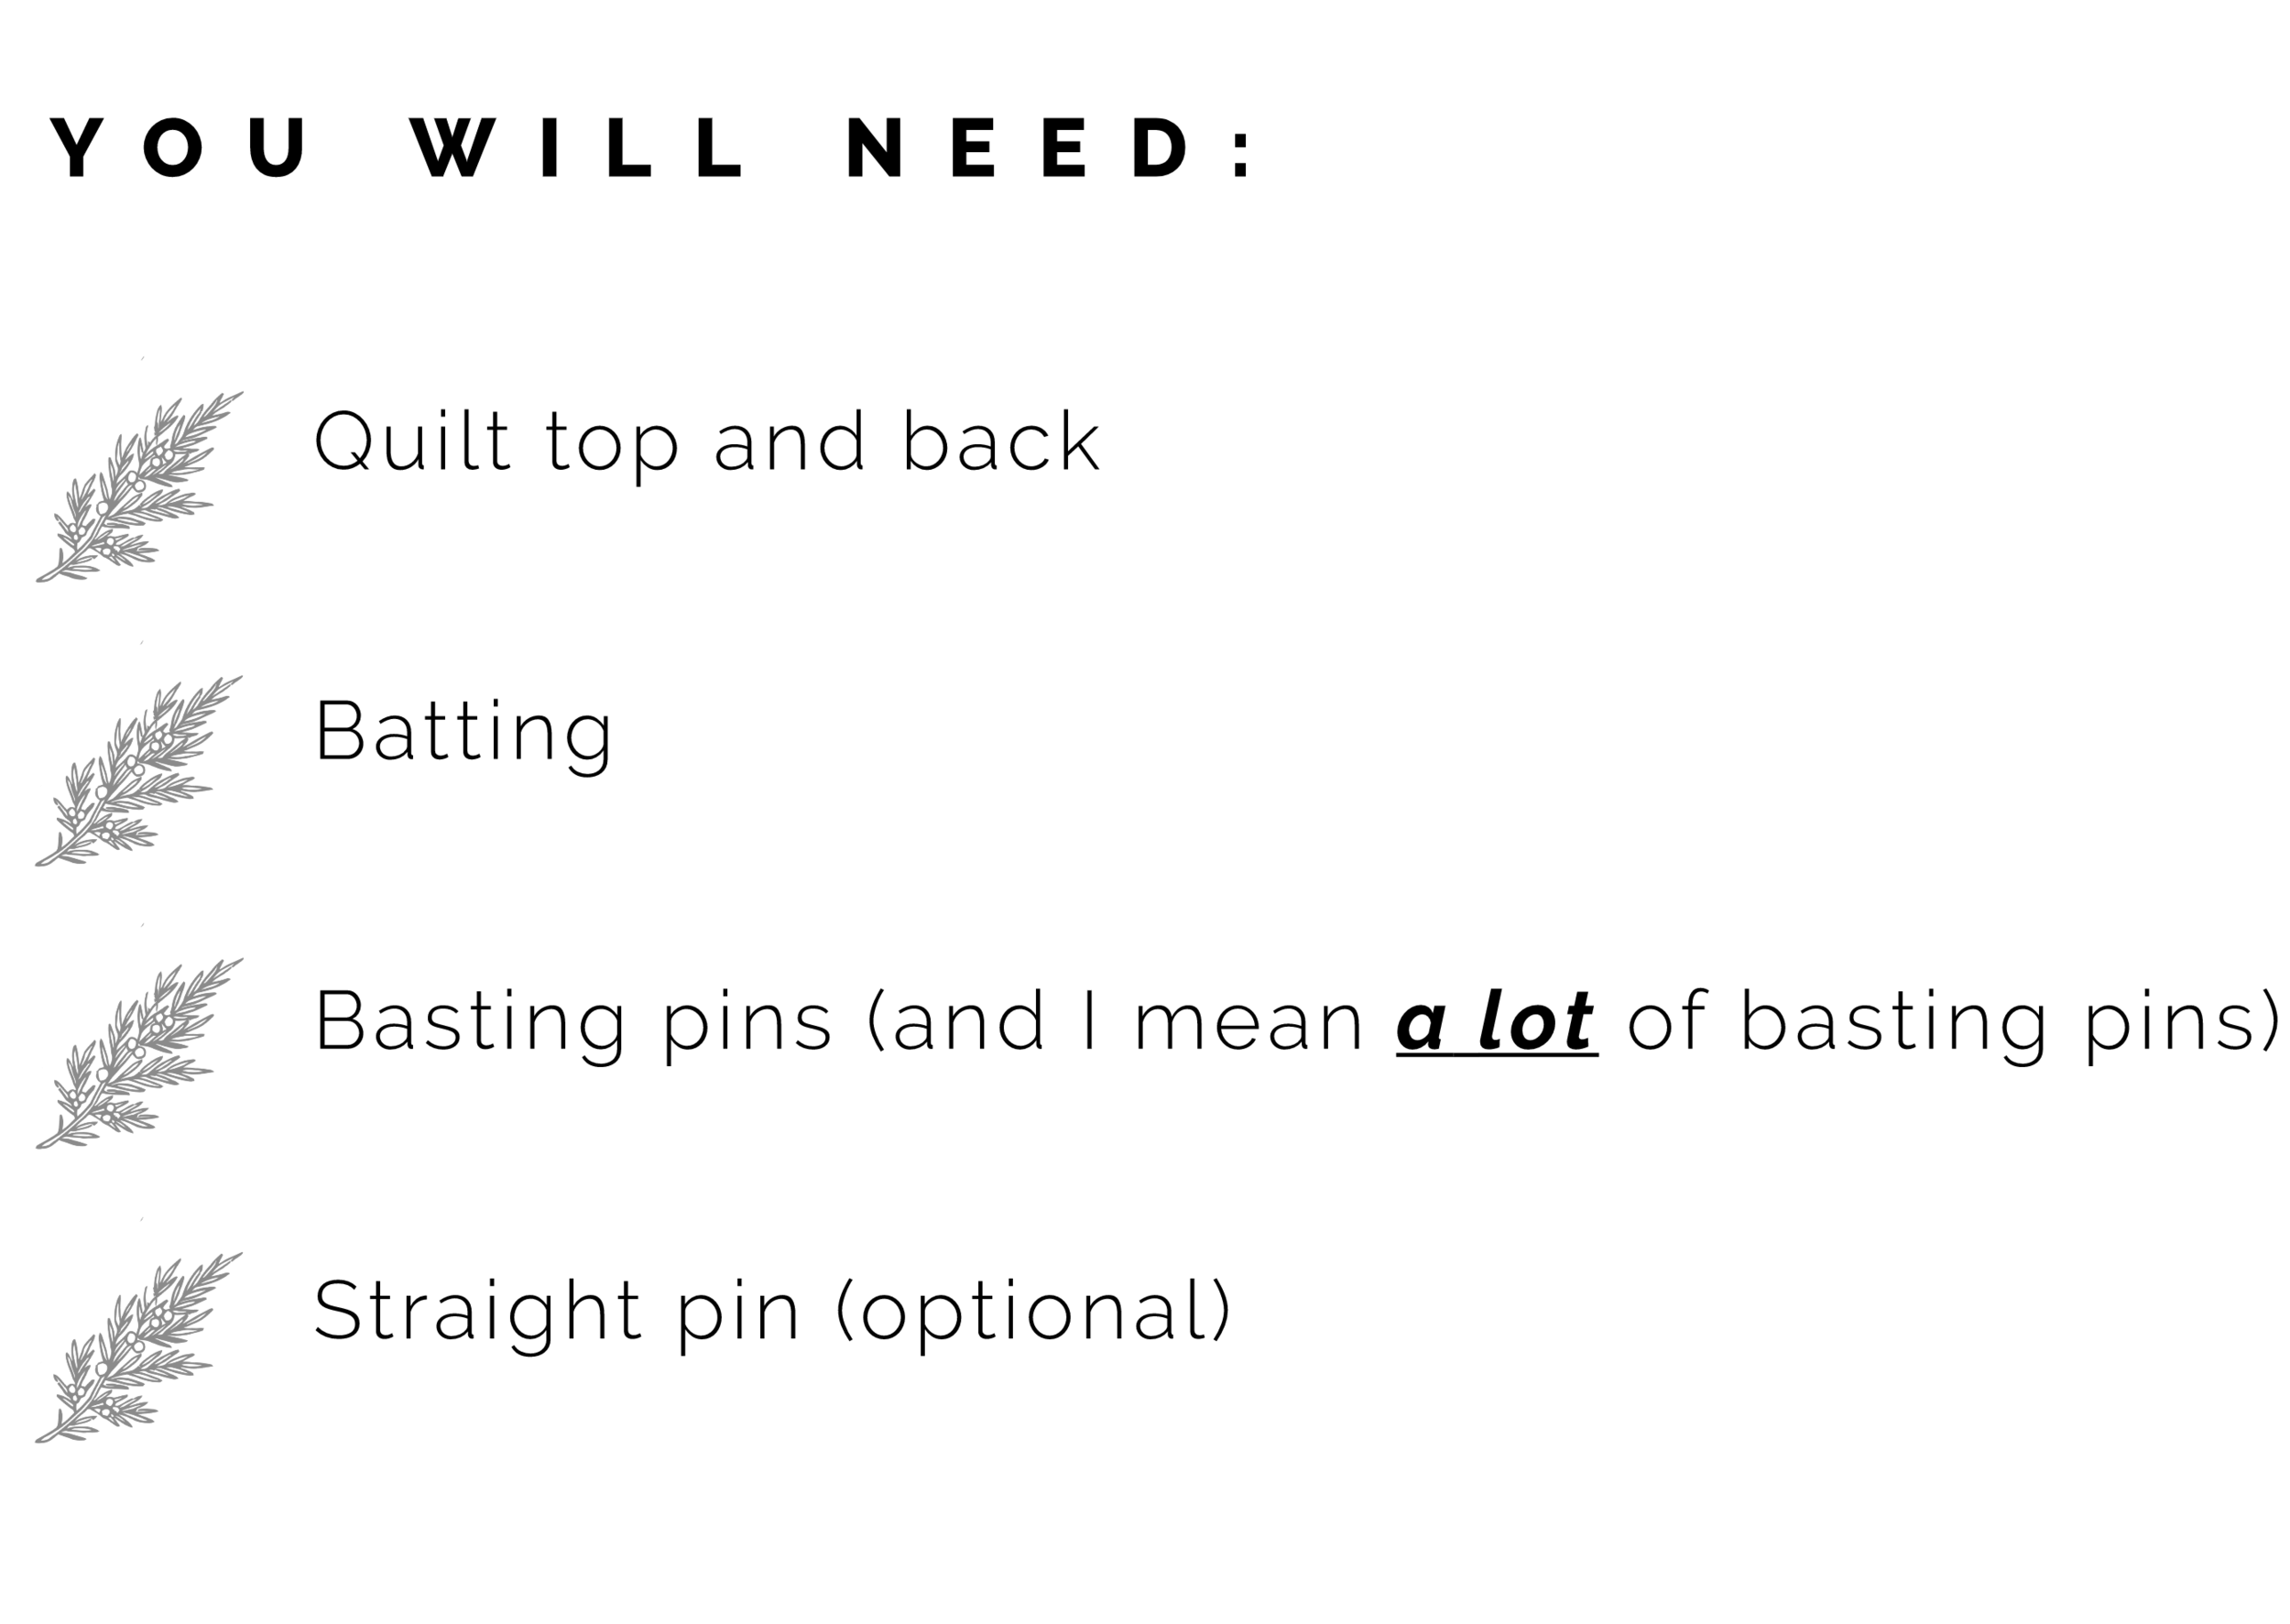
Double-Sided Quilt Tutorial
Have you ever been so indecisive on the layout of a quilt color scheme that you ended up making two coordinating quilt tops? (“No, Annette, that’s crazy talk!”) Oh, just me then? Well, if you’ve ever had the insane idea, like me, to make two of the same quilt top and put them together, or you just made a fun quilt back and want to know how best to line it up when basting, this tutorial is for you! I will show you how to put together a double-sided quilt with plenty of examples and pictures to help you get it just right.
I consider a double-sided quilt to be one that has two quilt tops basted together (matching or not), or a main quilt top and a coordinating, pieced backing.

For example, this Modern Triangle Christmas Quilt was made up of two matching quilt tops. The rows of trees were aligned before it was long arm quilted by Prairie Folk Quilting Co.

Alternatively, this triangle quilt was made up of a main quilt top and a coordinating, pieced back that I wanted lined up so the design of the quilting around the triangles would match up on both sides.
Double-sided quilts, such as these, can be so fun to design and put together. It just takes a bit of time and effort. Keep in mind that this won’t work for every quilt design. If you’re putting together two identical quilt tops, piecing needs to be very precise, otherwise you’re asking for a headache! But when it comes to quilts with fun, pieced backings that you want to simply line up, there’s a bit more wiggle room there.
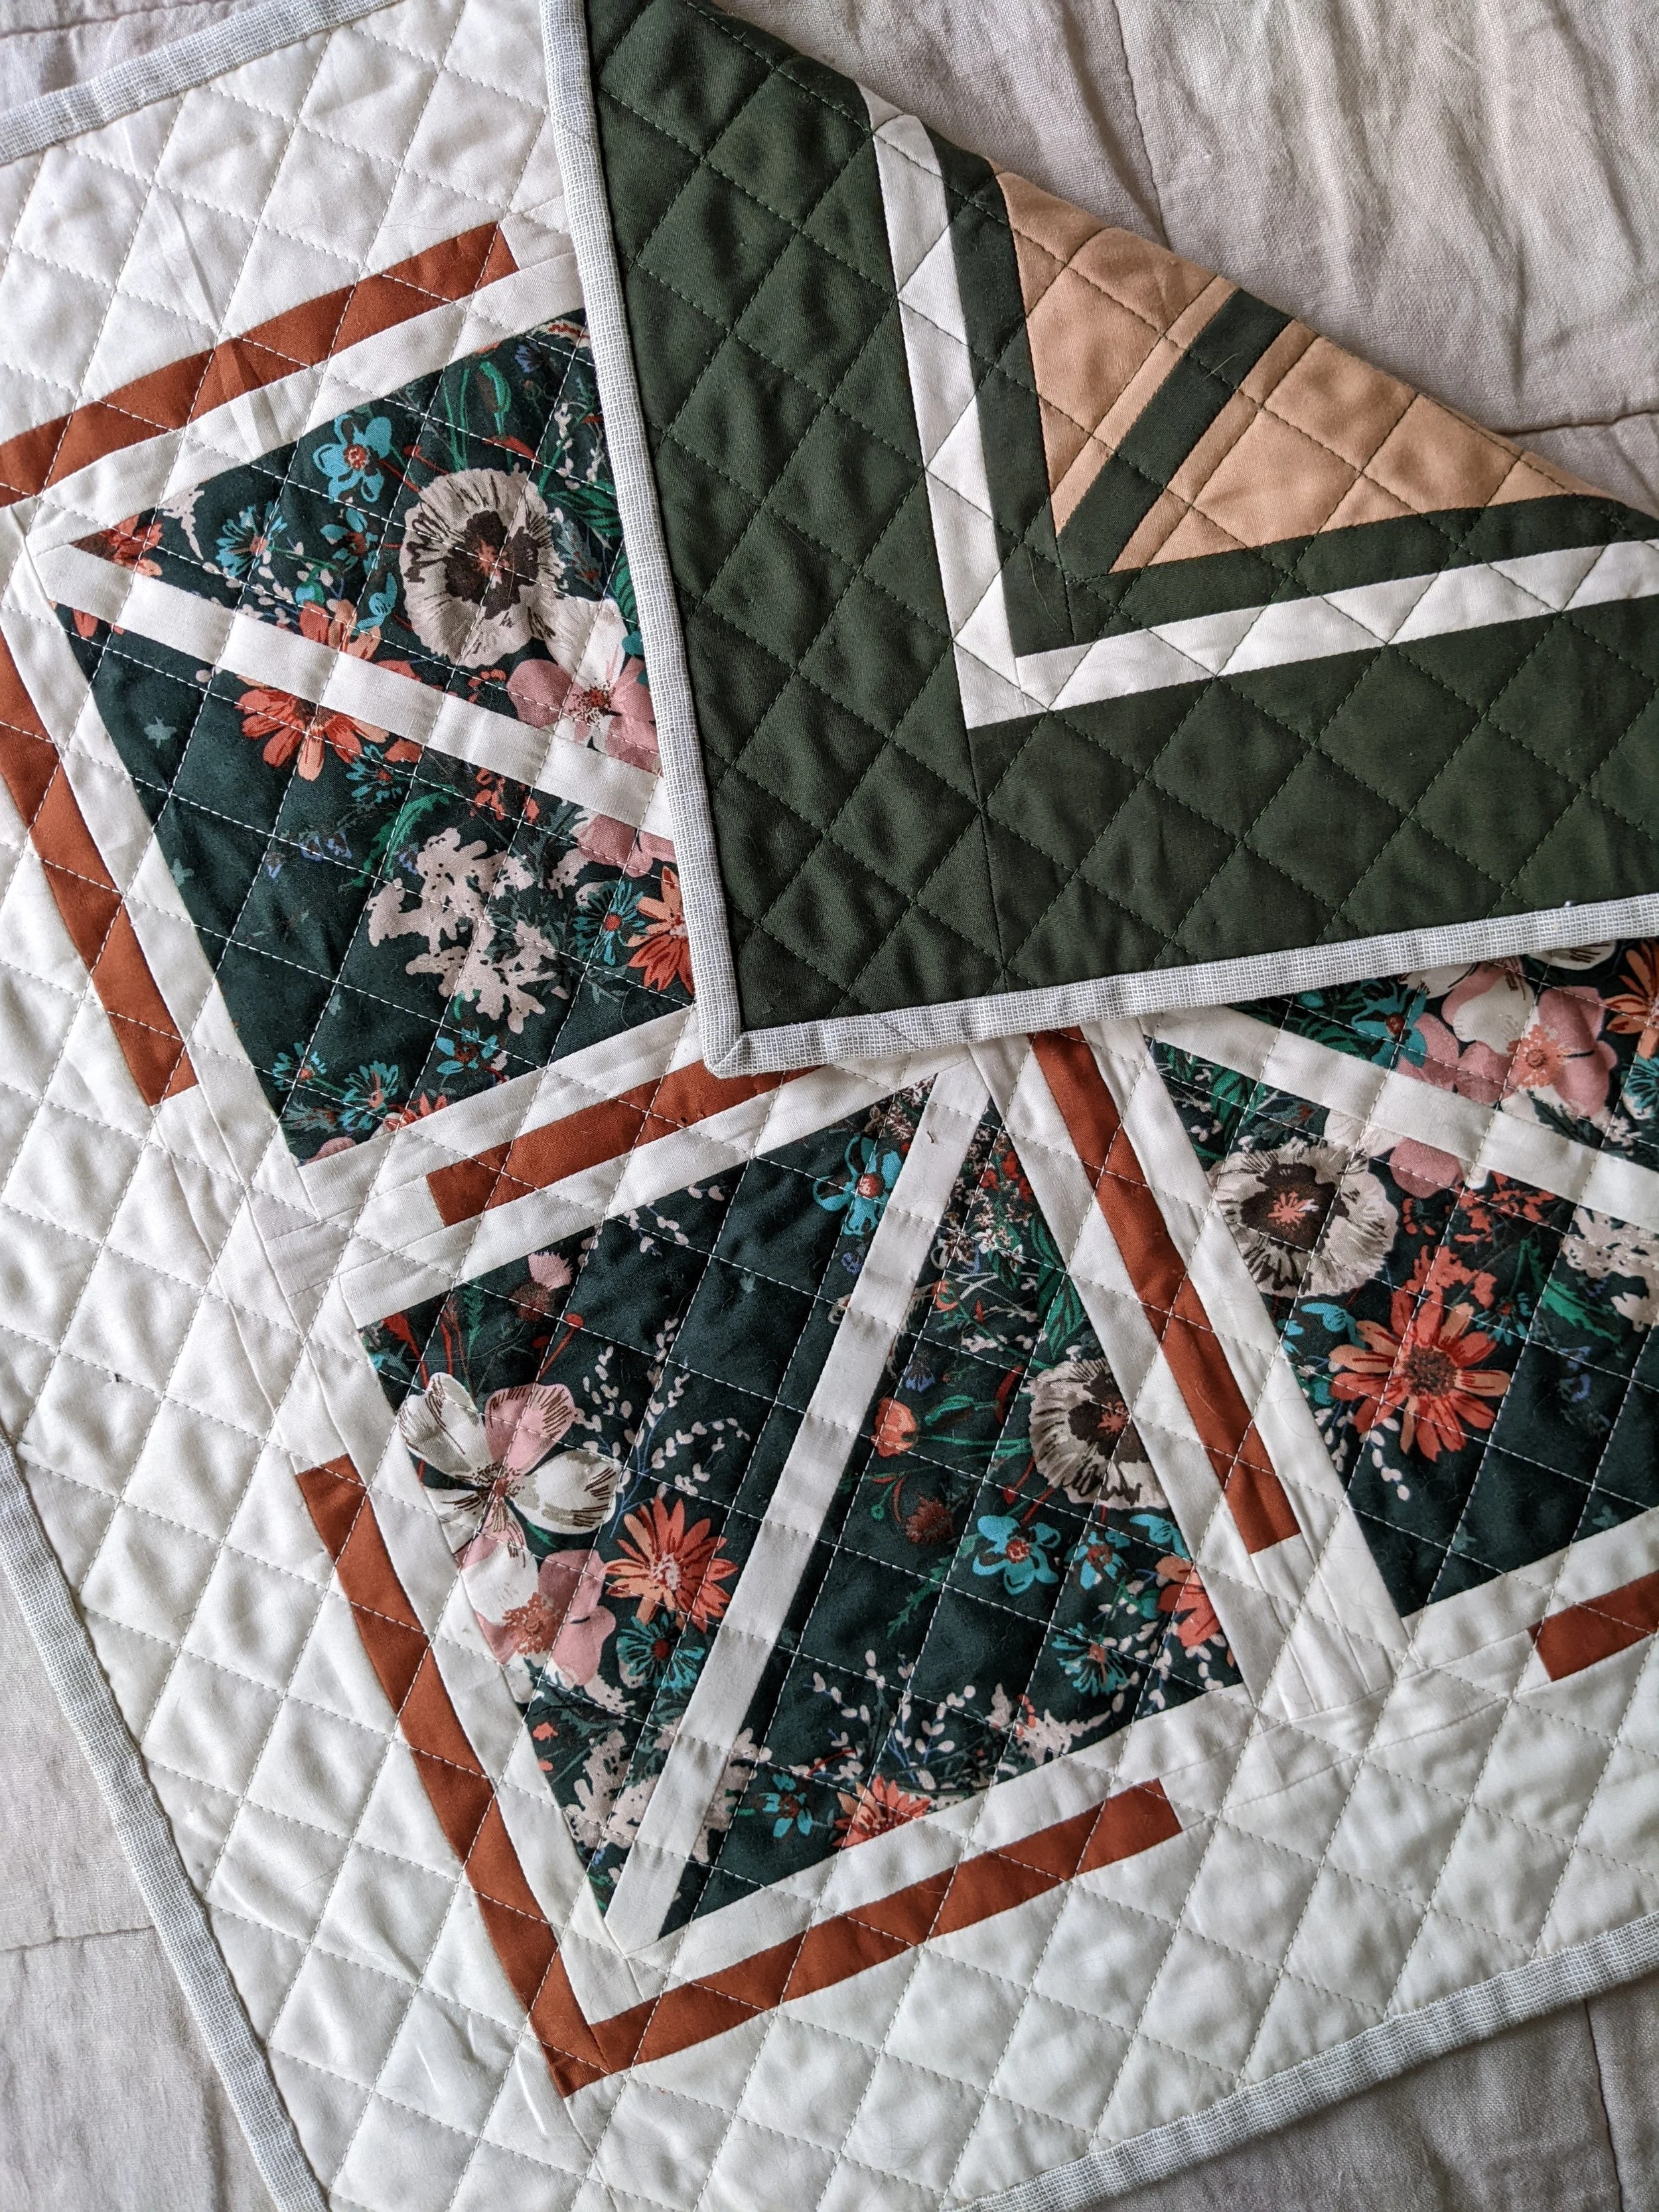
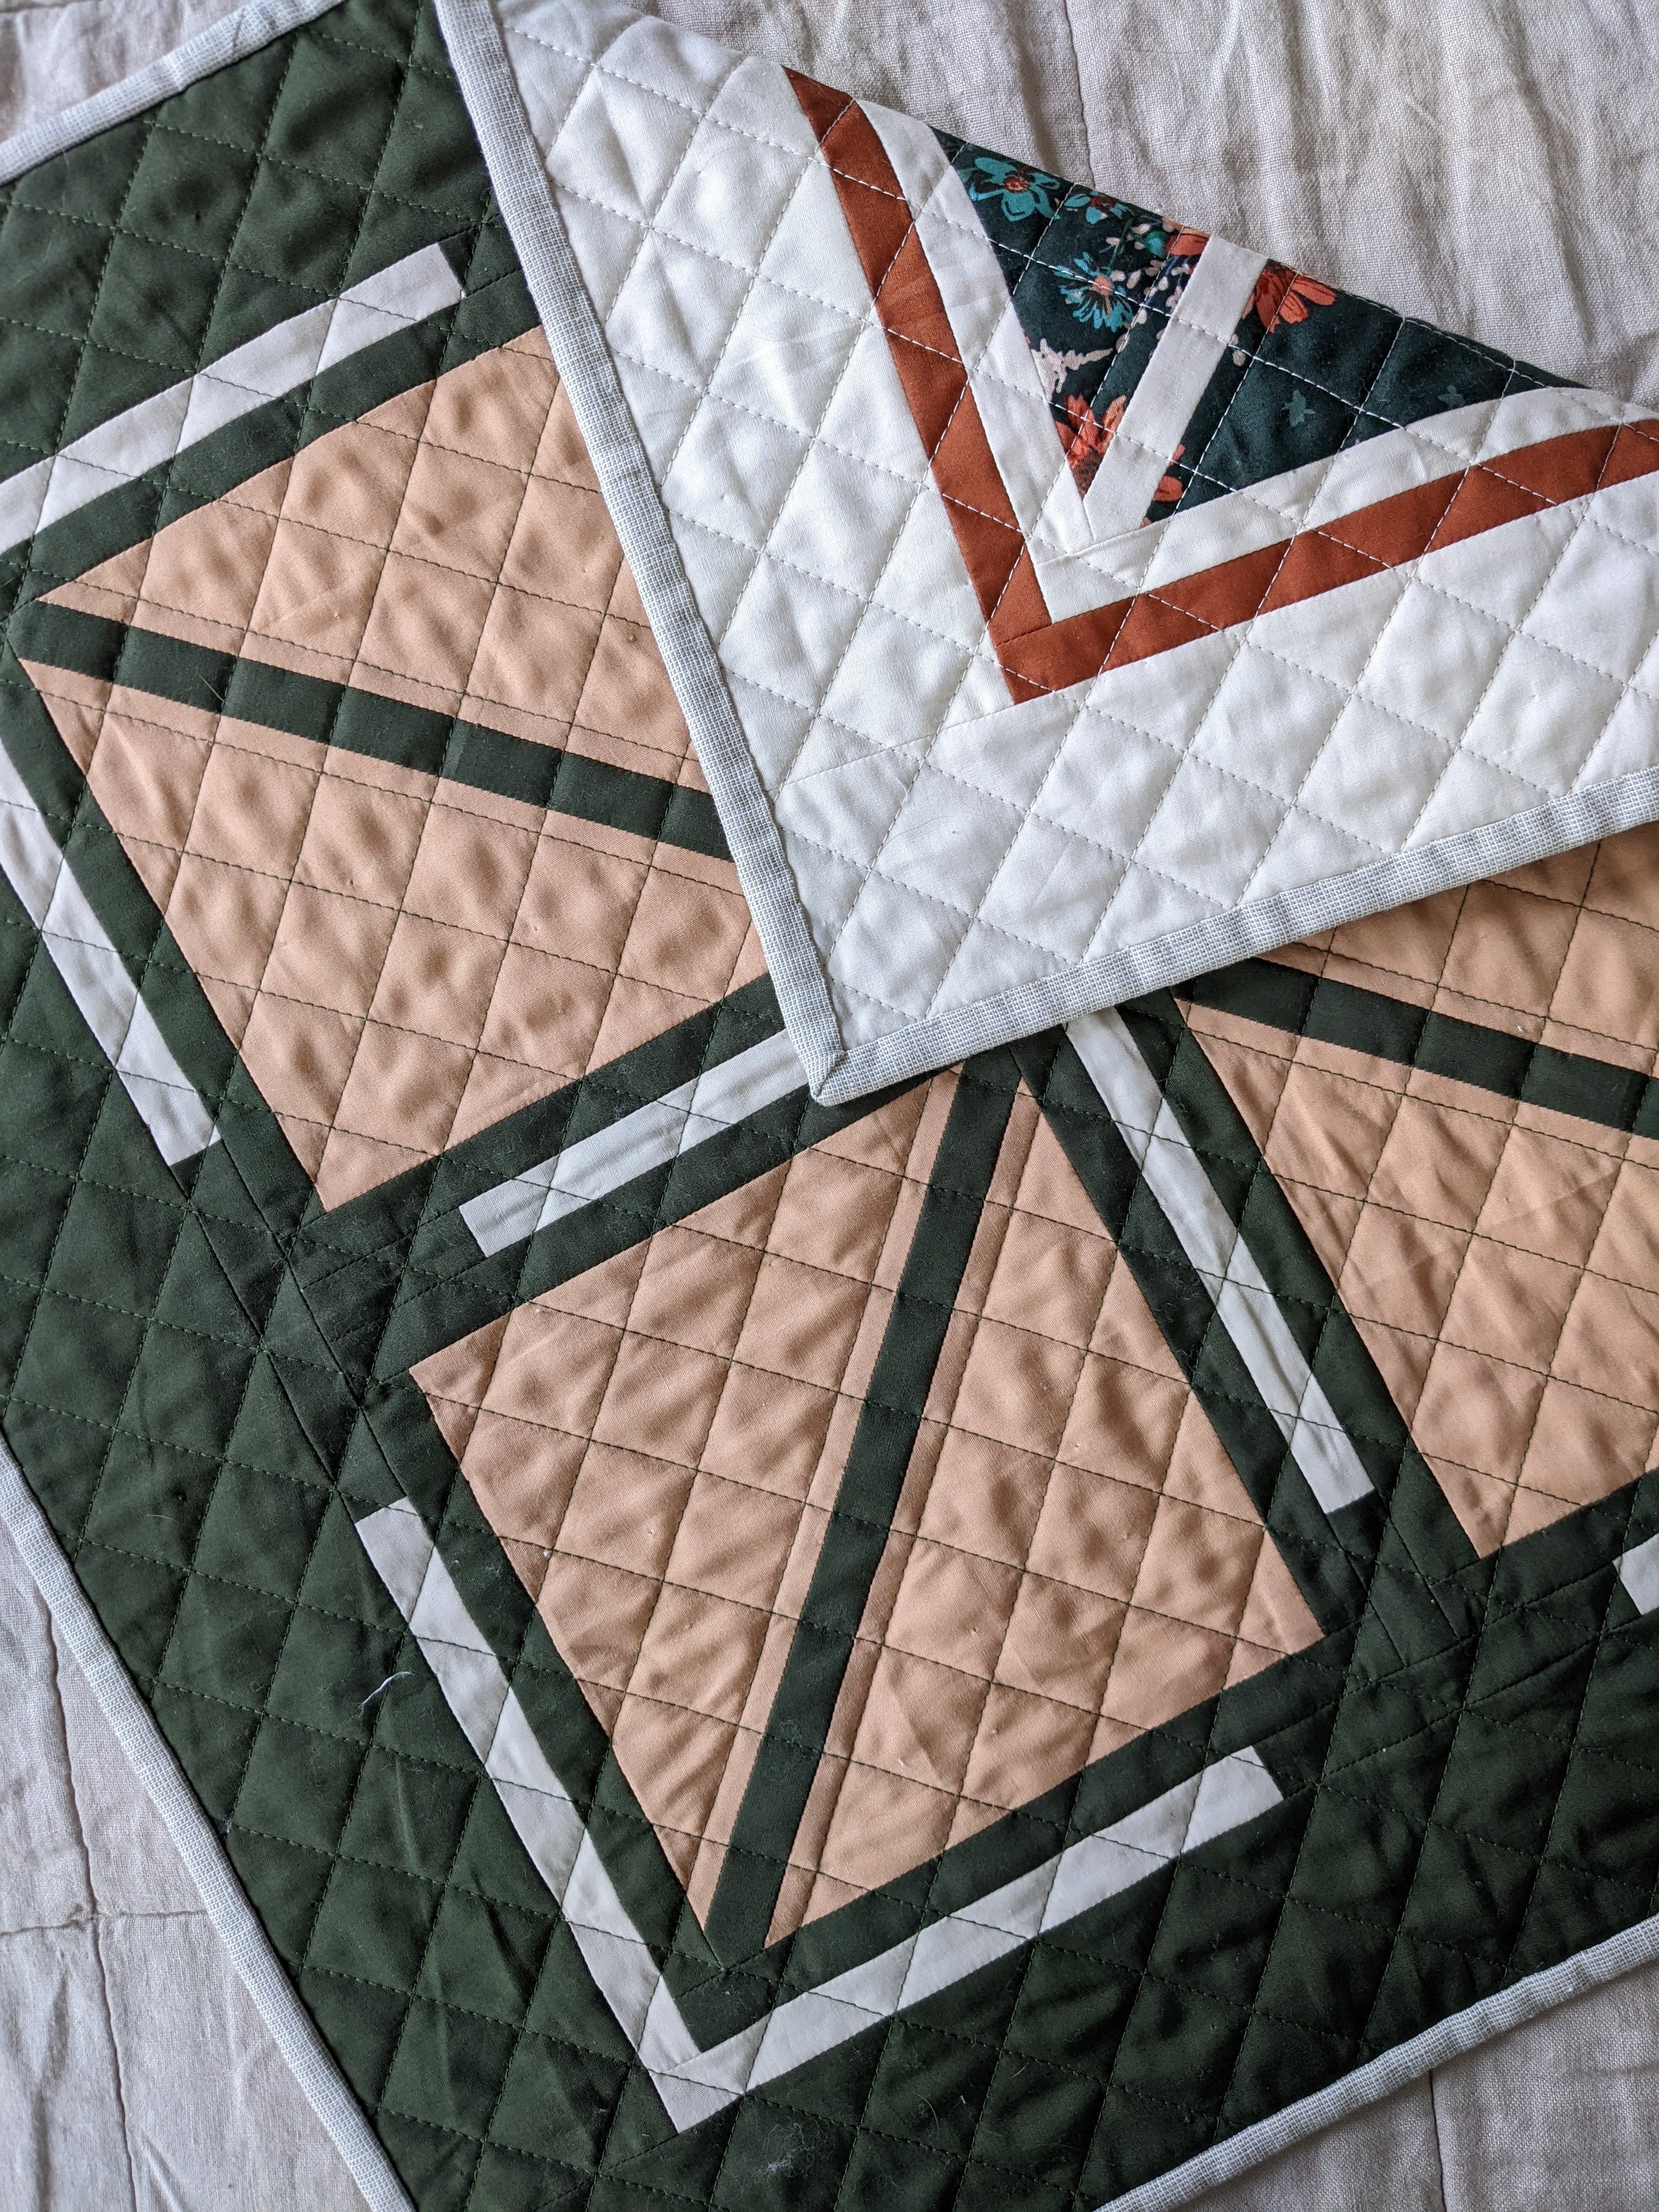
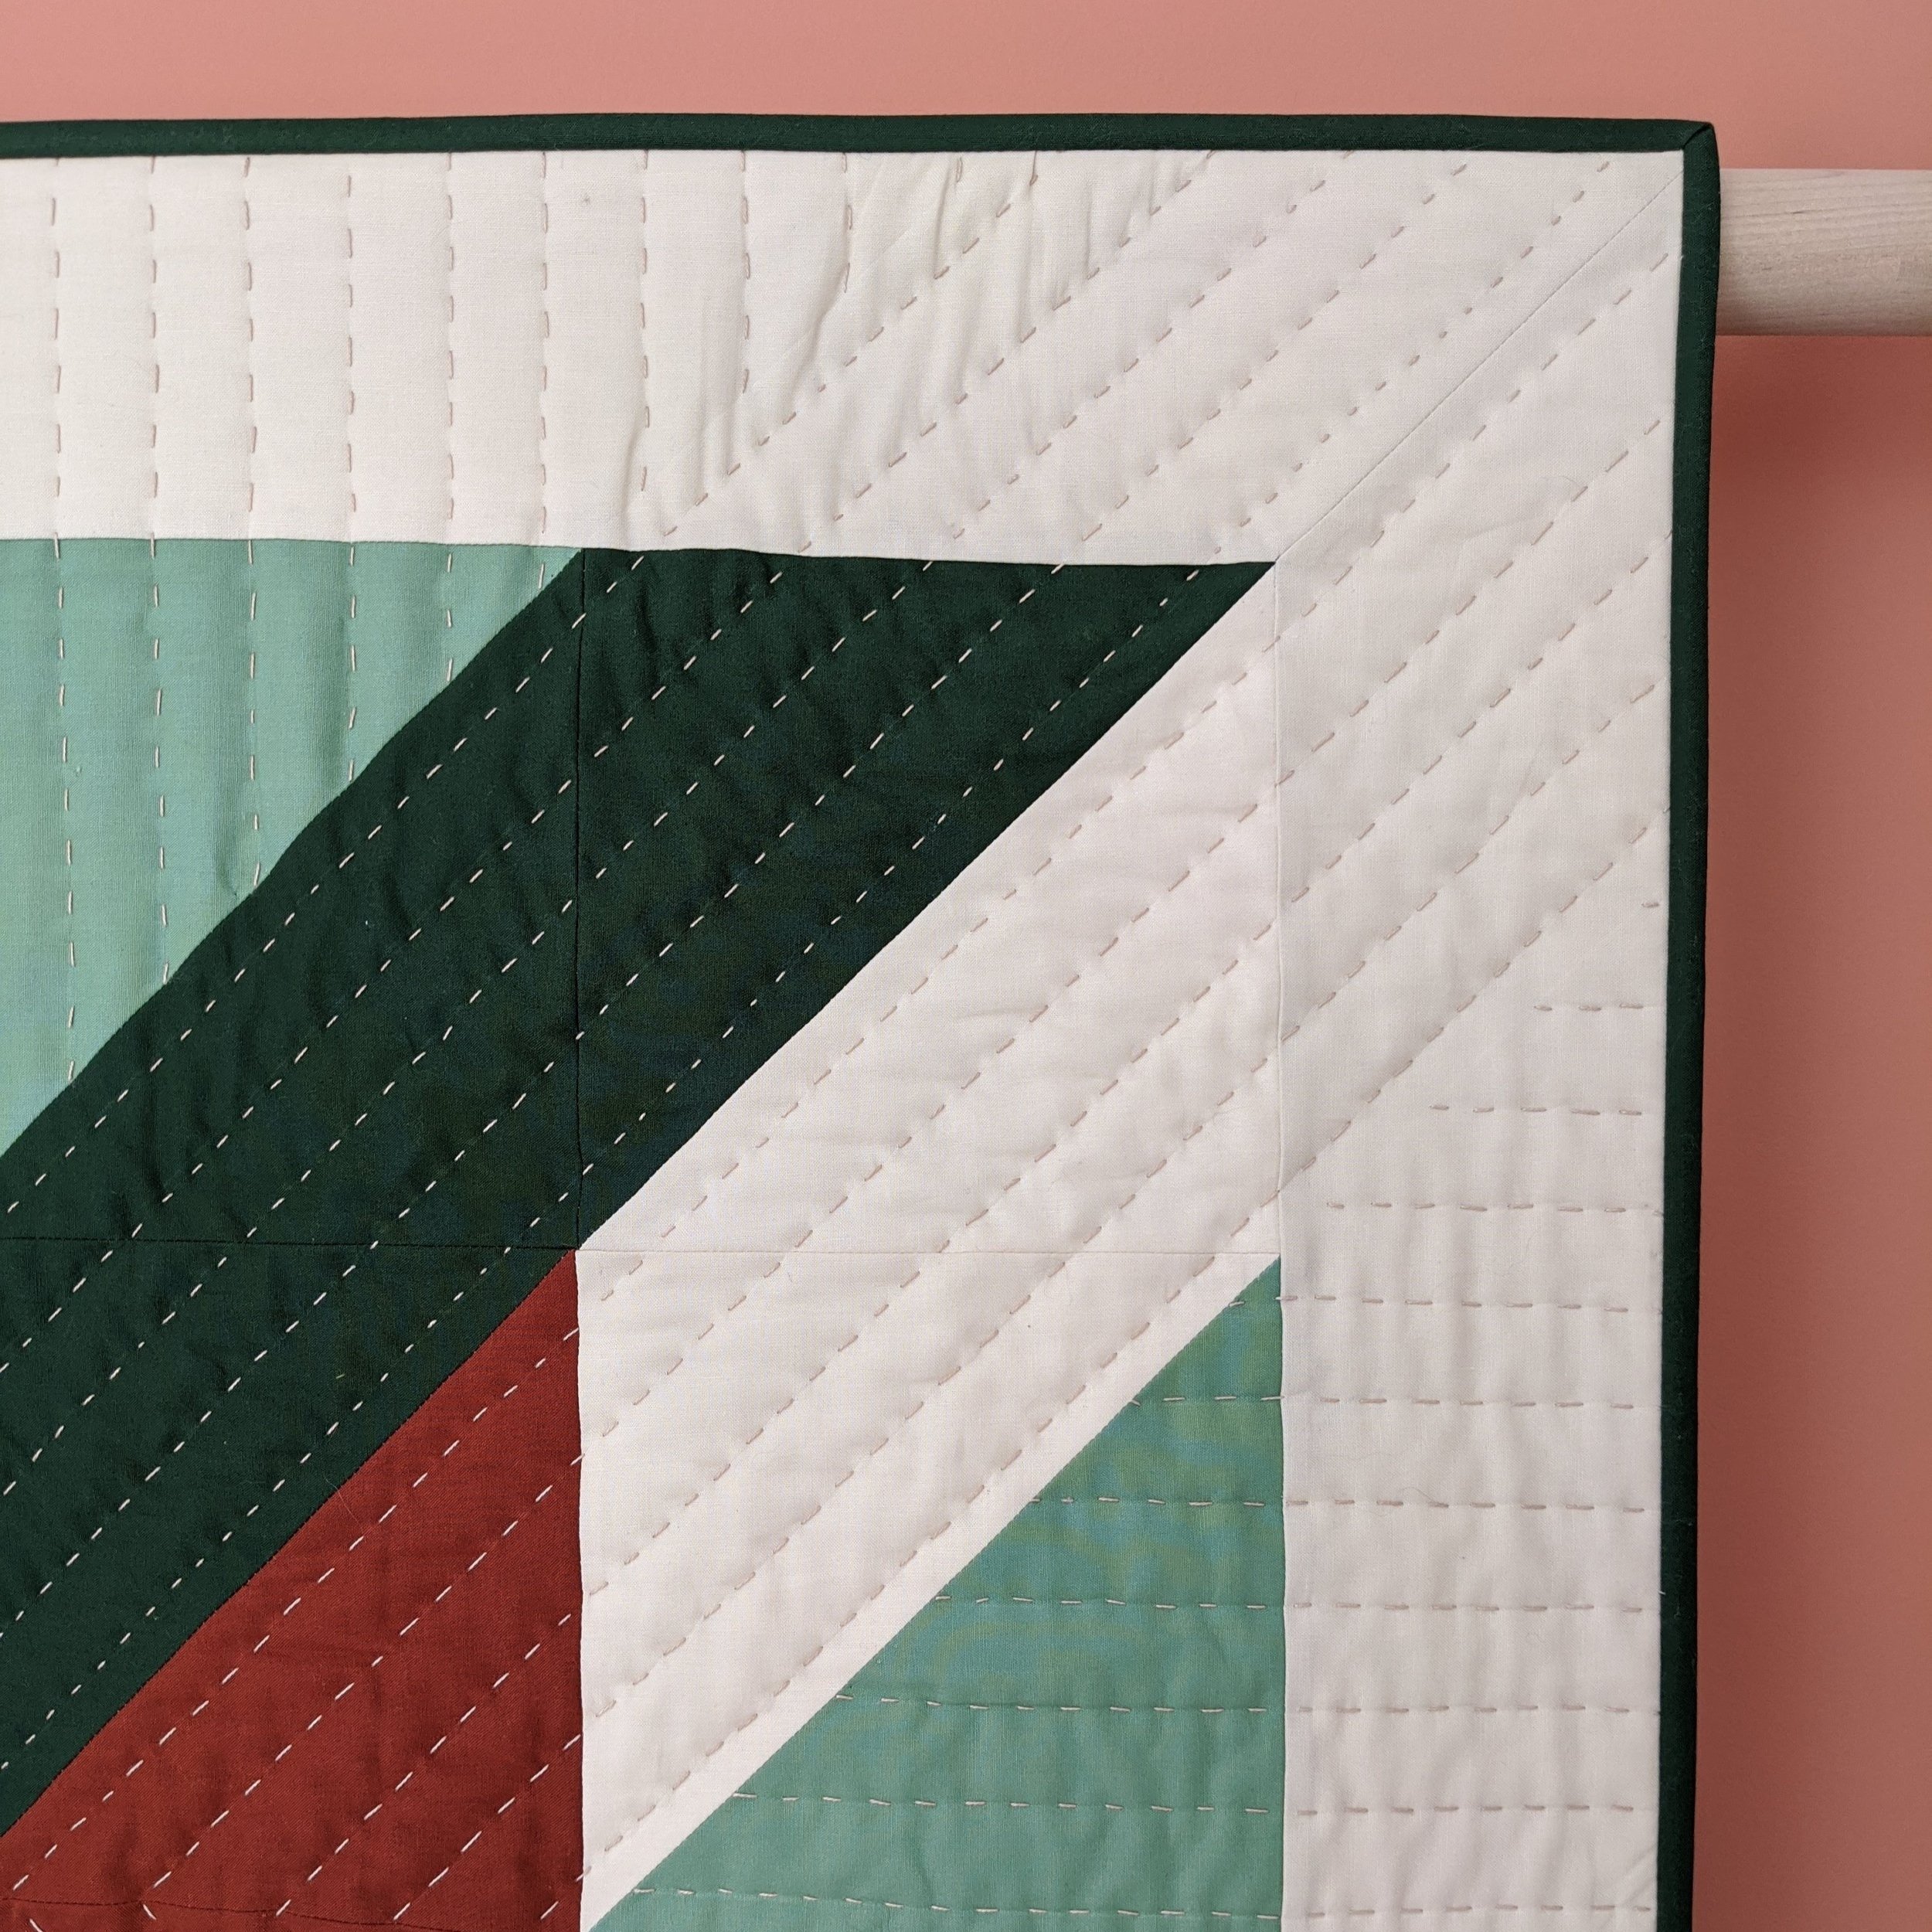
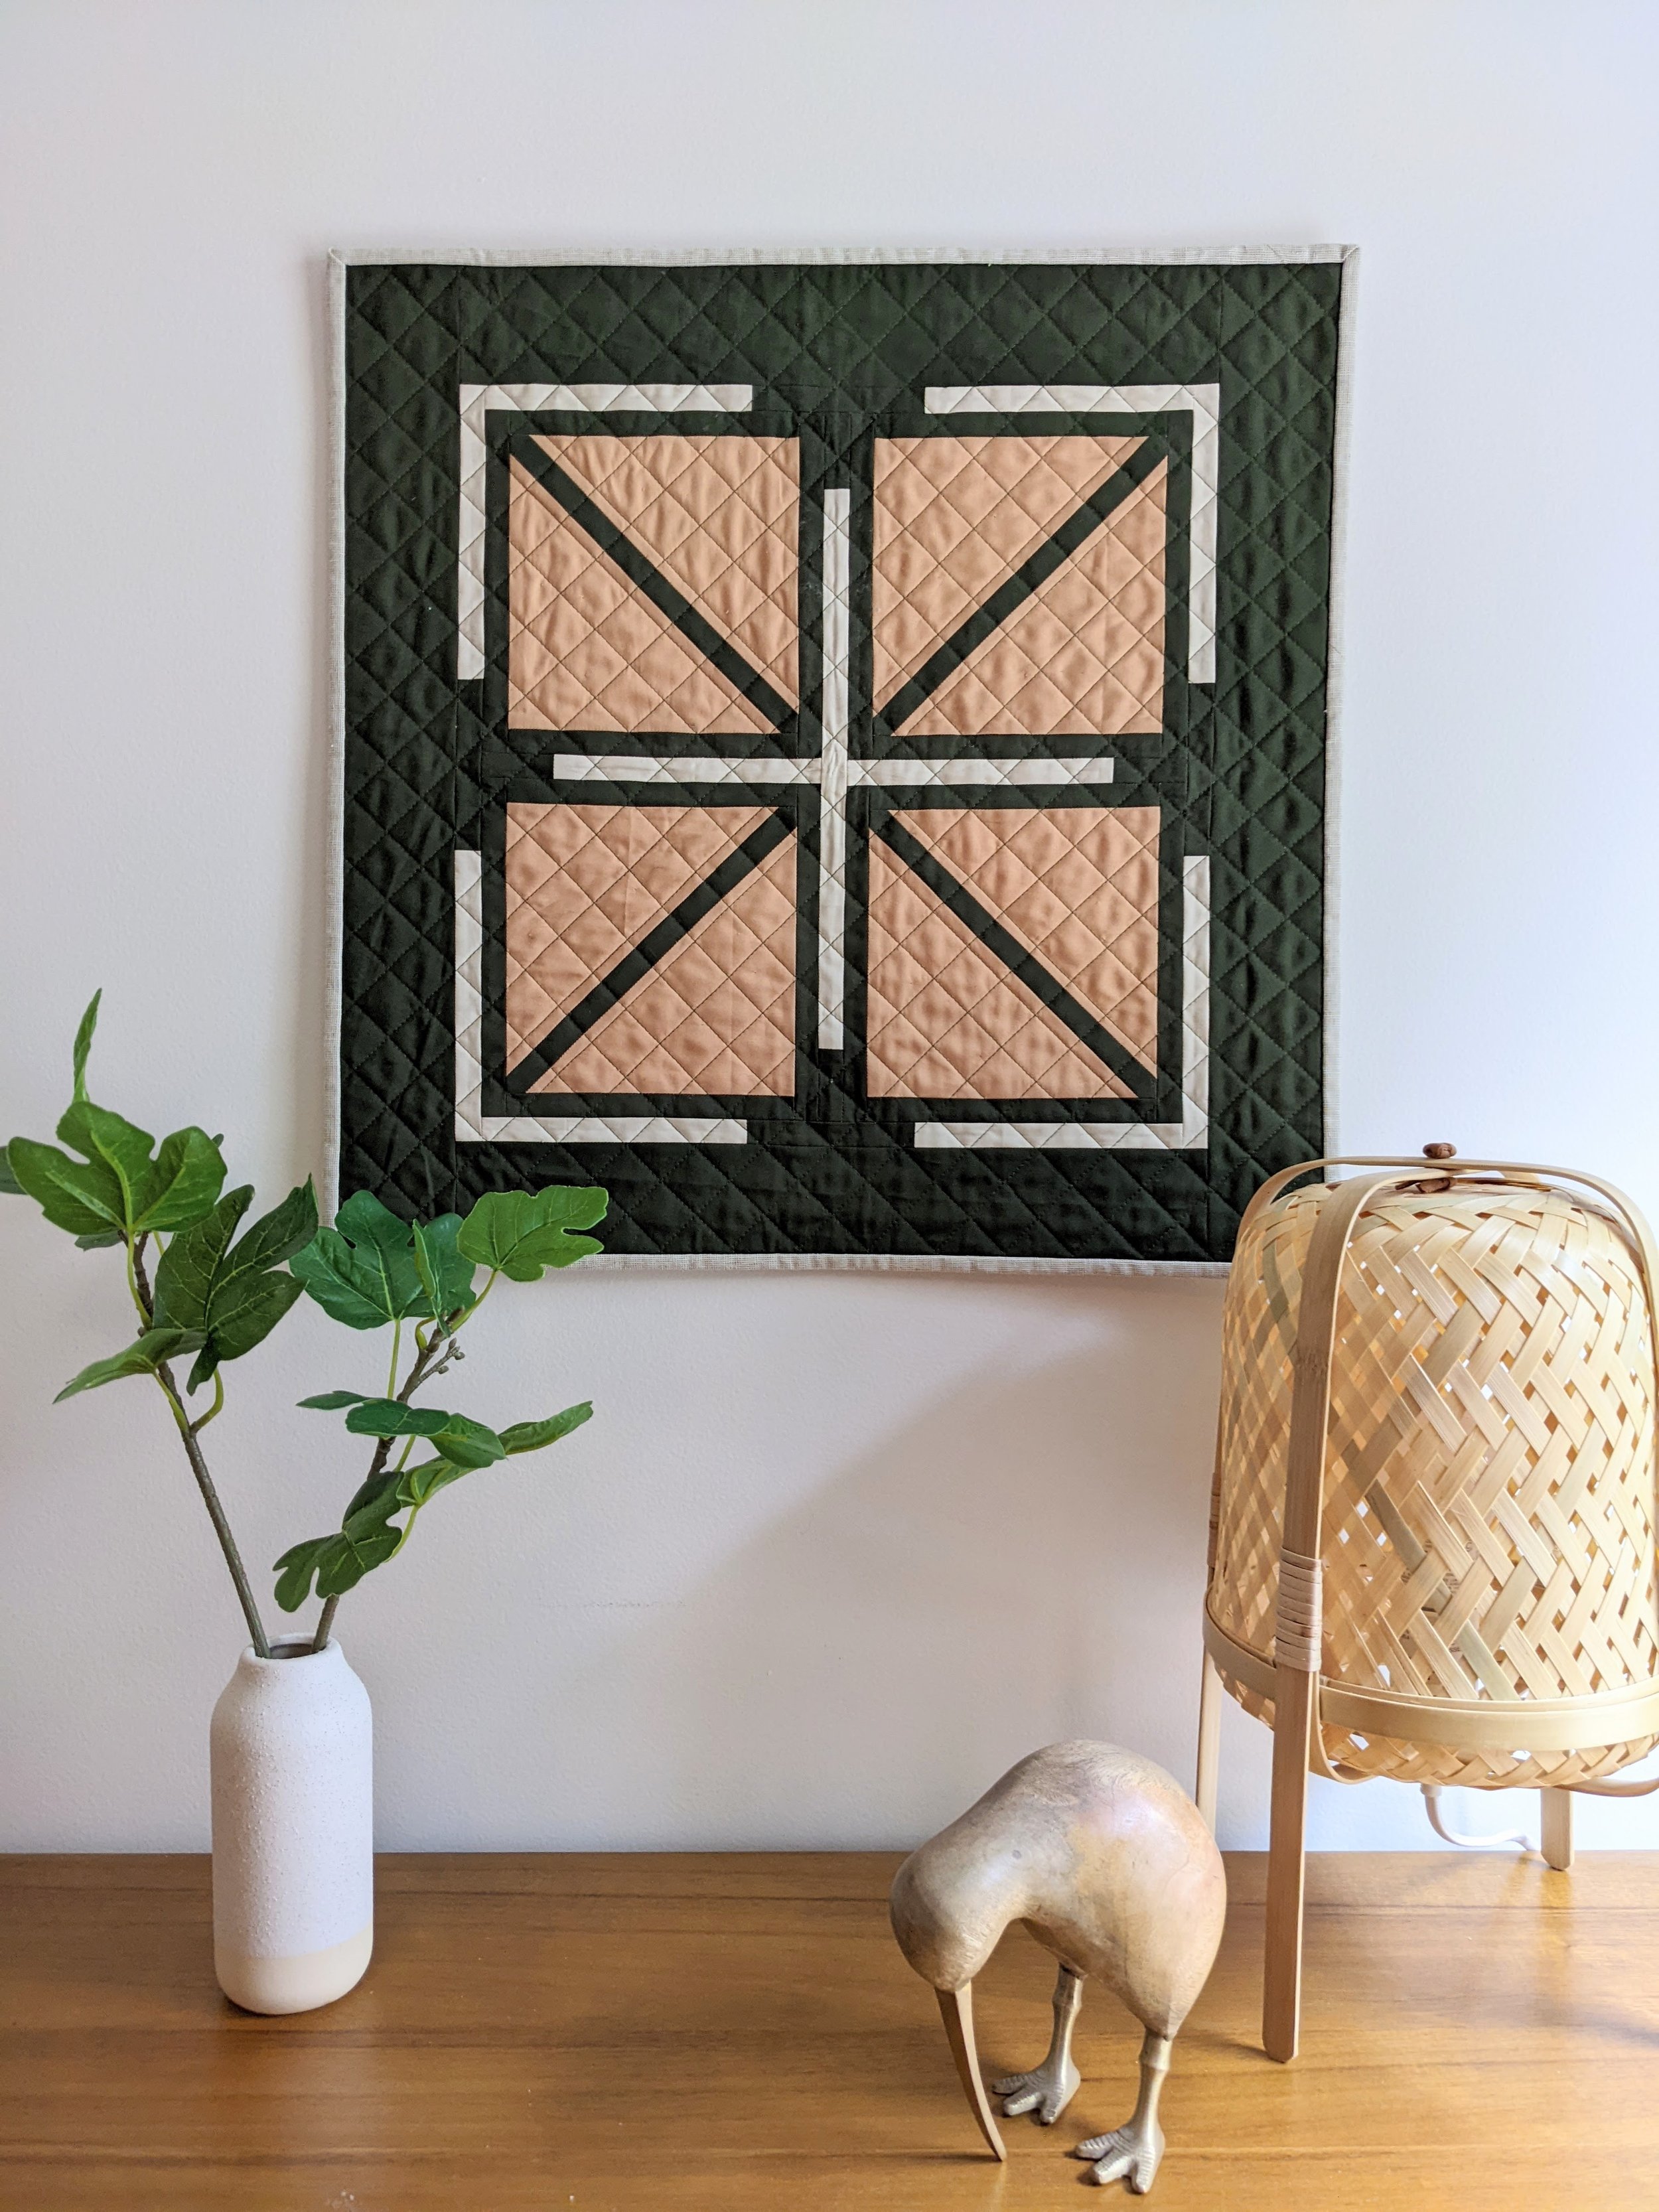
For this project, I’ll be demonstrating how I basted and quilted this Adjourn Quilt wall hanging, my newest pattern available in my shop!
Before You Start
Let’s first talk about the three things you need to know before you start your quilt top/back:
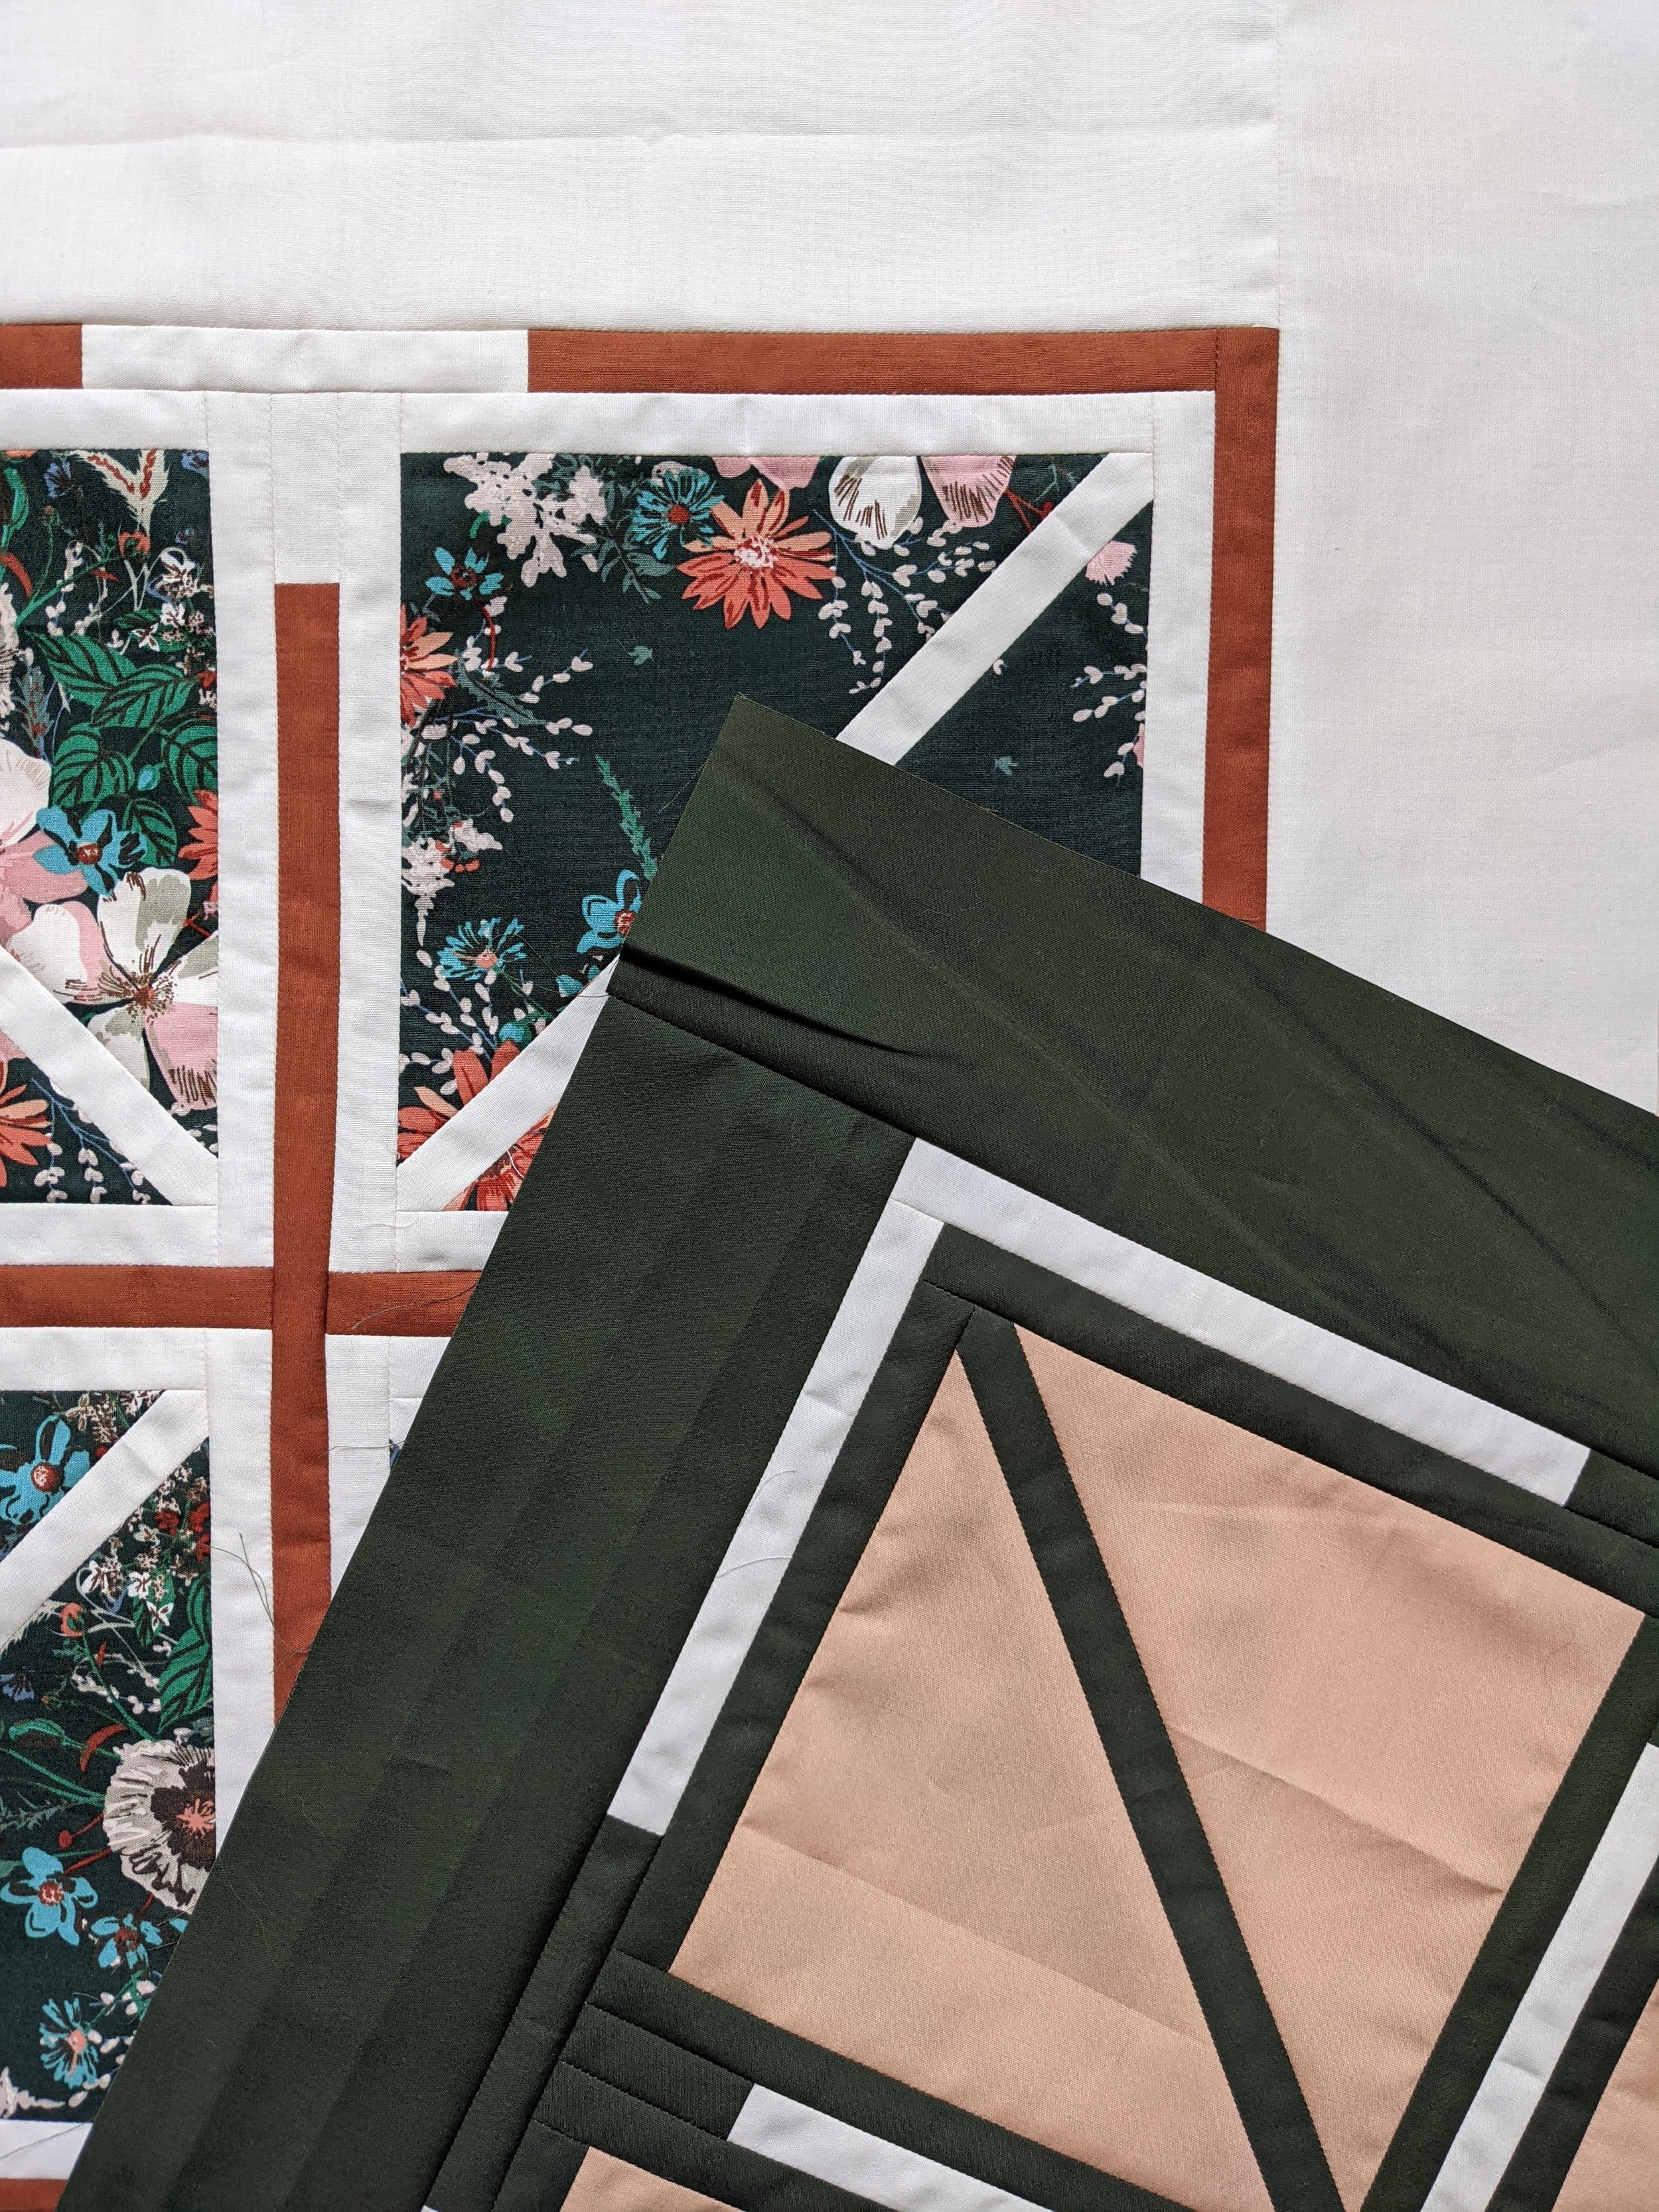
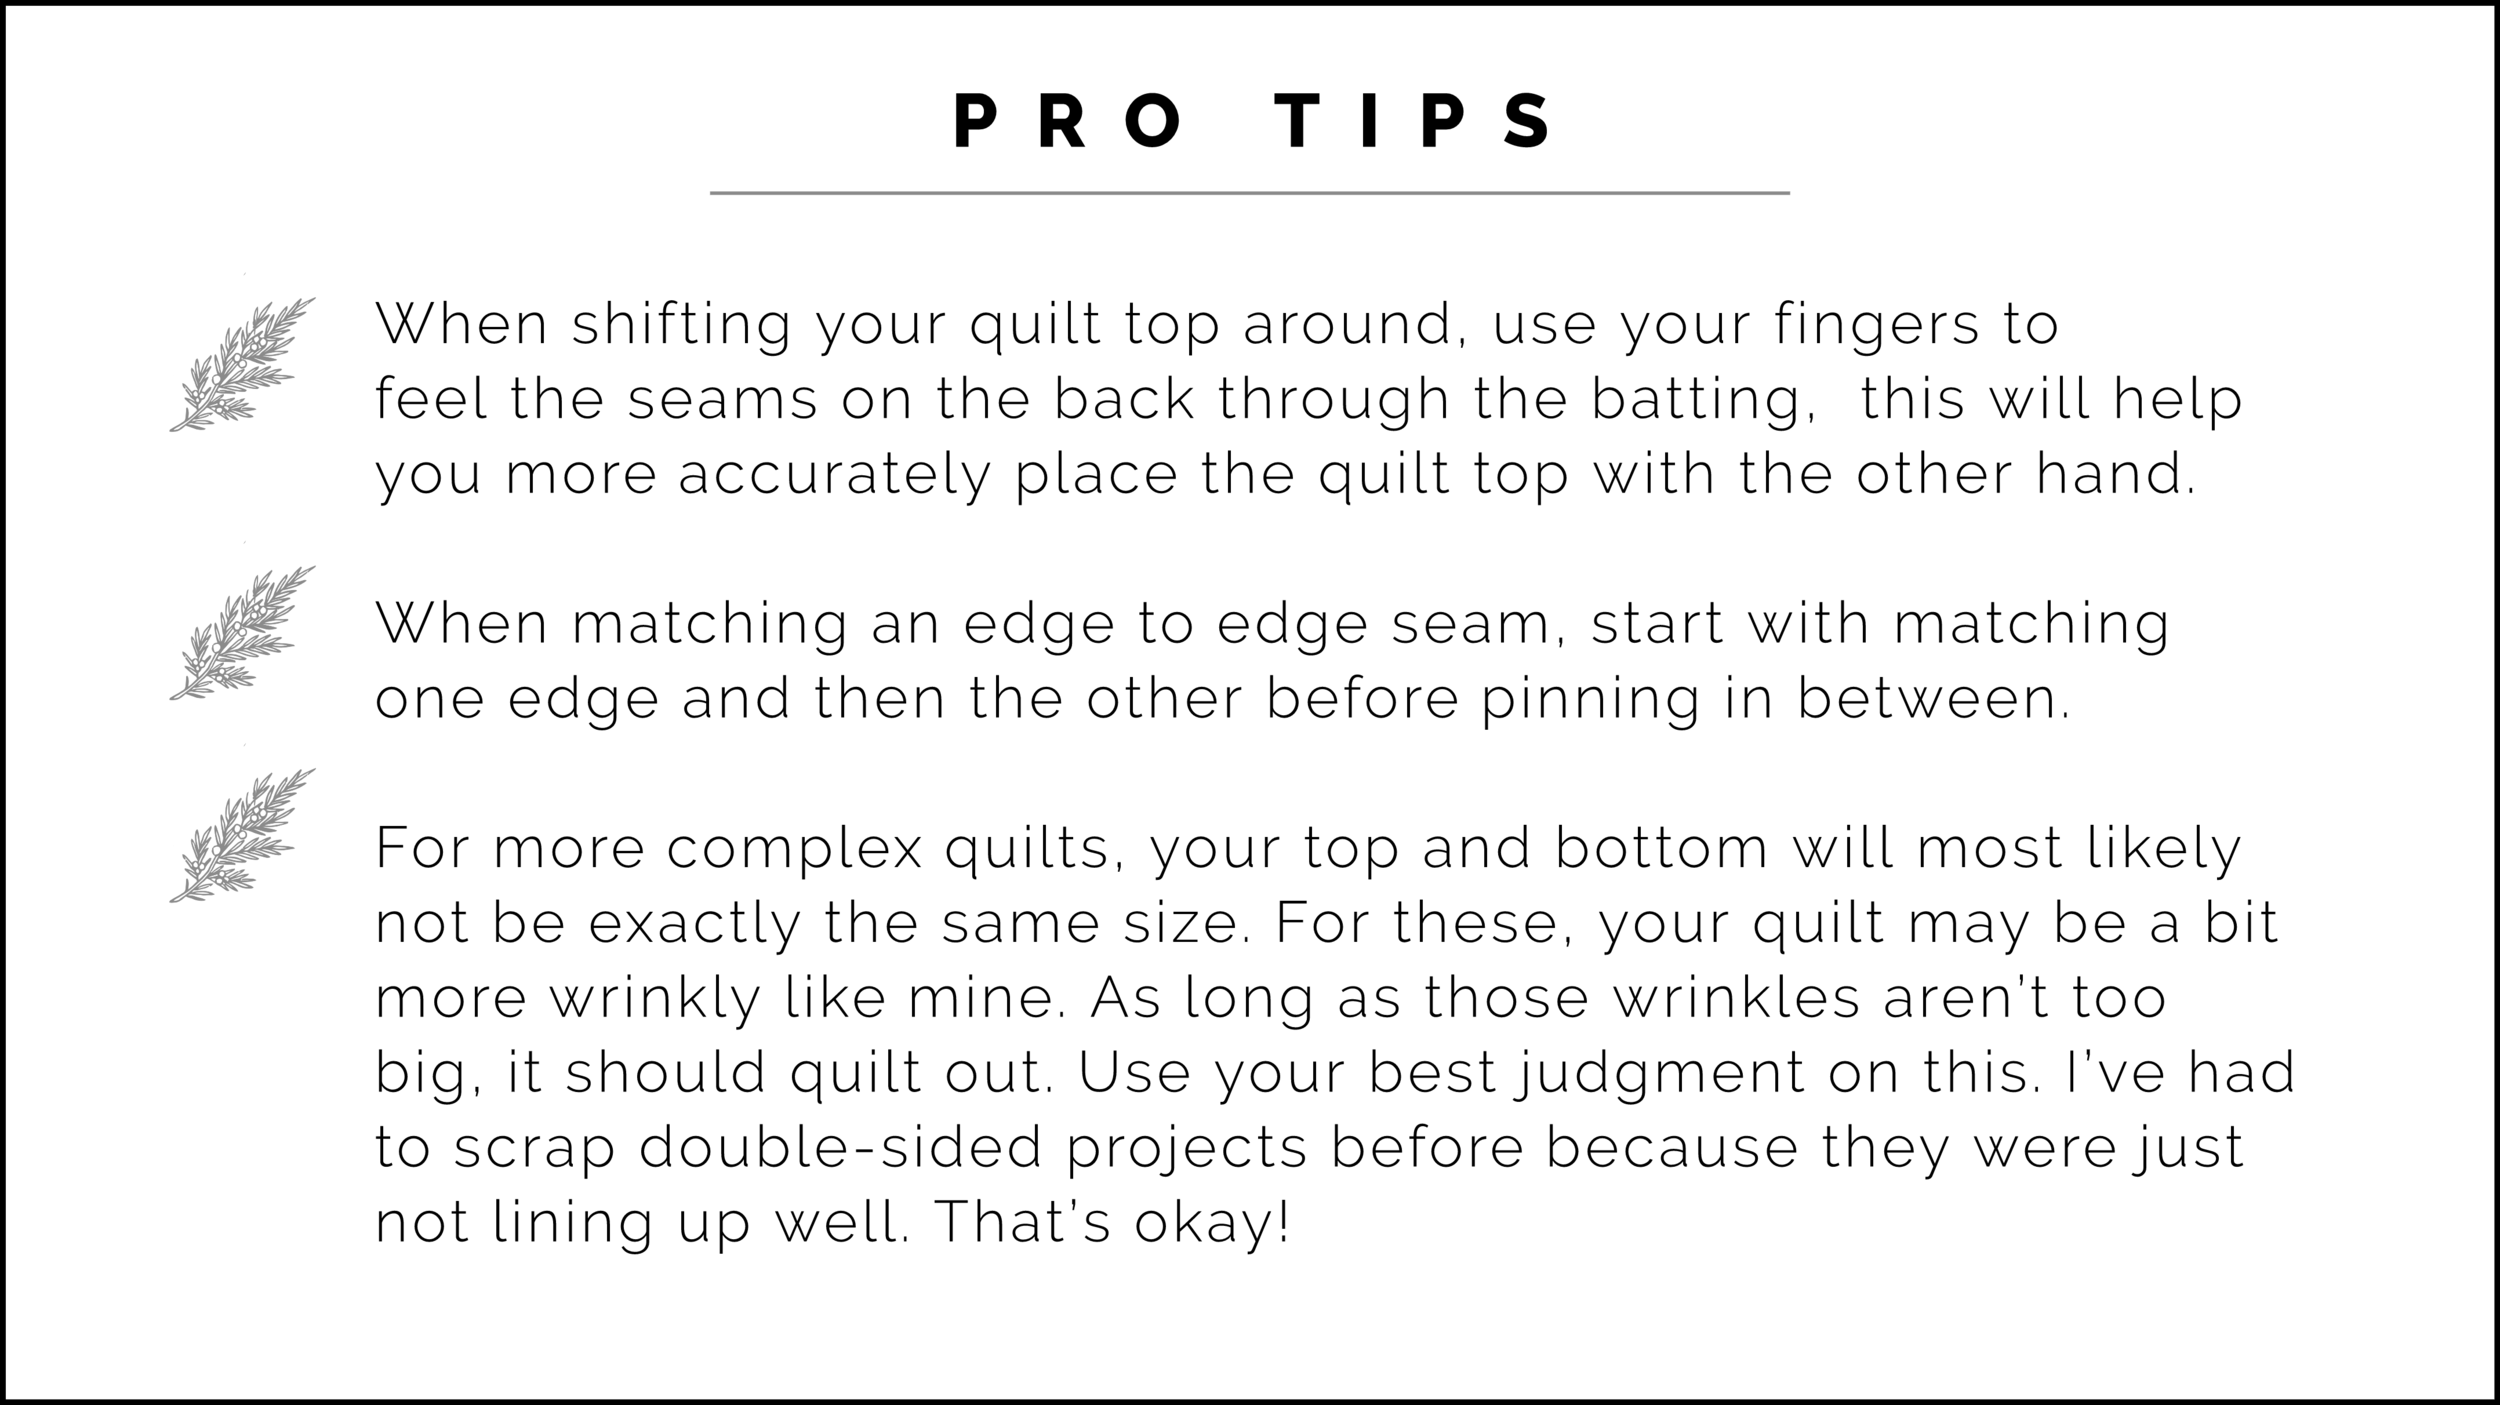
First, in order to accurately line up seams on your quilt top and back, seams must be pressed open! You’ll be pinning into the seams and if they are pressed to the side, your alignment won’t be as accurate and it will be difficult to keep things consistent.
Second, as I mentioned before, when using two identical quilt tops, make sure your piecing is very precise! If not, you will end up with at least one of the tops being stretched or puckered in order to match the seams, which will warp your overall design. I highly recommend starting with a smaller project (like a wall hanging) when attempting this for the first time.
Third, make sure one of your quilt tops (or quilt back) is larger than the other, ideally 2-4 inches on each side. I achieved this in my wall hanging by making my border pieces a couple inches wider. This makes it much easier to trim after quilting.
Alright, let’s get basting!
Basting a Double Sided Quilt
First, we’re going to find our match points. Match points are the seams or blocks that you want to line up on the front and back. We will have primary match points and secondary match points.
For primary match points, find the seams/blocks that will be the focus of your quilting.

For the Adjourn mini quilt, I used a 1” diamond quilting pattern, so I wanted my center cross and diagonal strips to be the primary match points.

The horizontal and vertical seams around the outside would be my secondary match points. These didn’t need to be quite as precise, but would help hold everything together so that it stayed in place as I quilted.
Let’s look at a few other examples so you can figure out which primary match points will be best for your project:
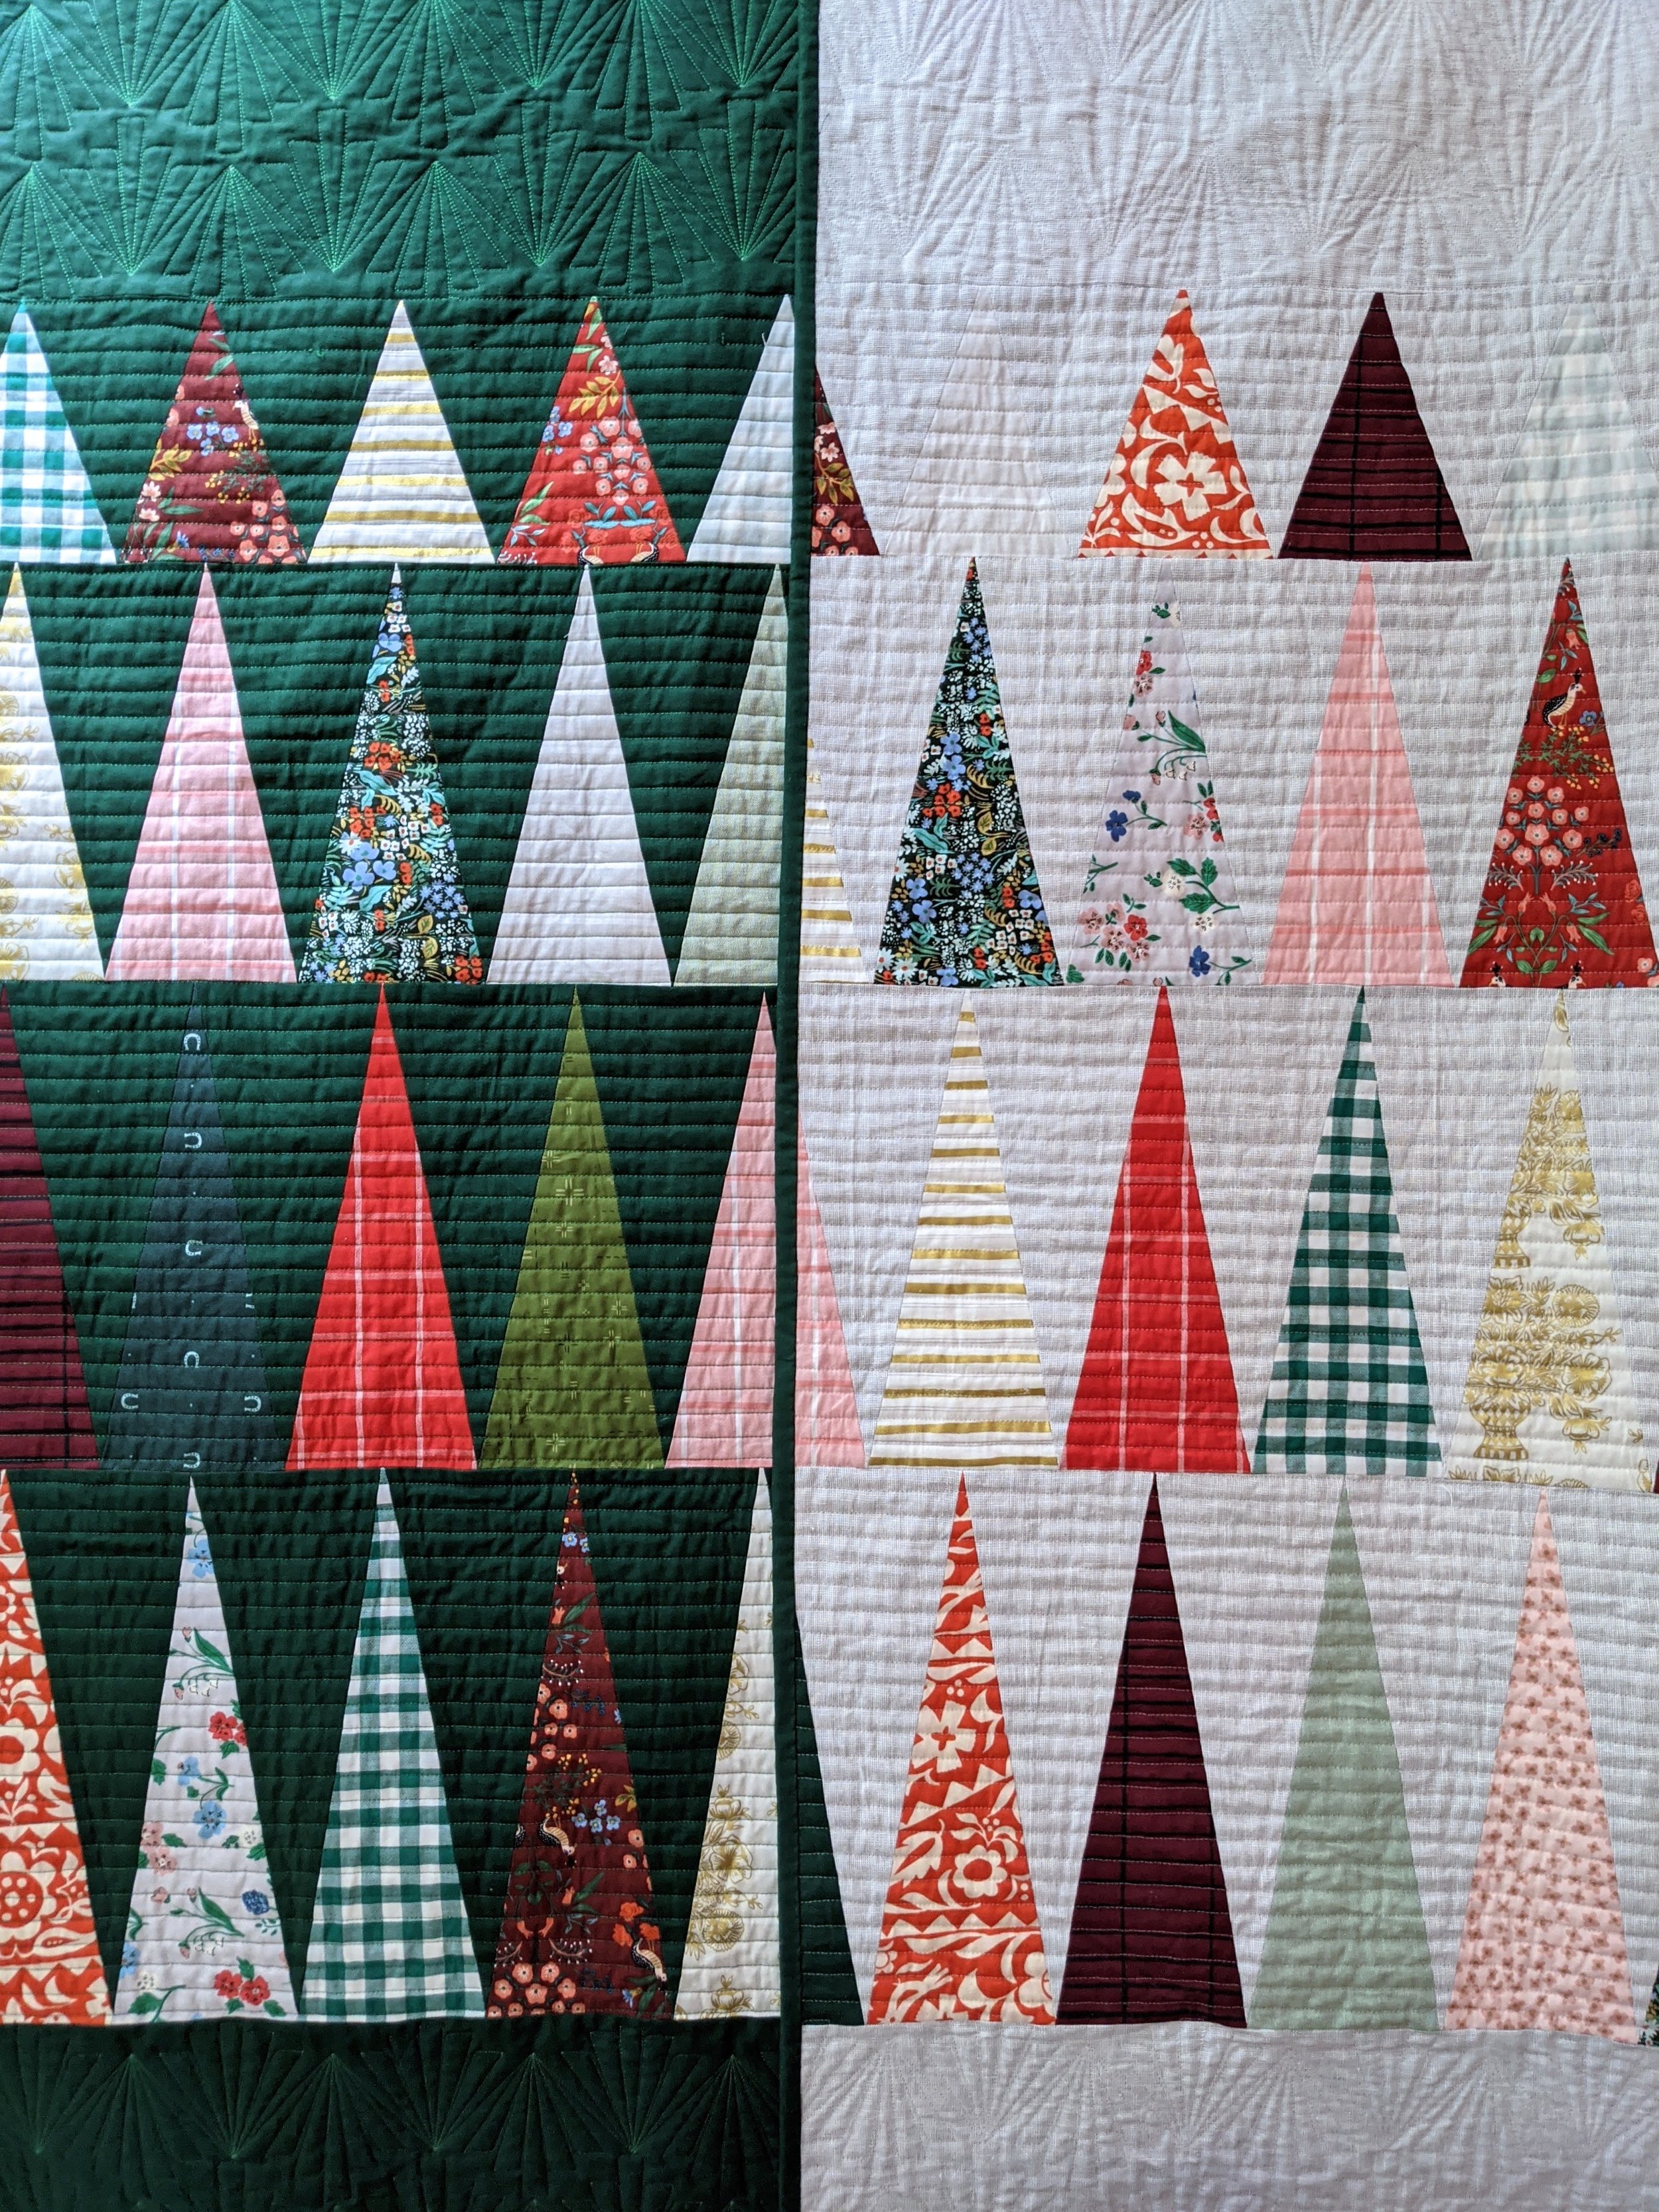
For this Modern Christmas Trees Quilt, the horizontal seams were the
primary match points, specifically the top and bottom horizontal seams. The horizontal
seams between the rows would be secondary match points.
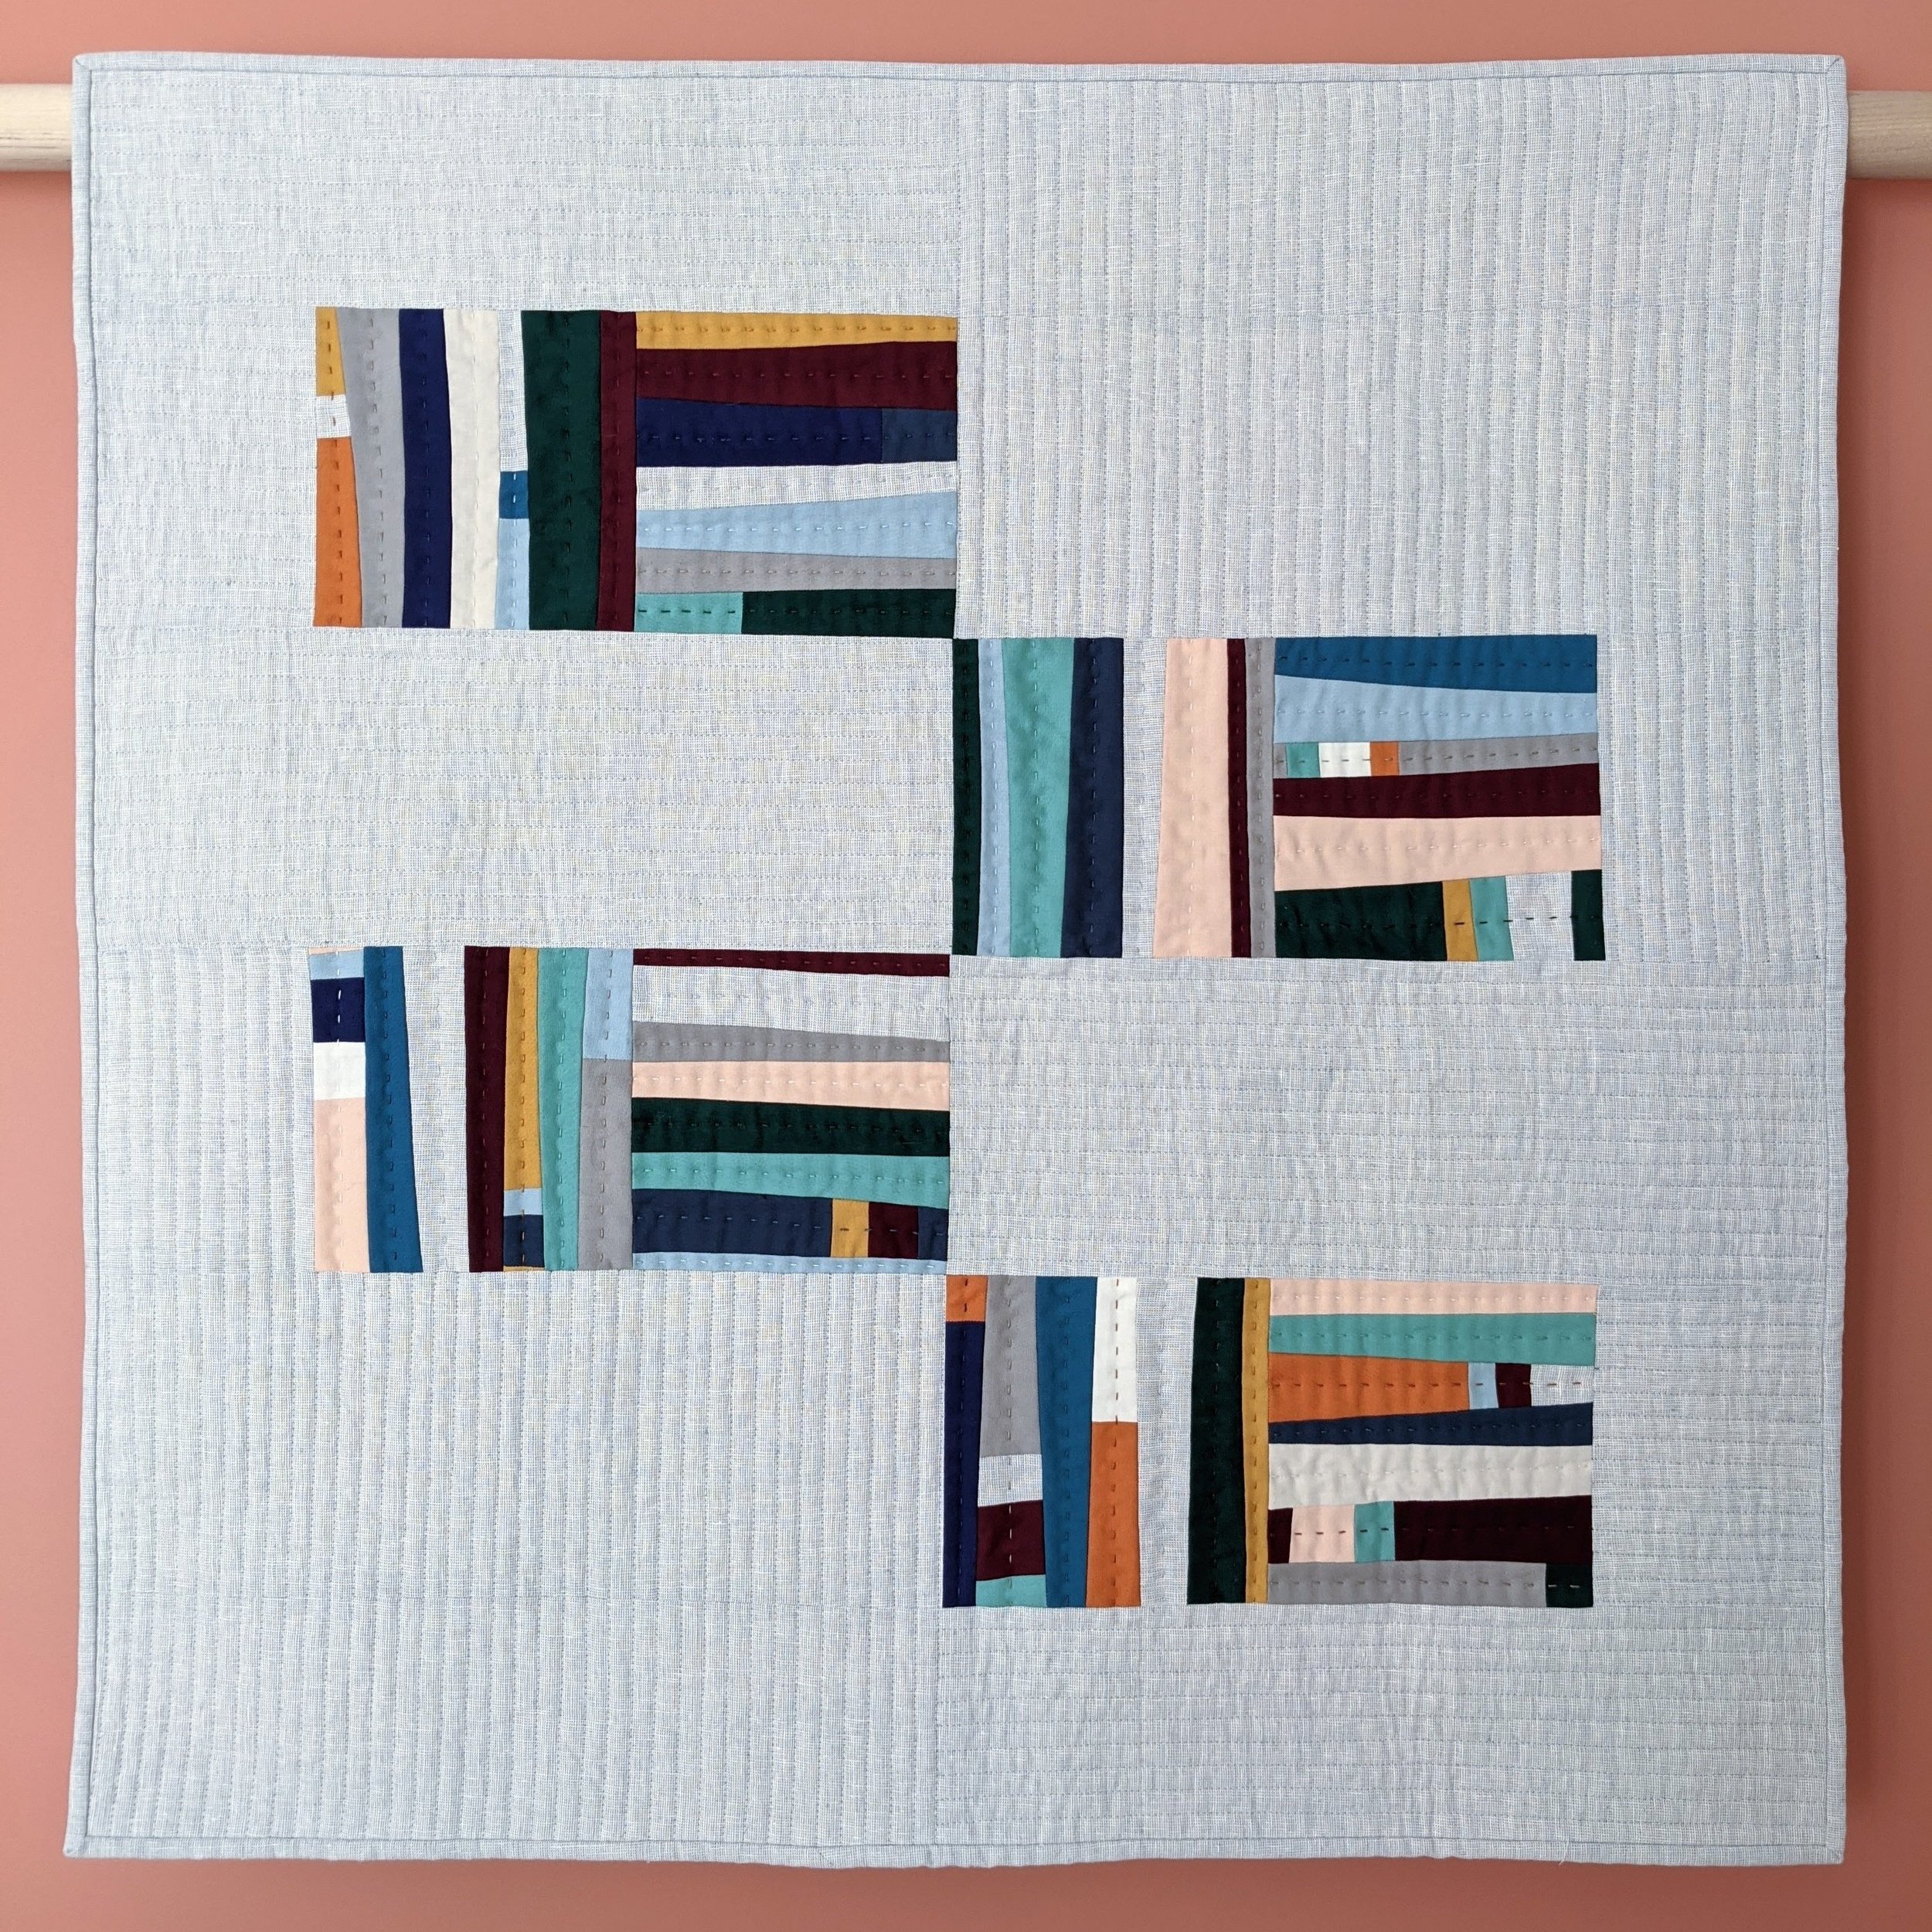
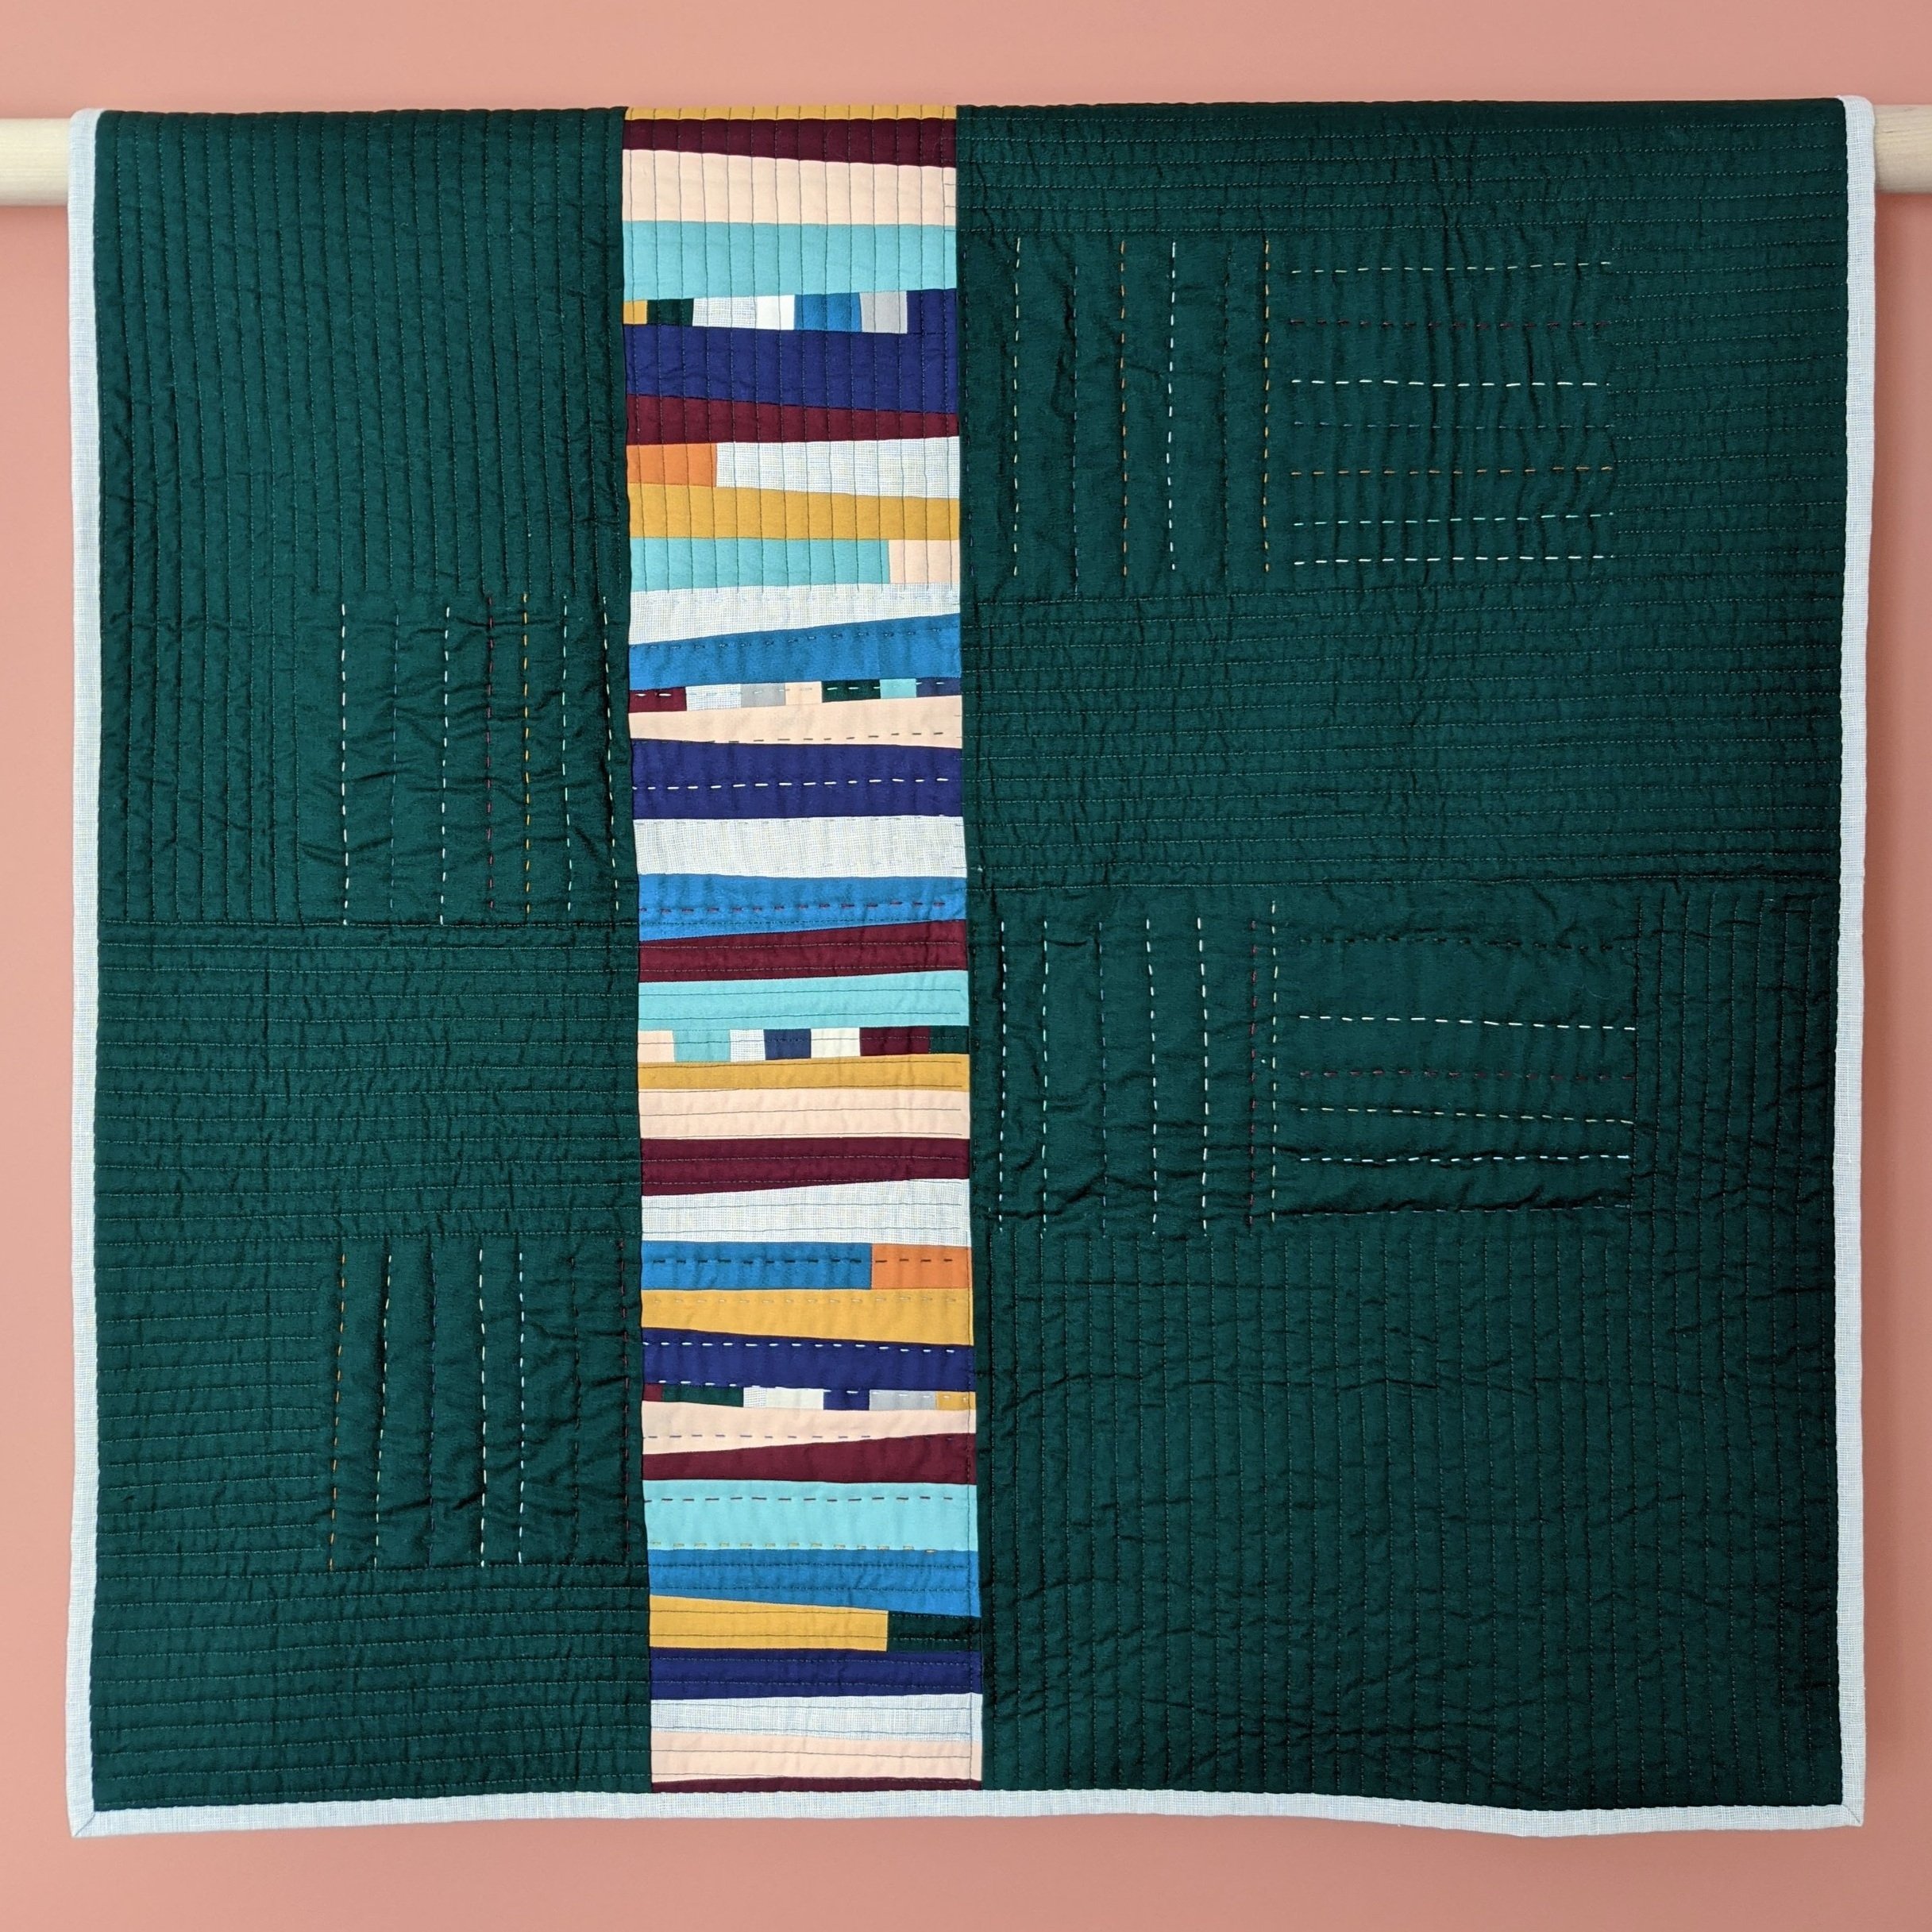
In this Framework Quilt (pattern by Blooming Poppies), my primary match point was the vertical seam
down the middle of the quilt top, lining it up with the right seam of the improv strip on the back.
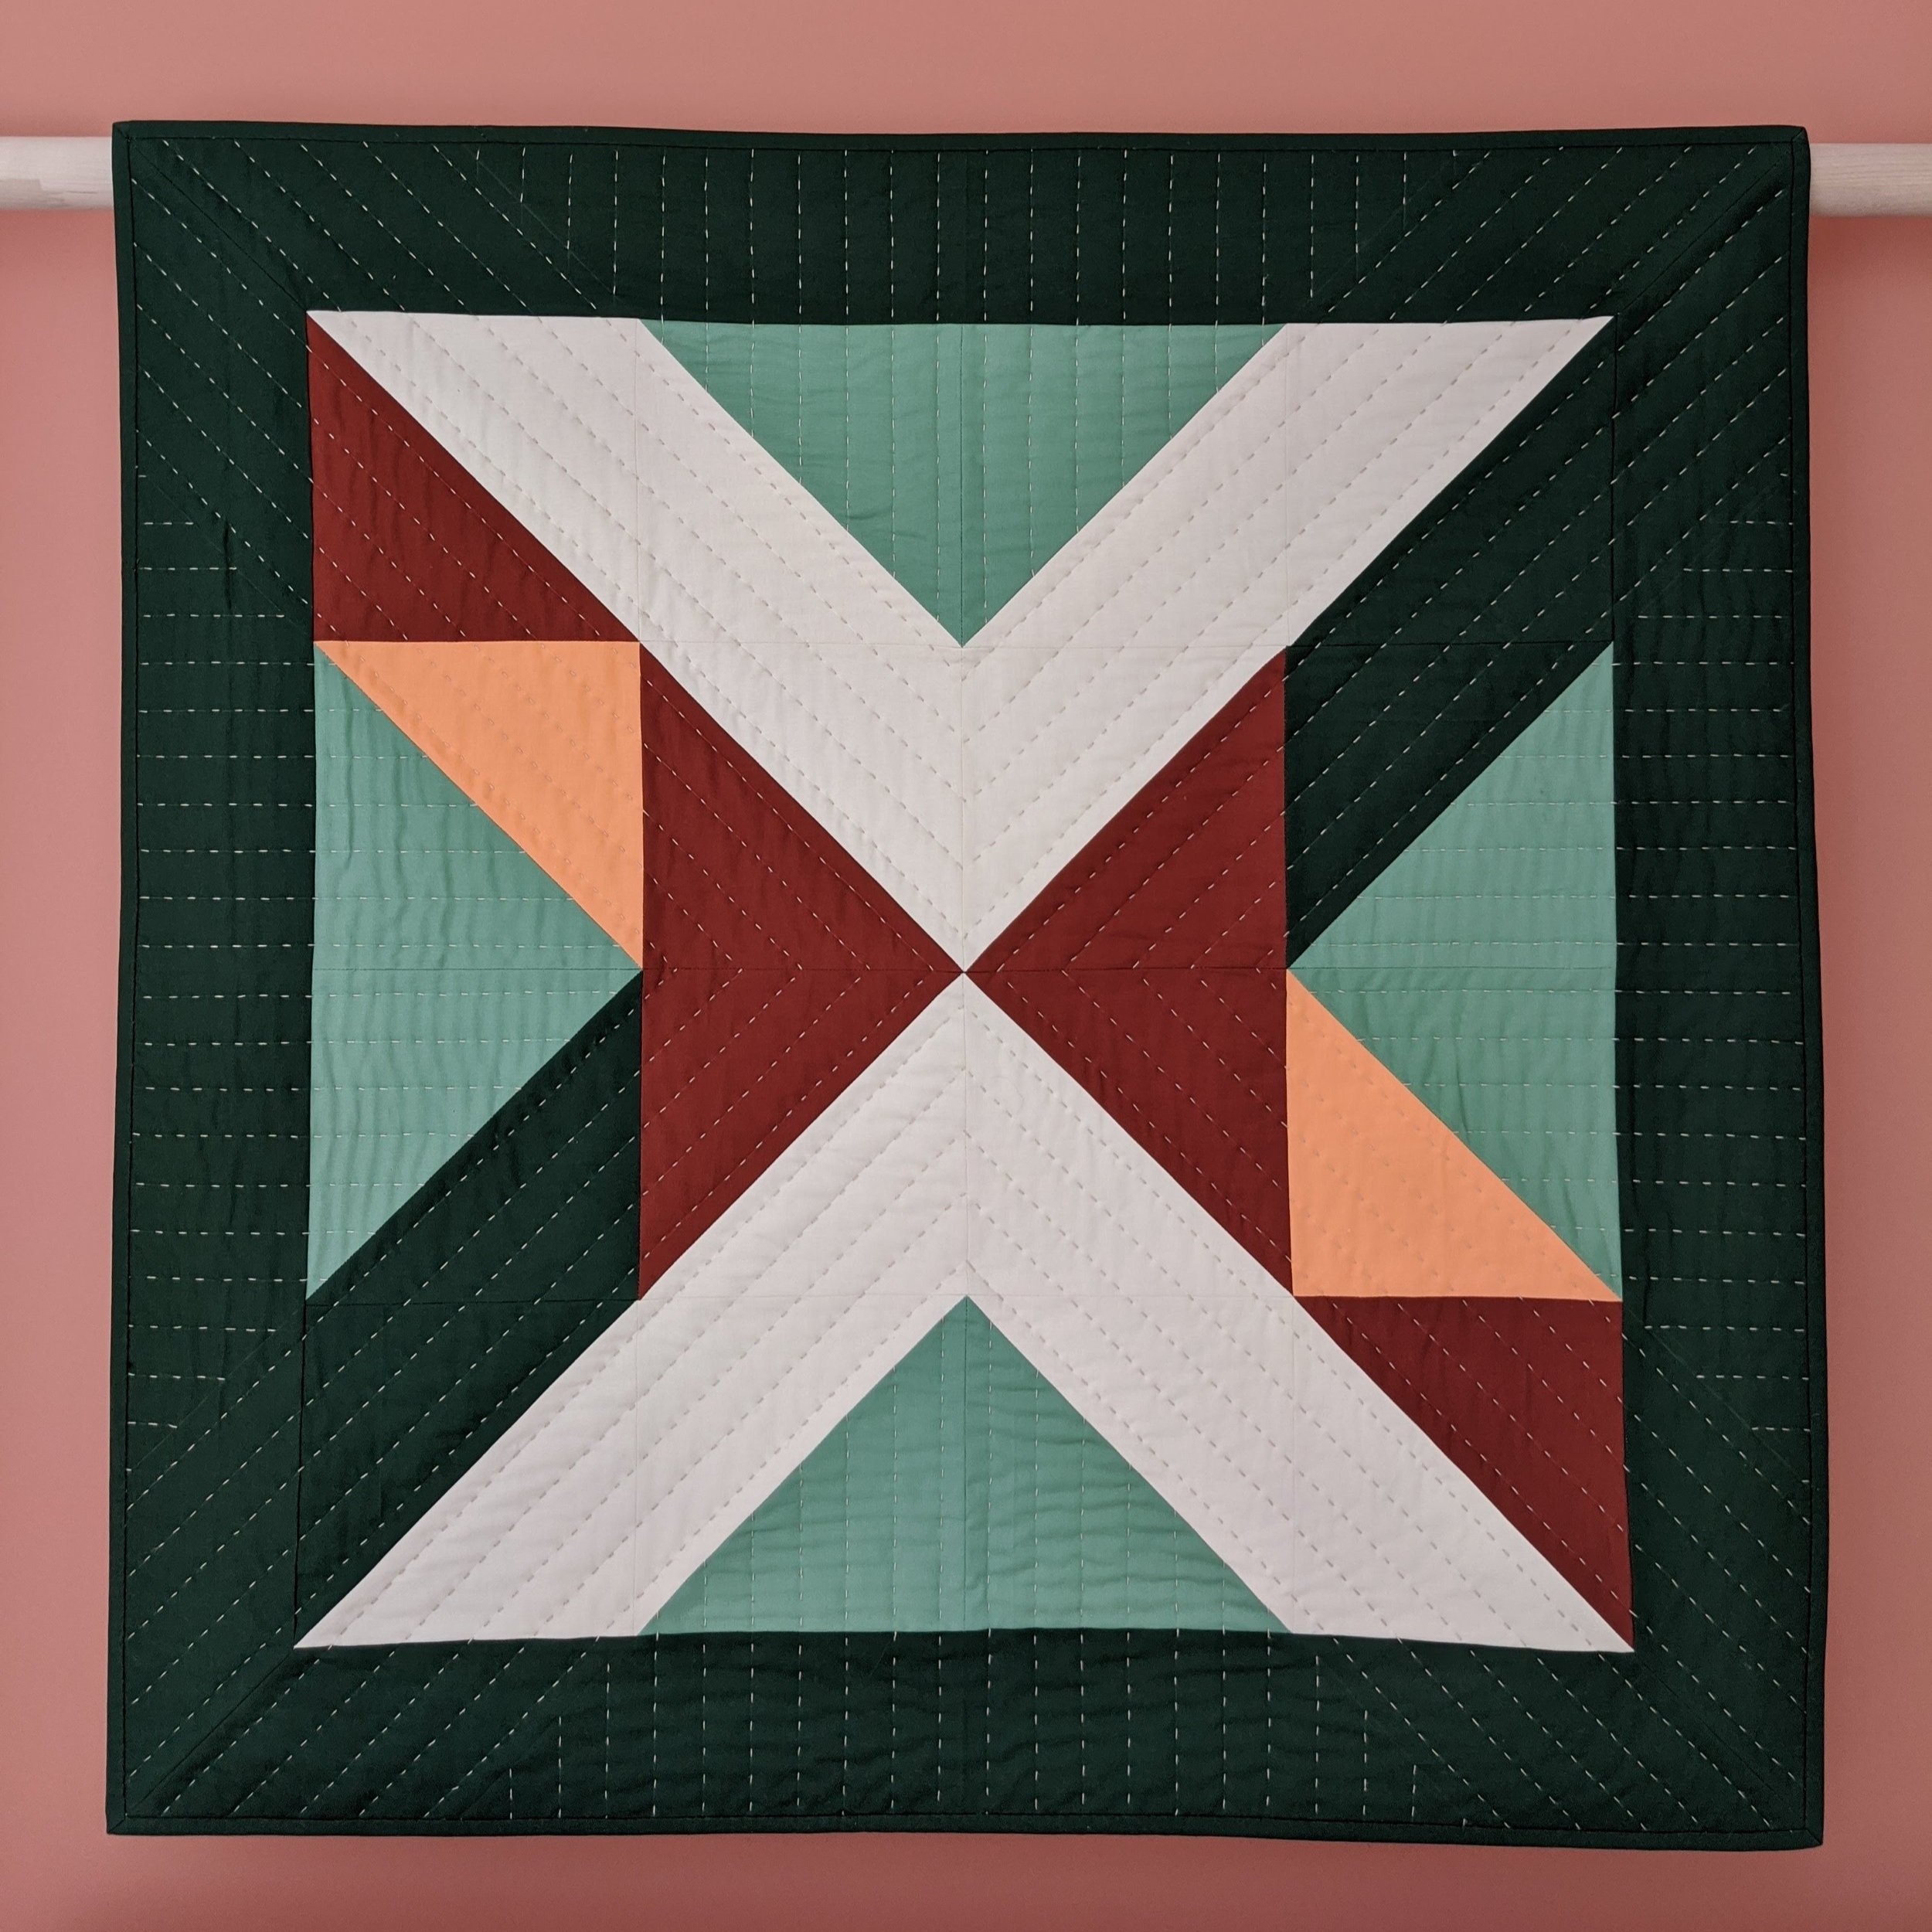
In this double-sided Shelter Quilter (pattern by Blooming Poppies), my primary match points were
the center “X” seams, which would follow the diagonal quilting pattern I planned to use. My secondary match points
were the horizontal and vertical seams in the light green sections.
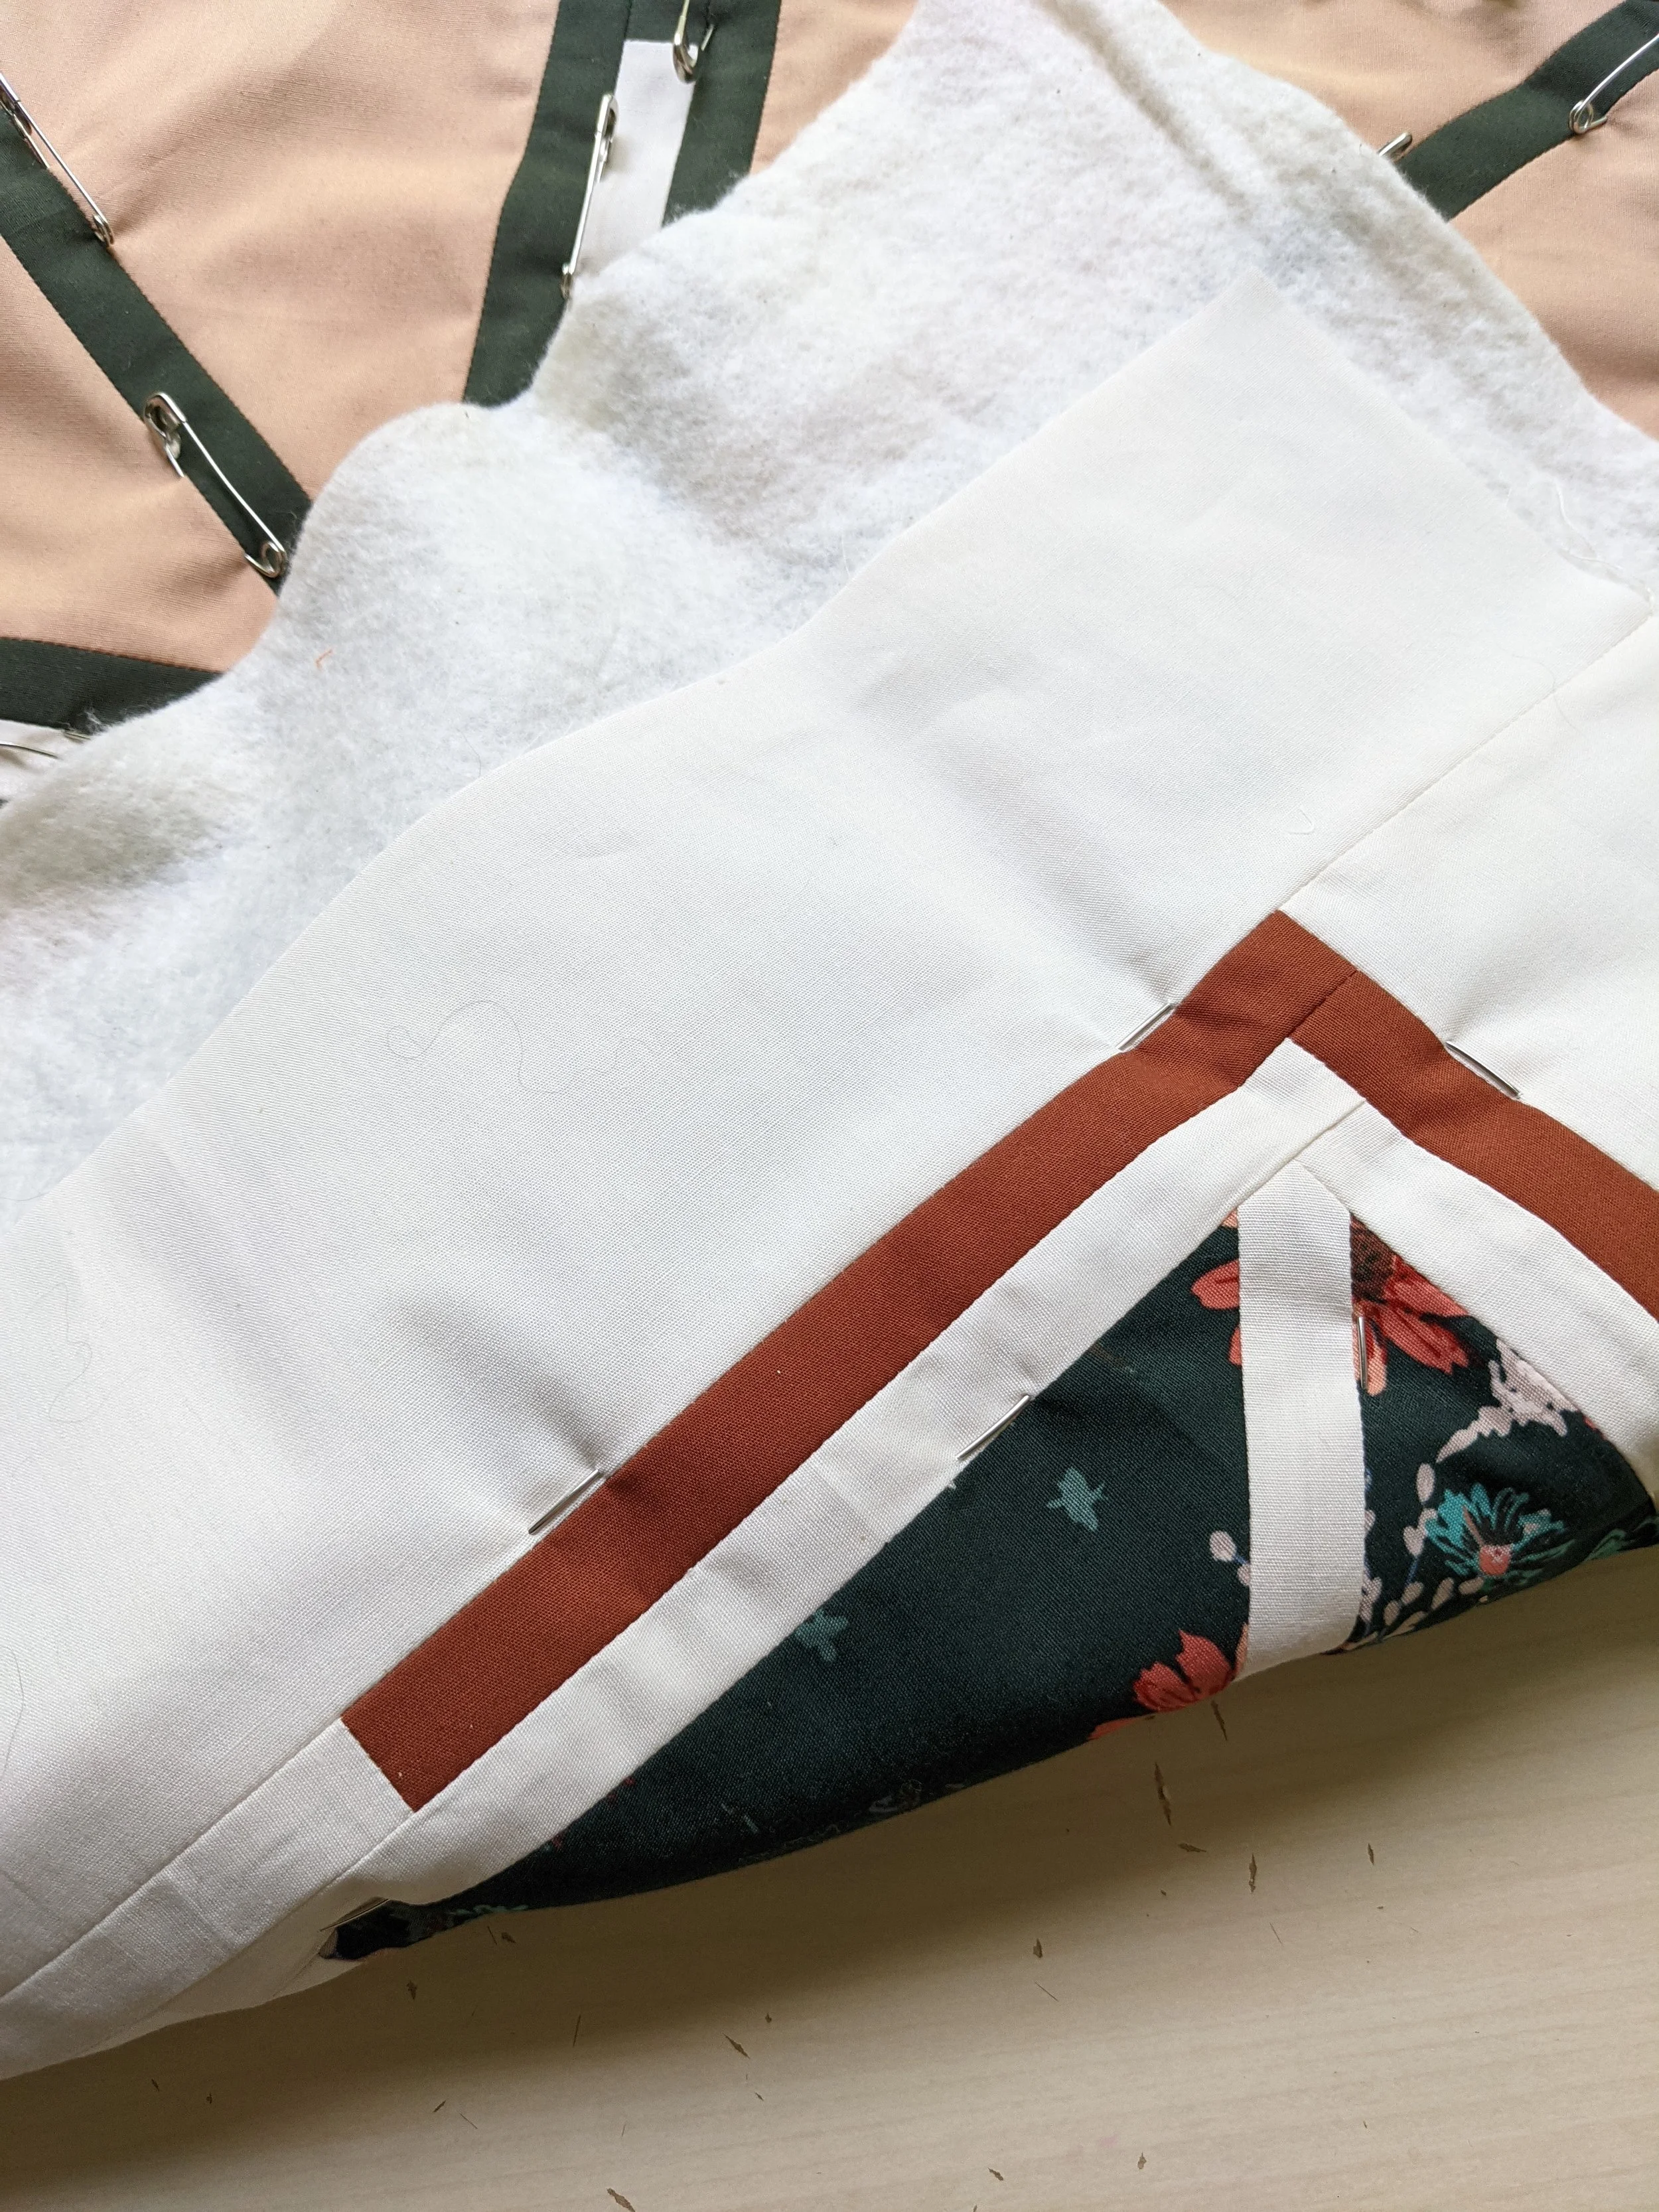
Place your quilt back or quilt top with the larger dimension right side down towards the table and place your batting as usual, making sure everything is flat and roughly centered. Do not tape your quilt back or batting down! We will be picking up and moving these layers as needed. Then place your quilt top, roughly matching up your first primary match point as best you can. Don’t worry about spreading out and flattening your quilt top yet, we will do this as we go.
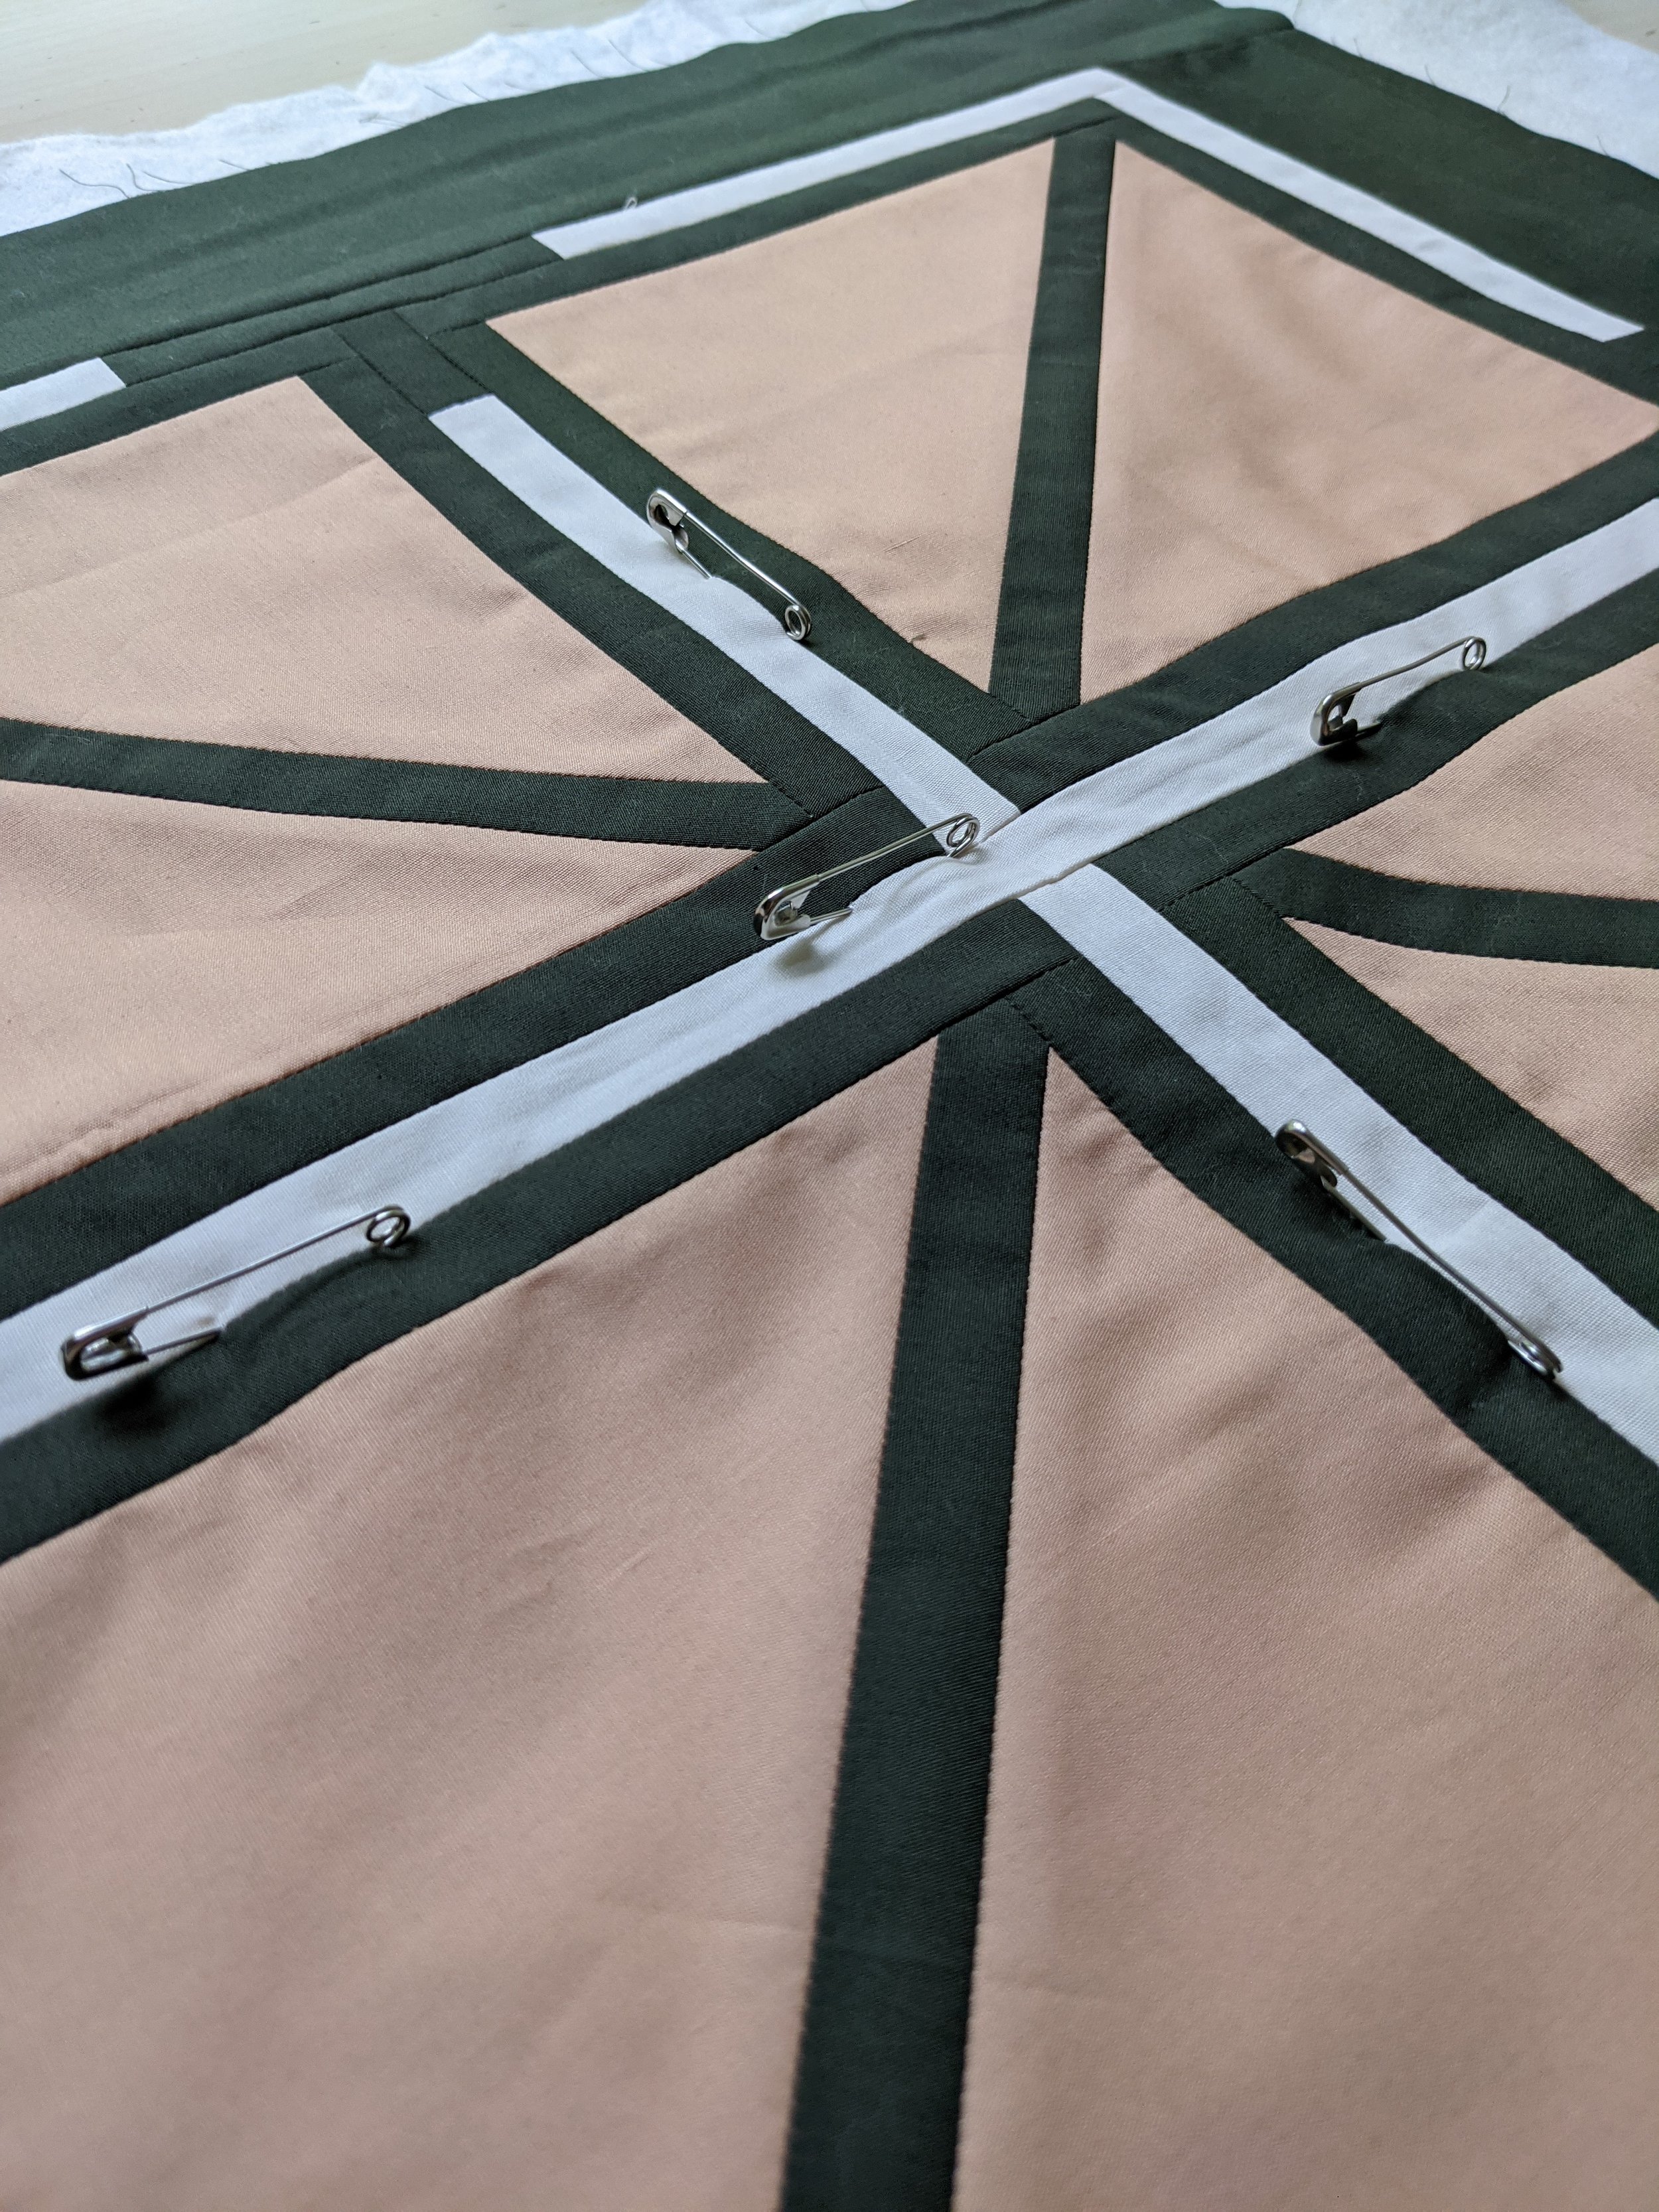
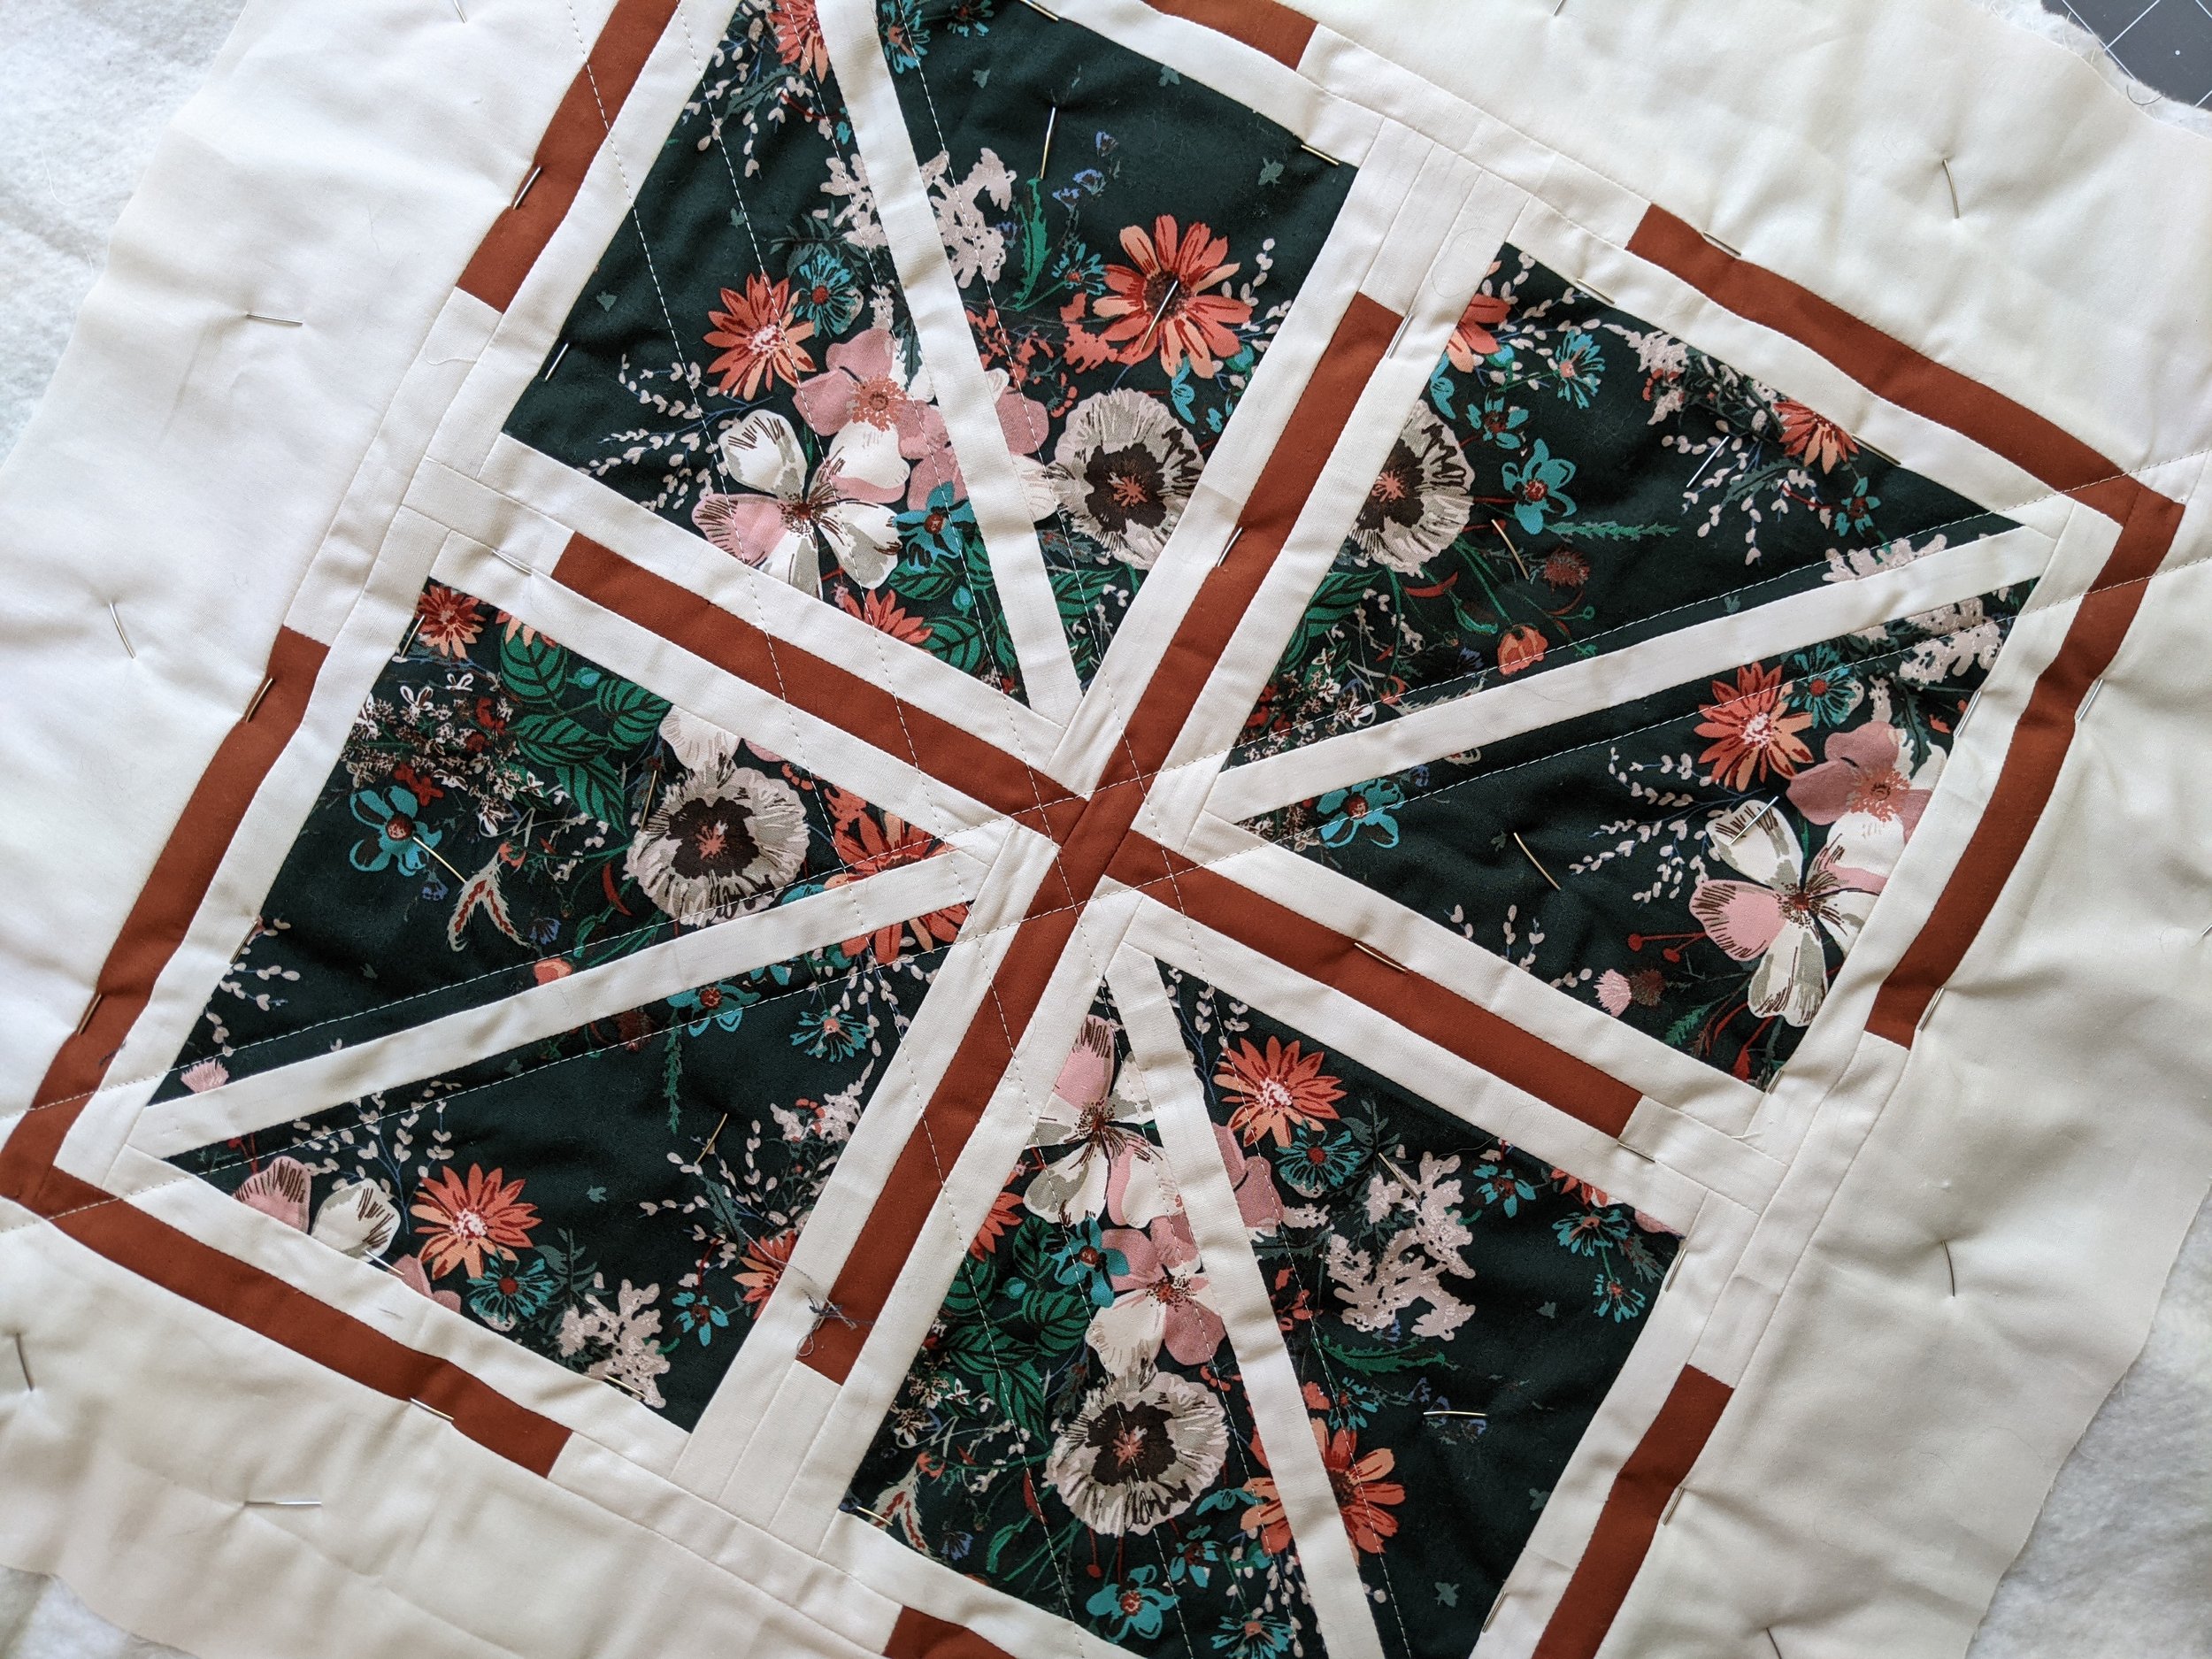
Start with a primary match point that is most central to your quilt. Grab a basting pin and place it straight down into the center of your seam or at the seam intersection (where two central seams come together) of this primary match point, making sure it goes all the way through to the quilt back. I used a straight pin for this project because it was a bit more complex and it helped with accuracy, but a basting pin is just fine for most projects.
Here’s where things get finicky. Lift up your quilt sandwich to look at where that pin comes out on the back.
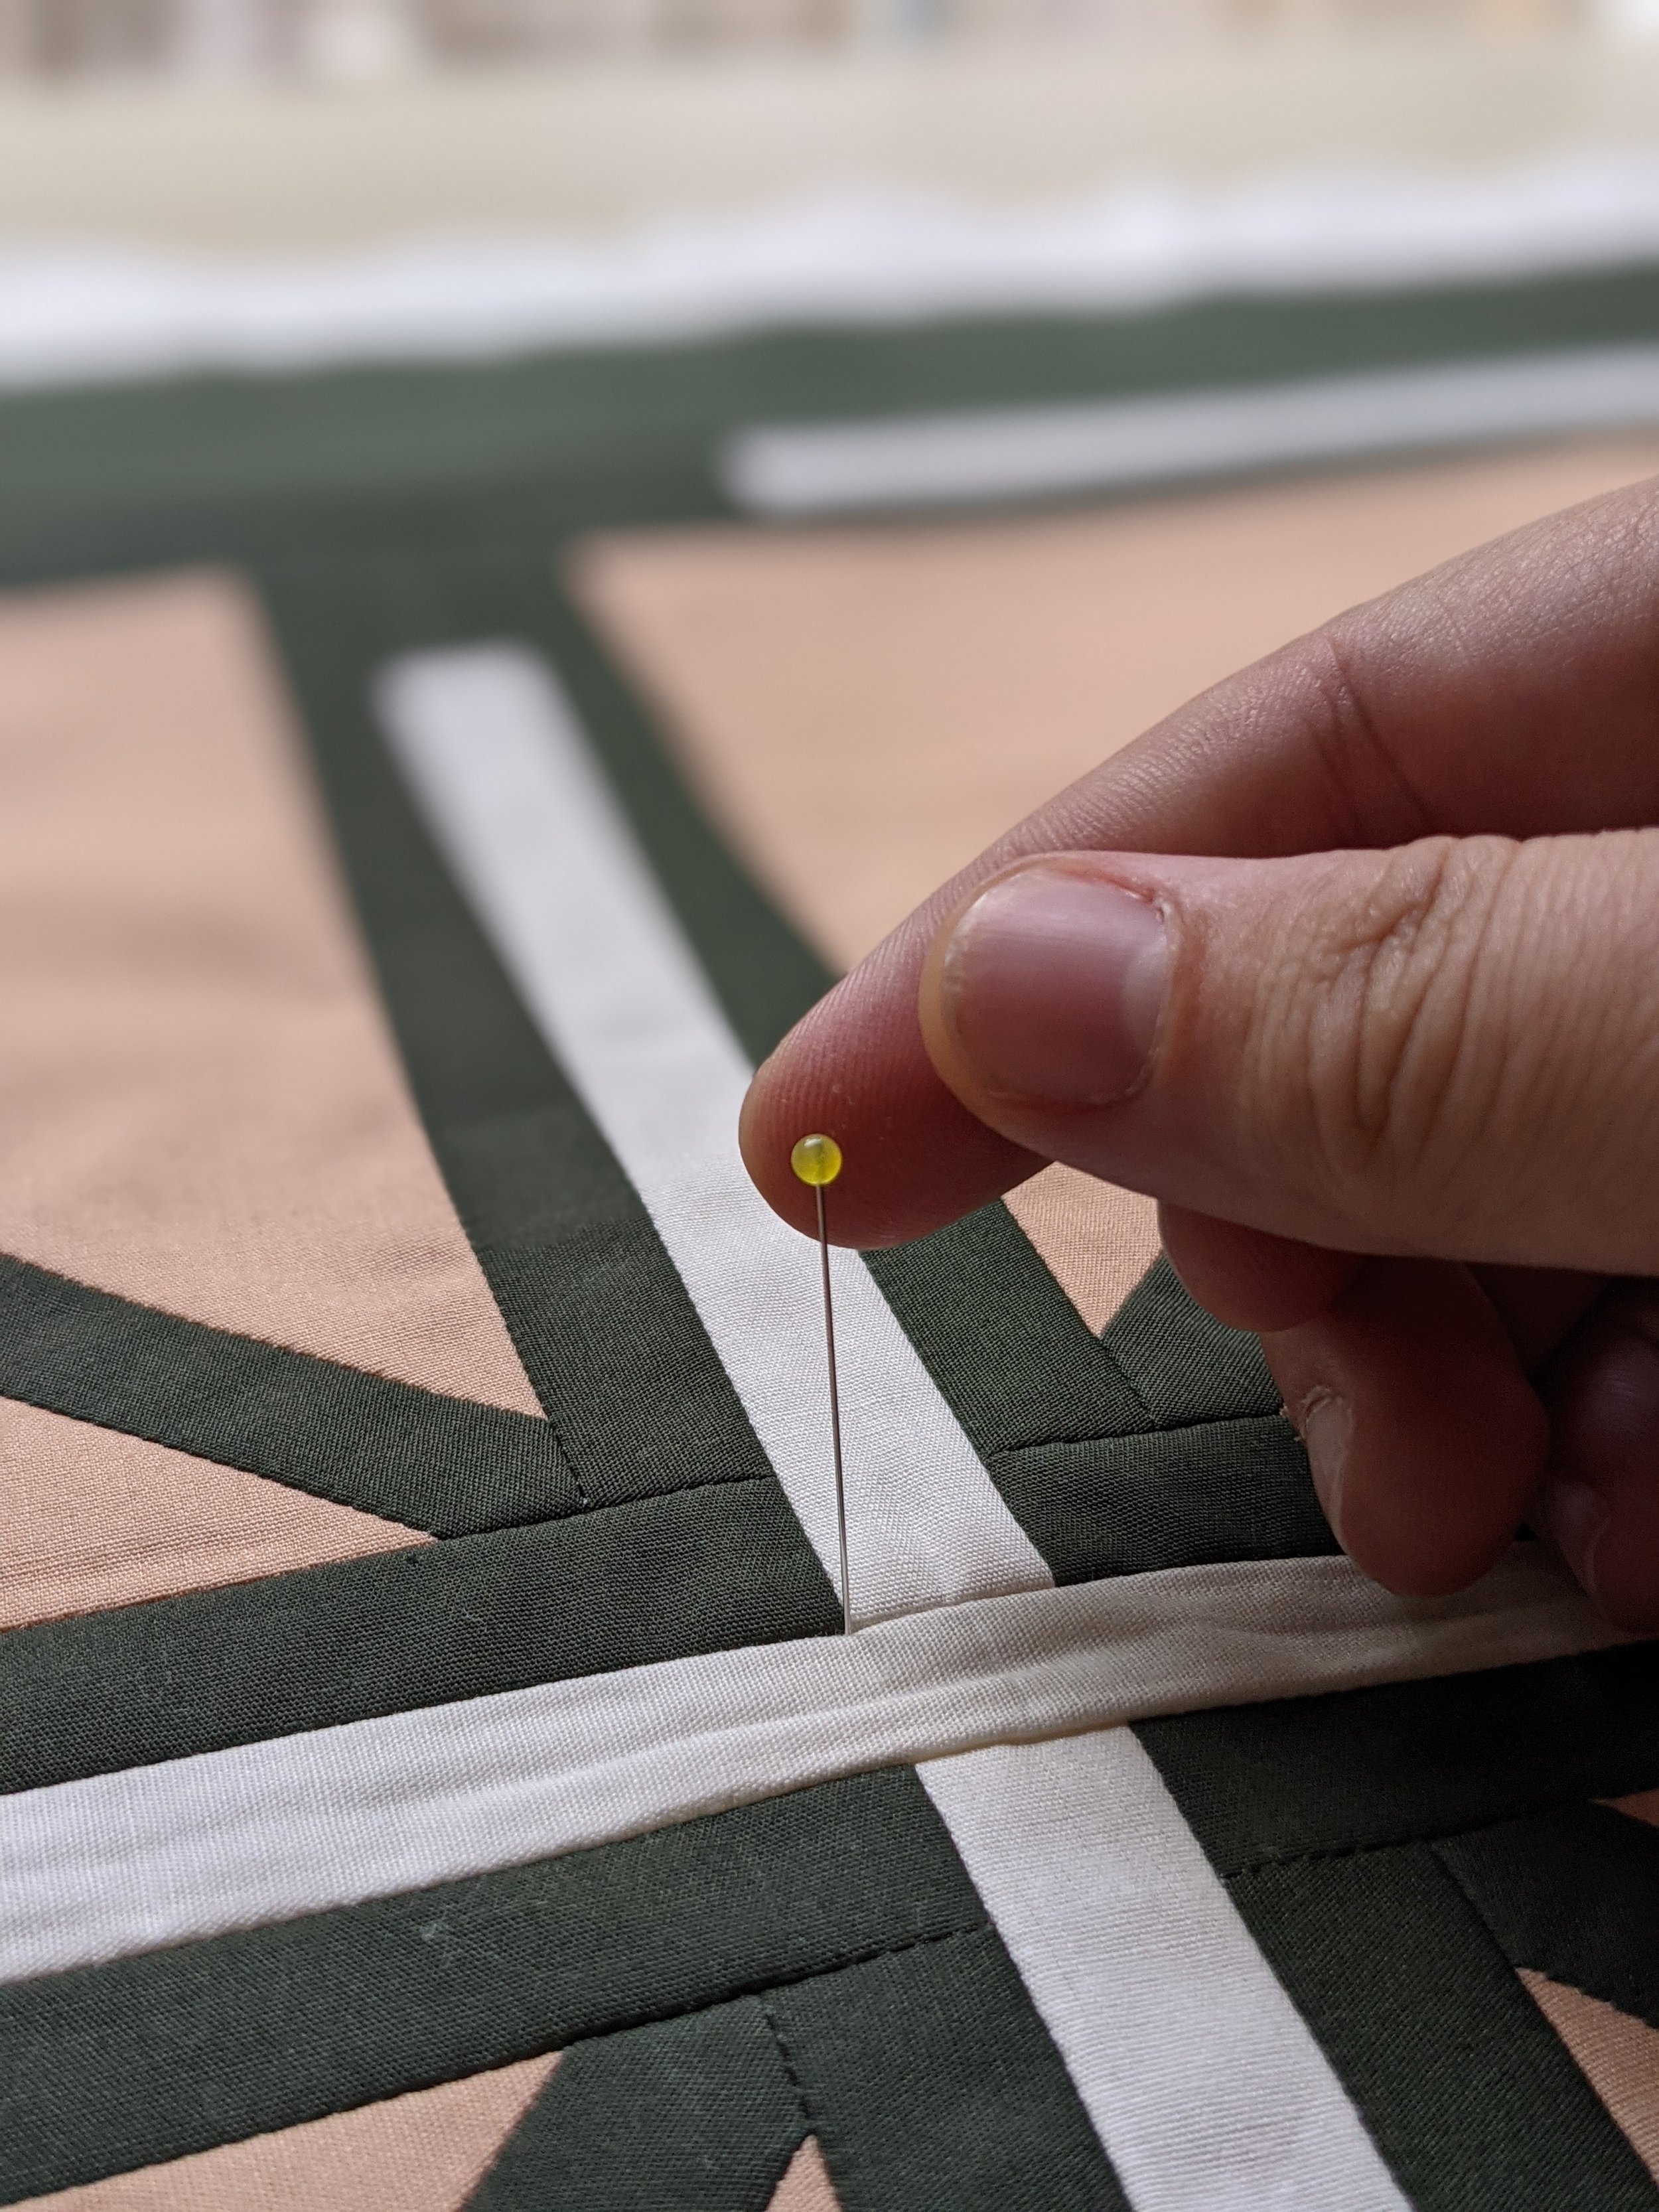

You can see here that mine was initially about 1/4 inch from the seam intersection.
Shift your quilt top a little at a time until your pin goes through your match point on both the quilt top and back. This does not need to be perfect, but does need to be very close, within 1/16th of an inch. When it’s getting close to where I want it, I like to rake my fingers across the quilt top in the direction it needs to move to get it to move in very small increments.

Once I fidgeted with it for a while, mine was
within 1/16th of an inch and I was ready to move on.
Once it’s placed correctly (or as close as makes you happy), place the basting pin into the seam, so that it enters and exits the fabric through the seam. Again, look at the back and make sure it goes into the seam on the back as well. If it does, congratulations! Your seam is perfectly lined up! If it doesn’t...time for more finicking.
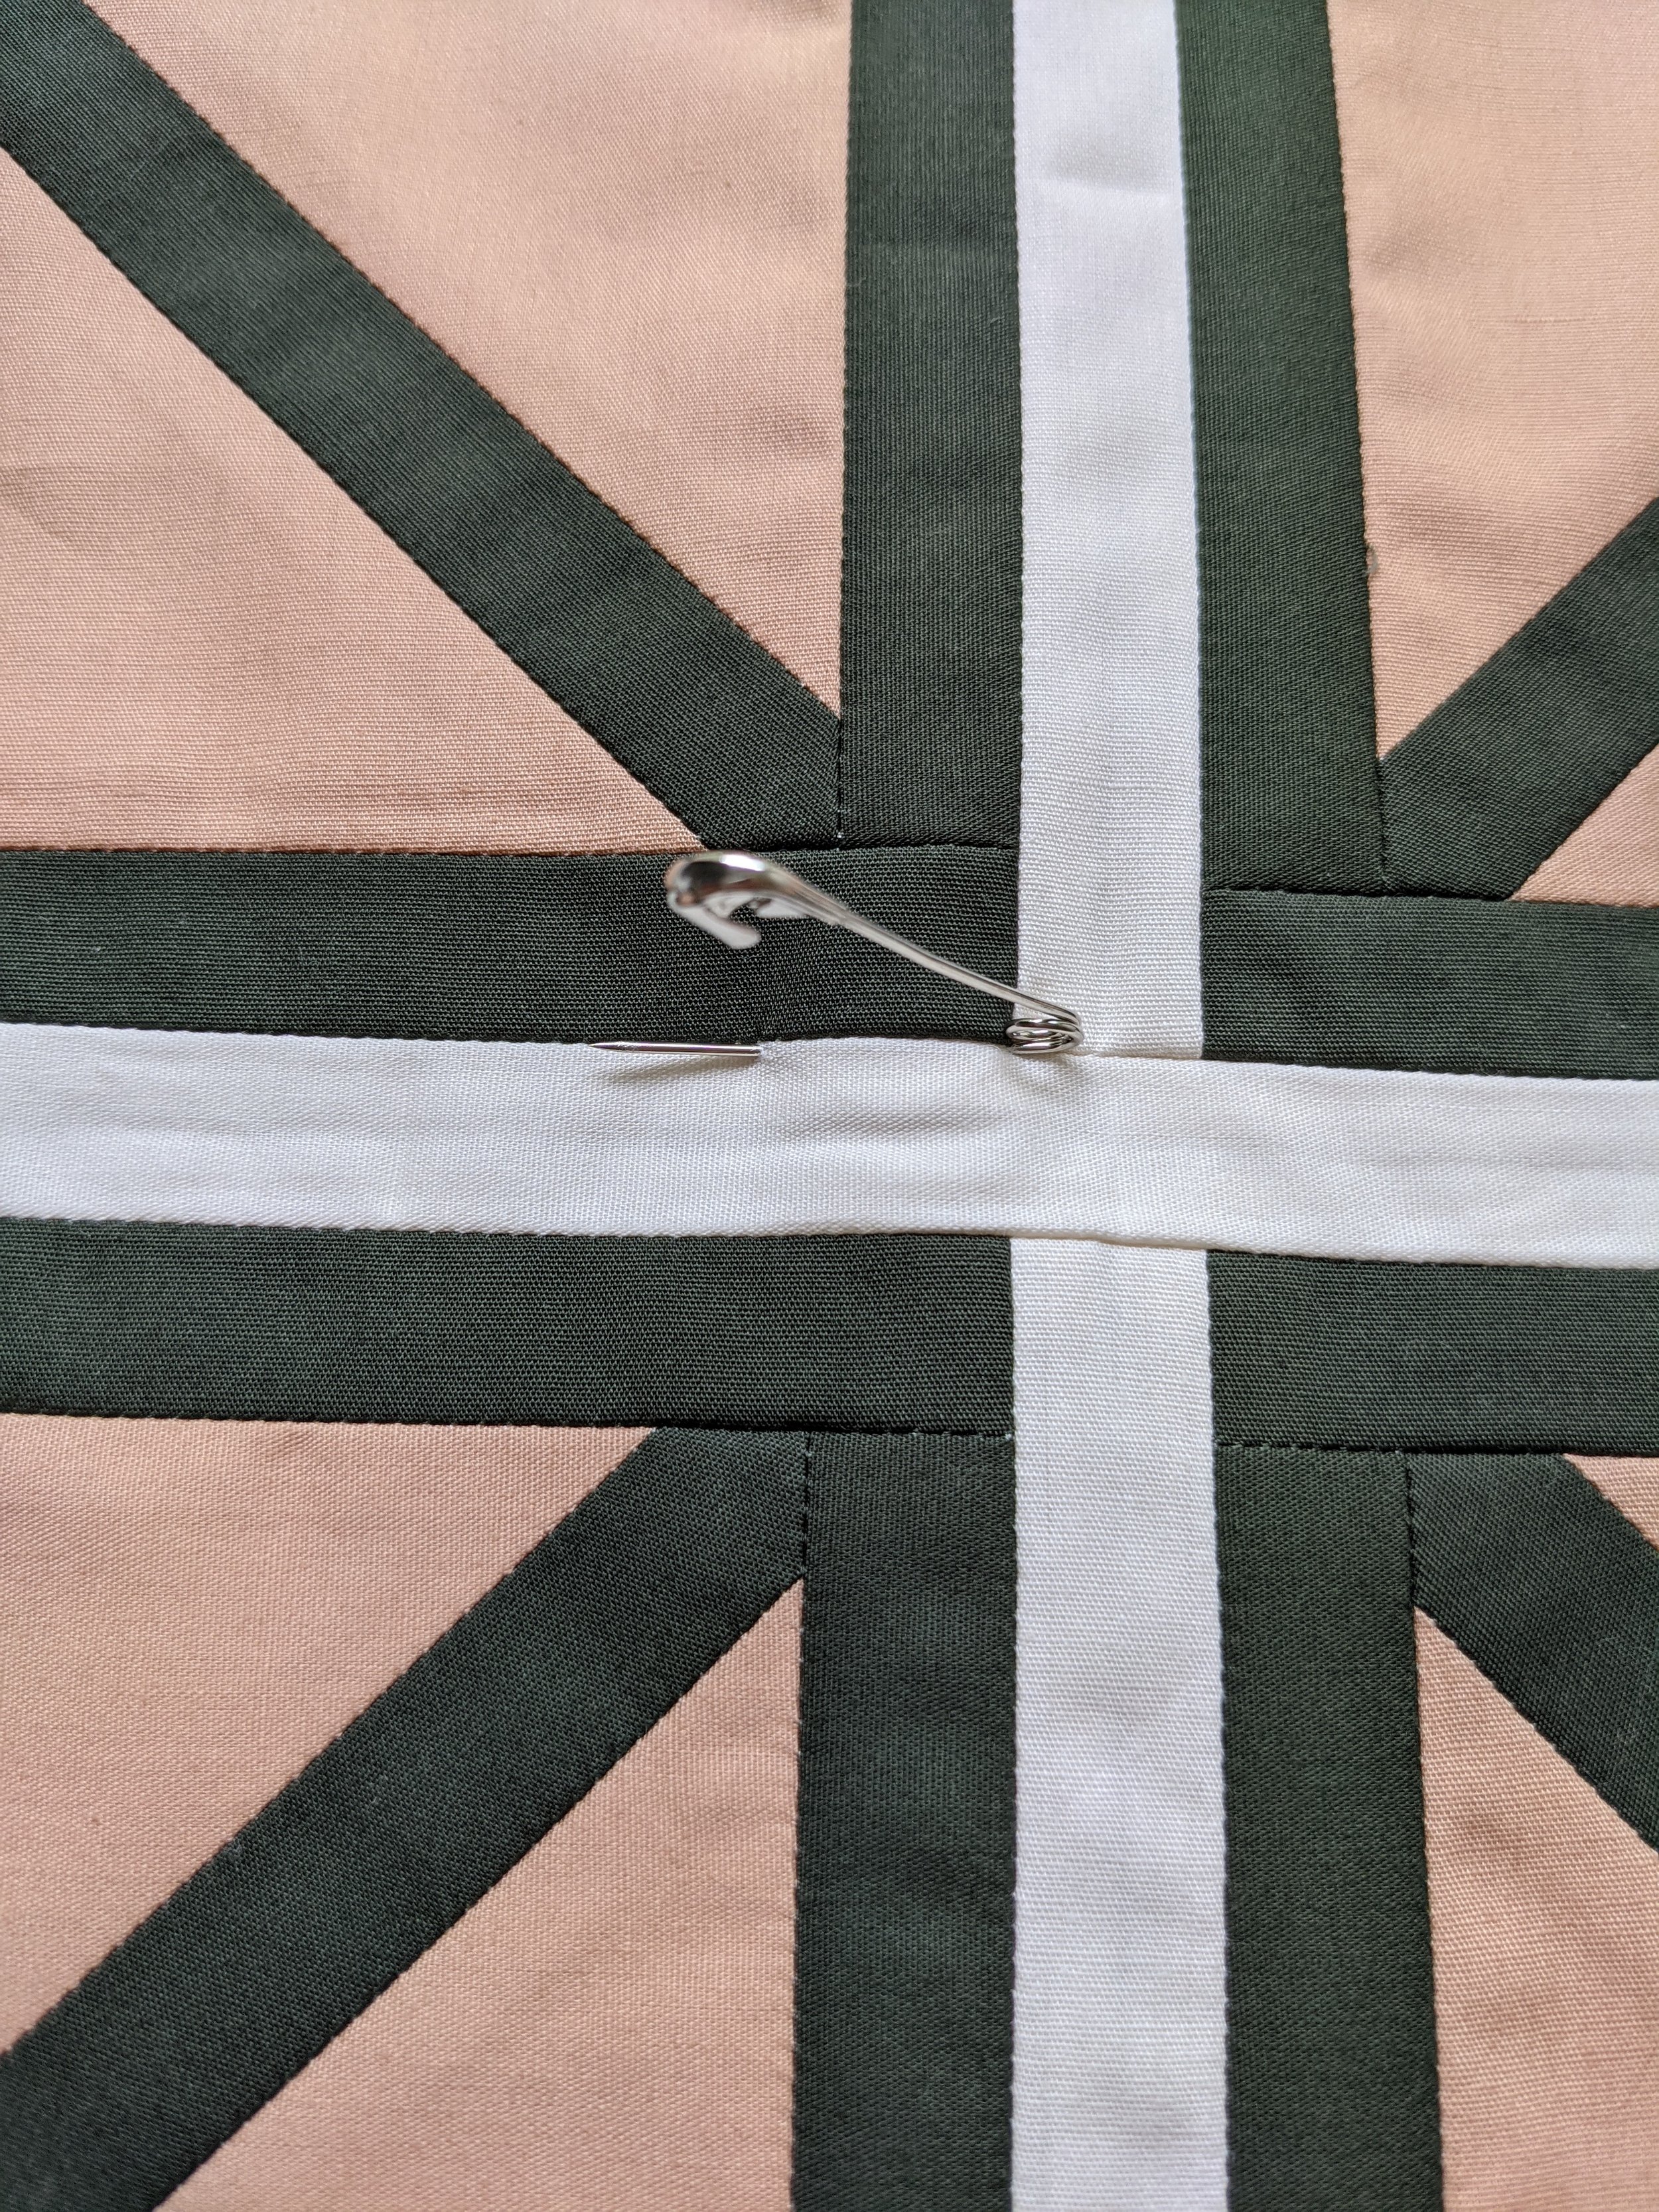
You can see here that the pin goes through the seam on the front, but is again, within 1/16th of an inch
from the seam on the back. The important thing for me was that it was parallel with the seam on the back, so I know
that both quilt tops are lined up in the same direction.
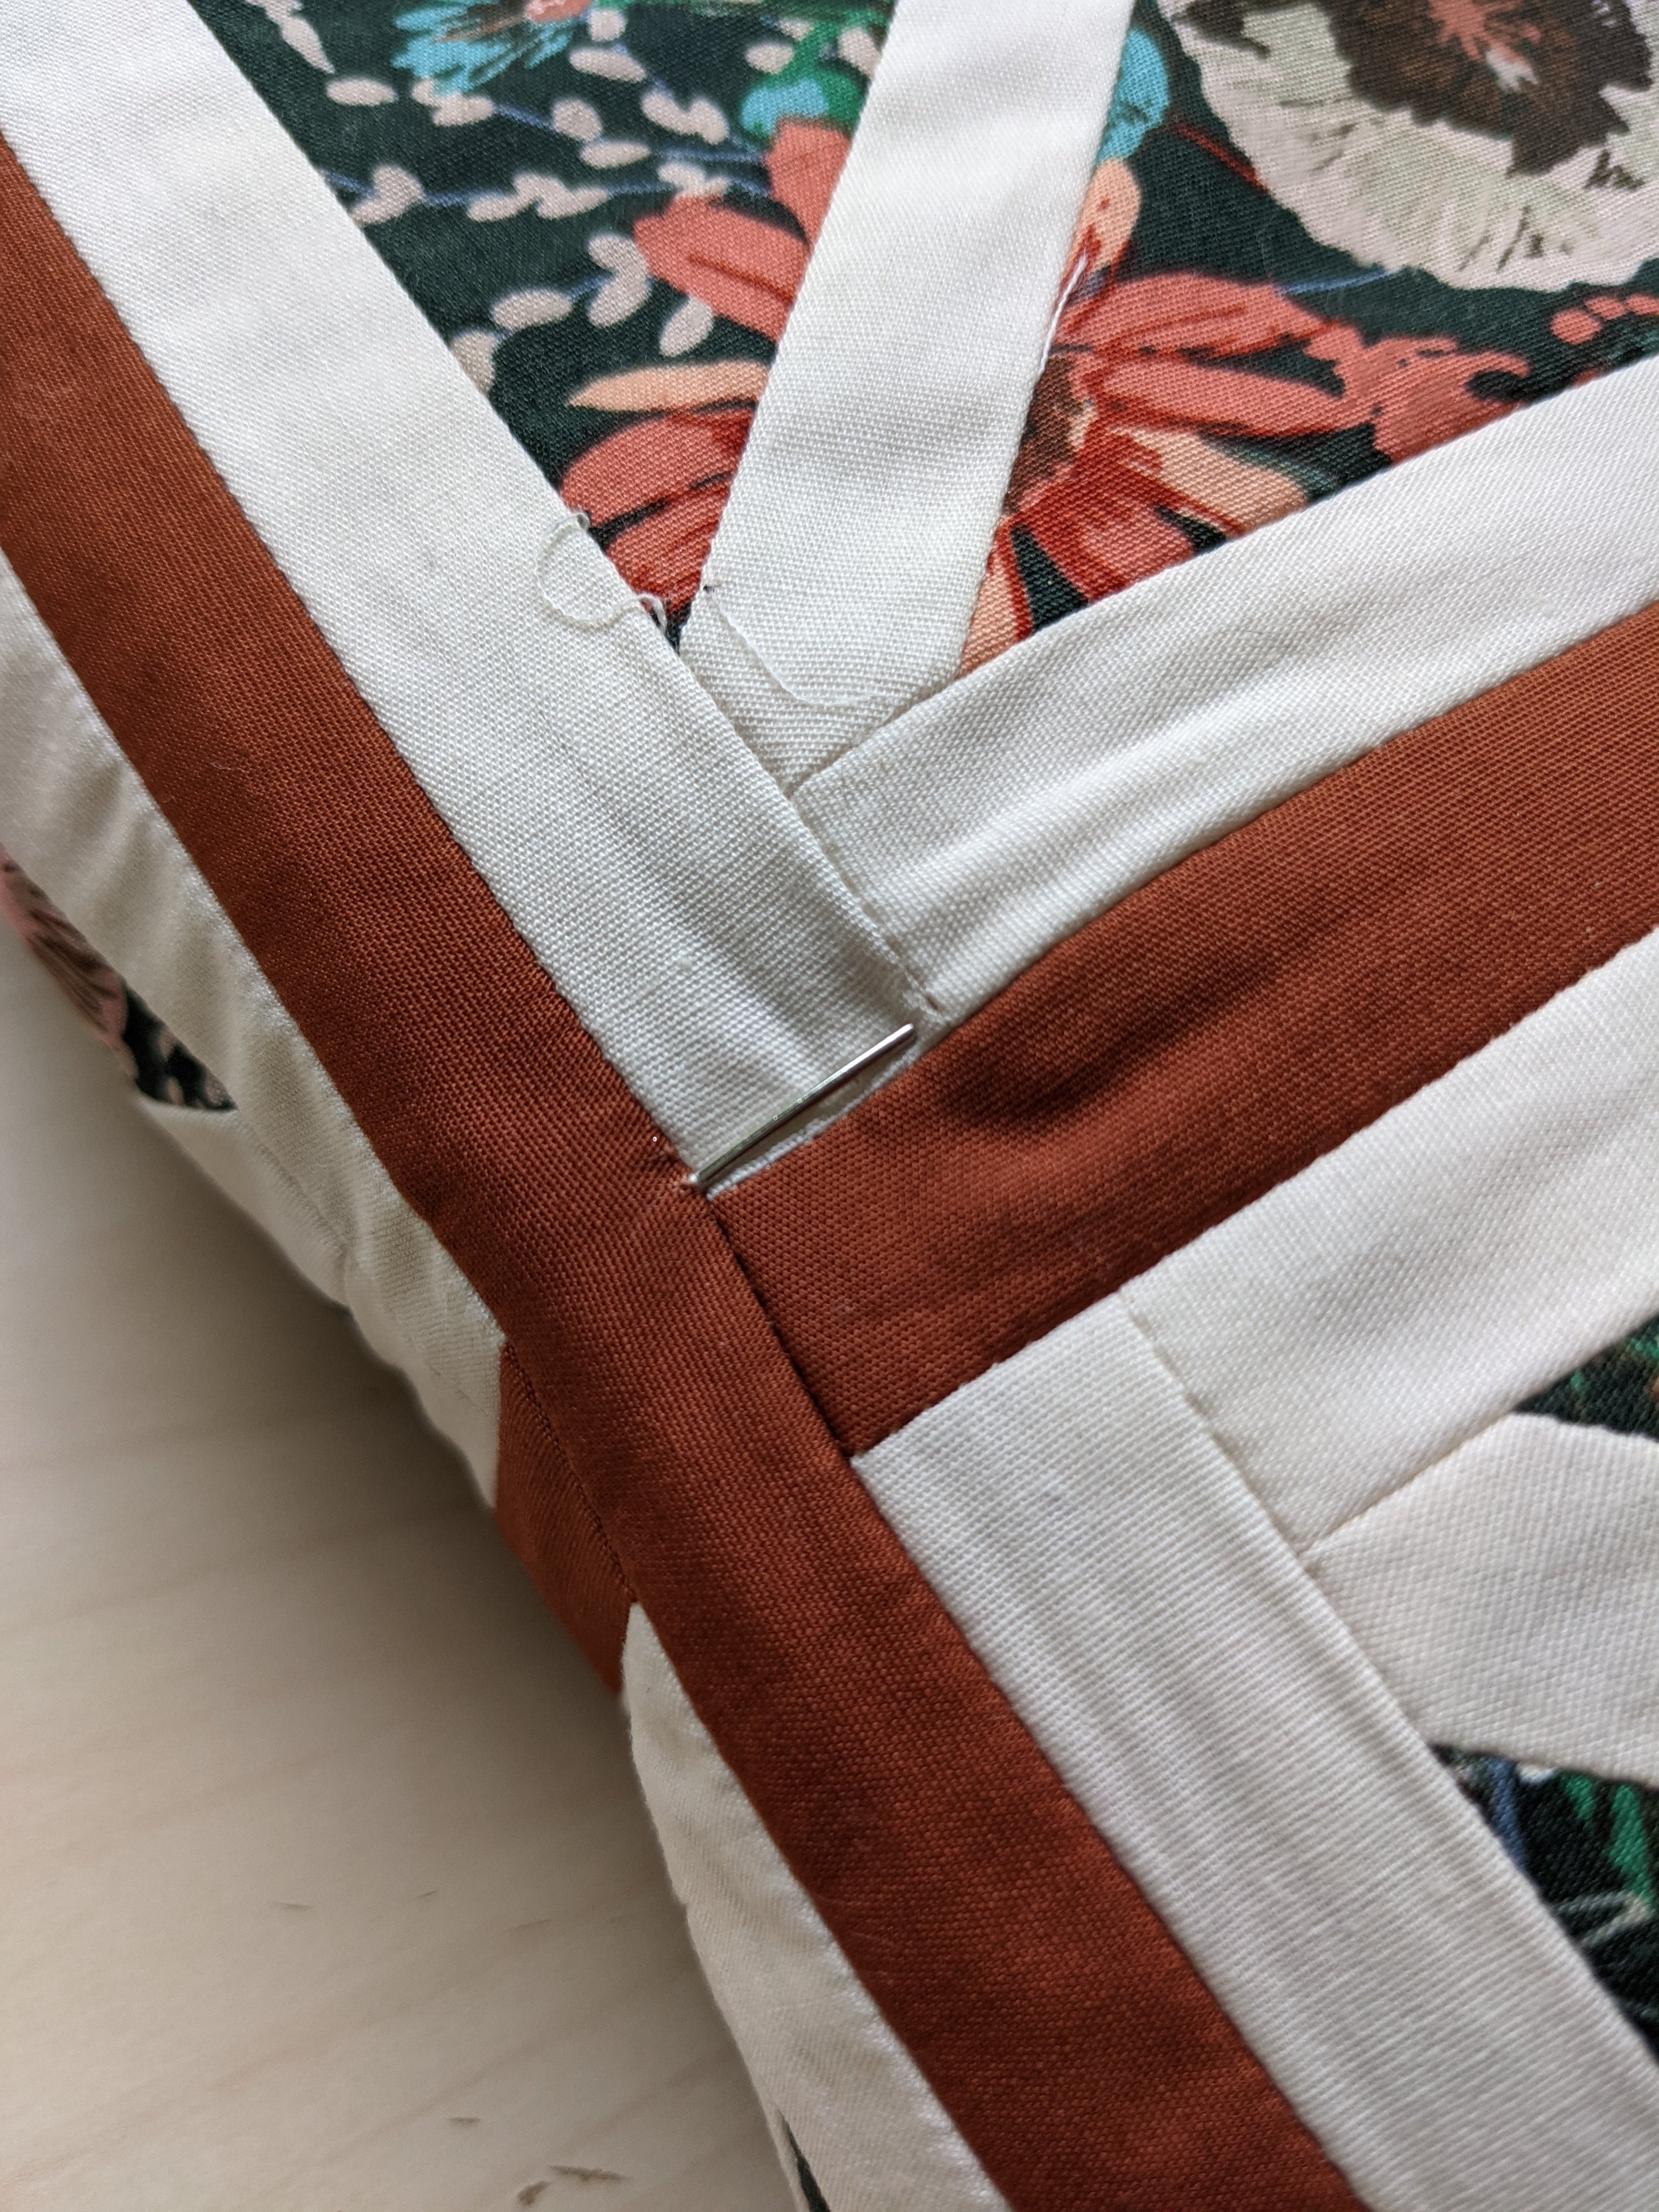
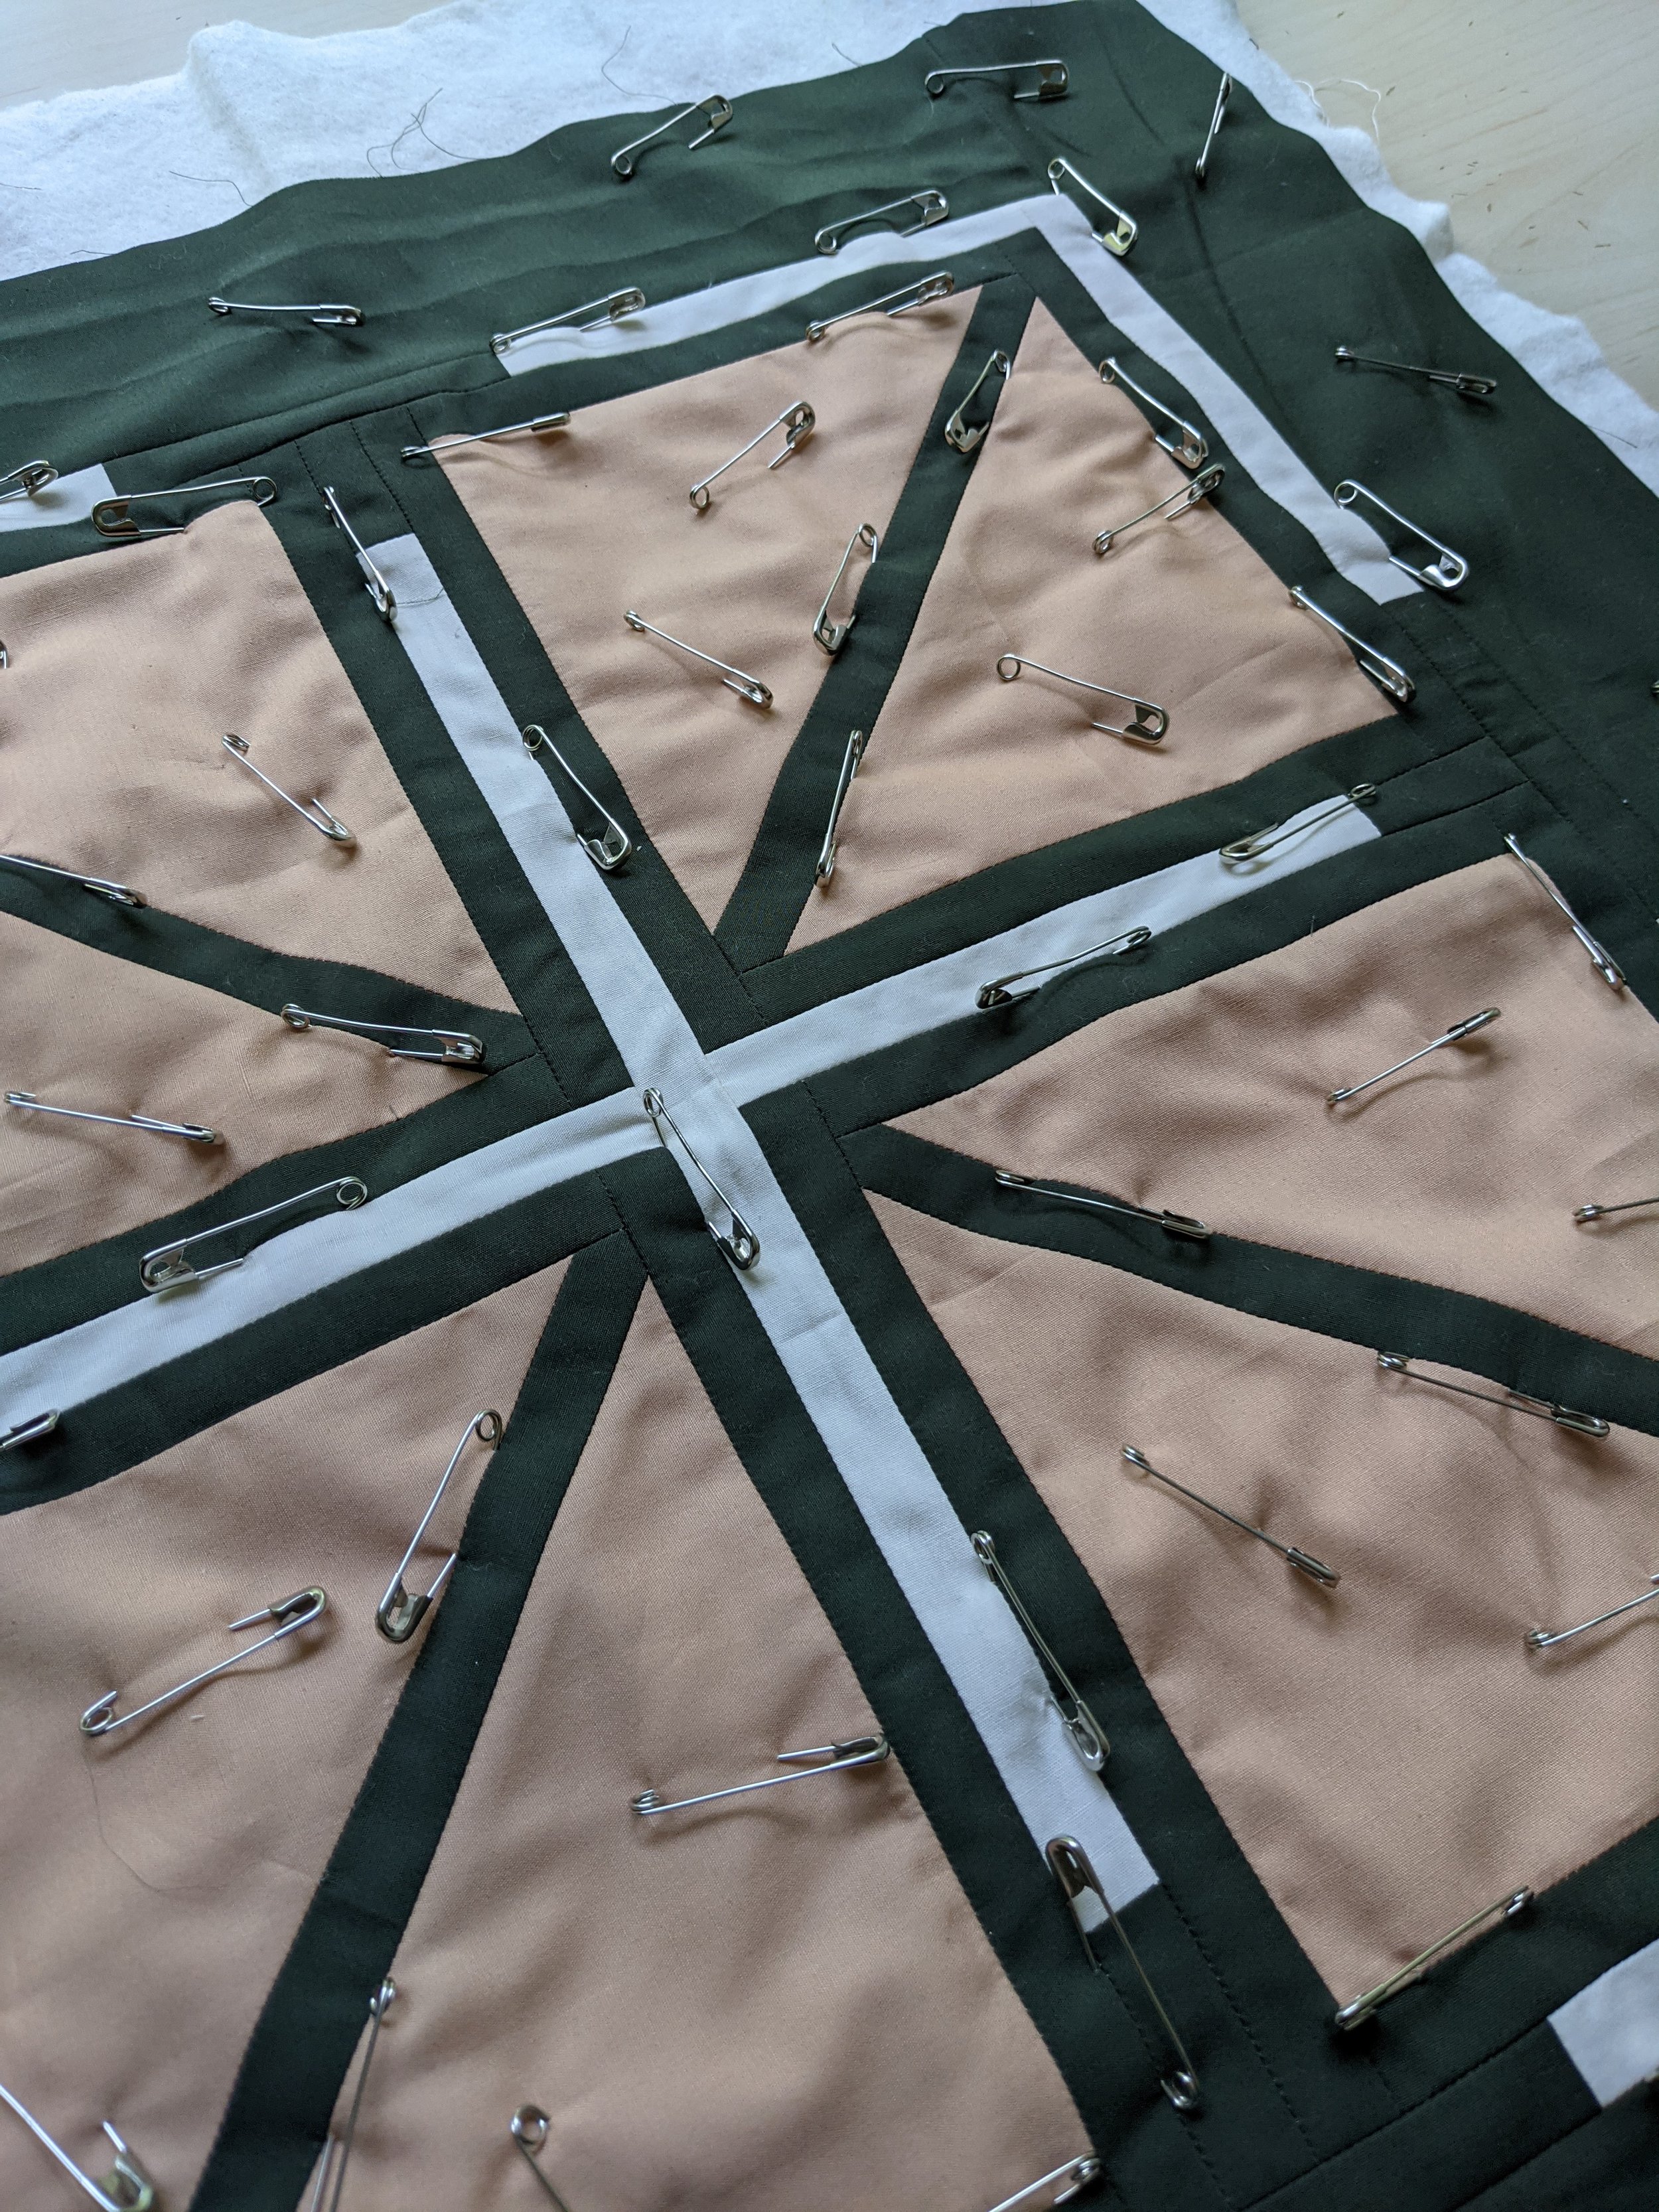
Continue pinning this way at all your primary match points. Remember that you want pins in every seam that you want lined up for quilting. This will look very different for each individual quilt. As you add pins, spread and flatten your batting as you go.
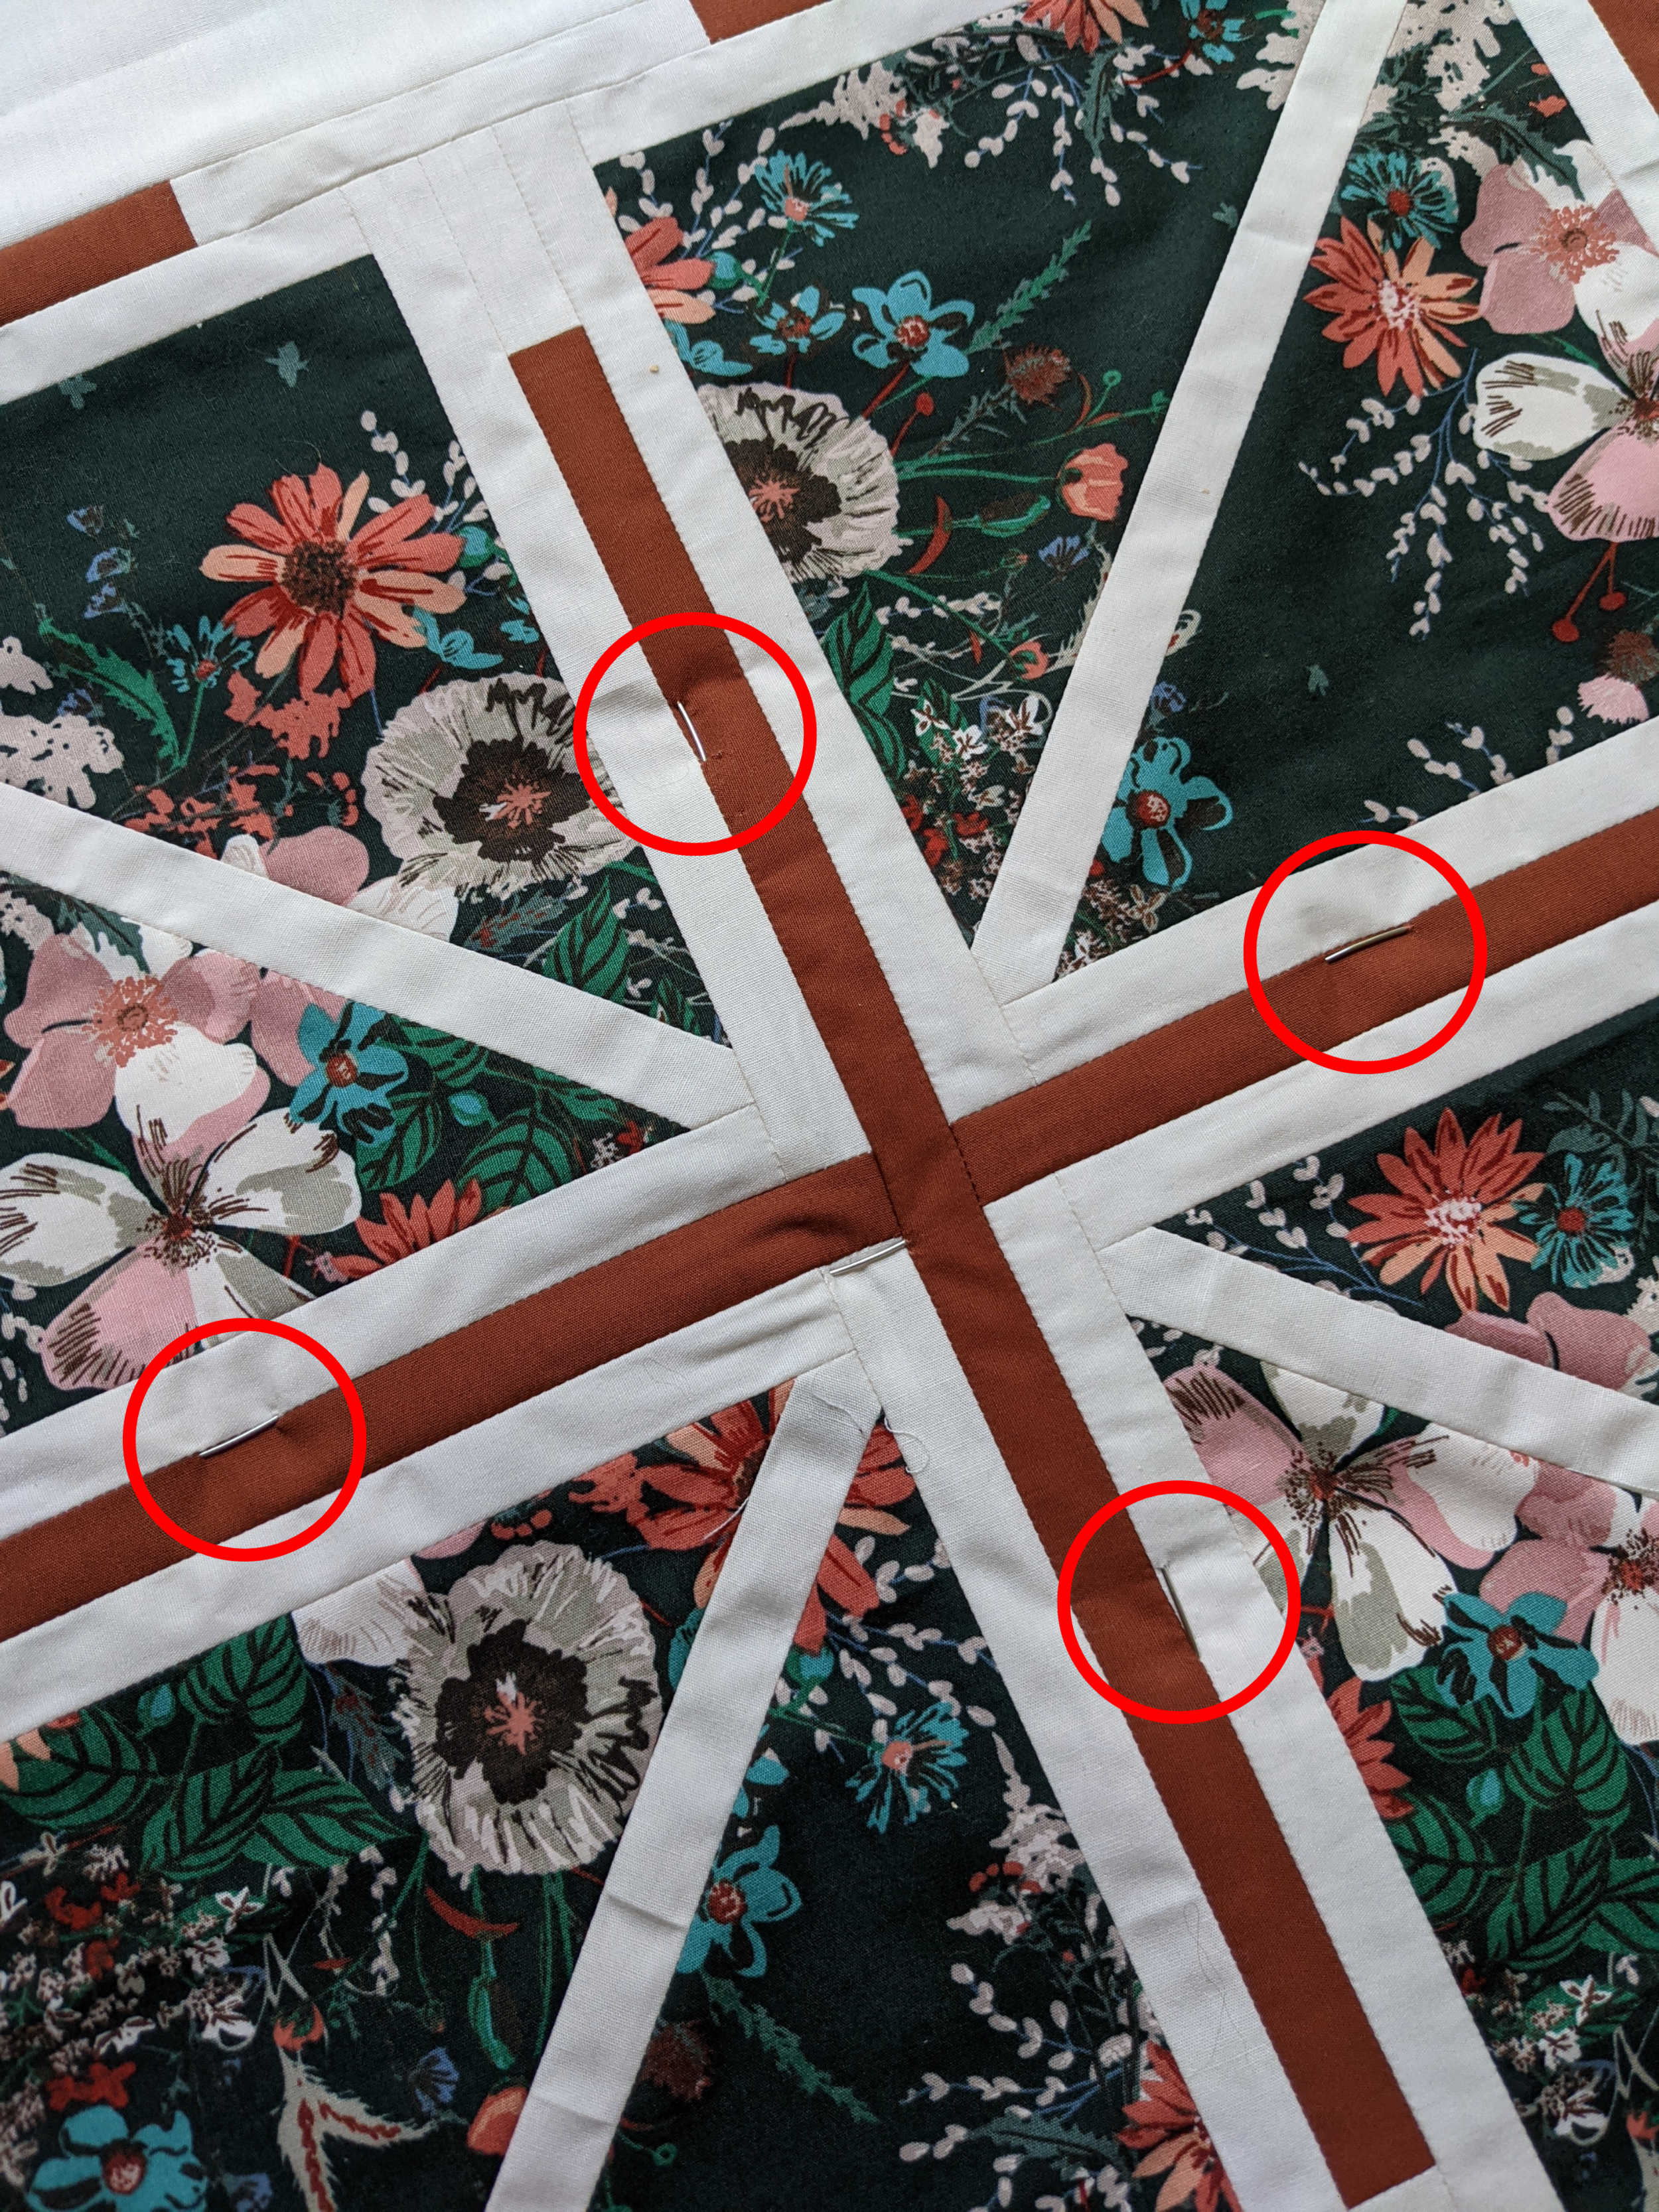
I started with the center cross, placing my next 4 pins into seams on the cross. You can see how accurately
they were lined up on the back once I was finished. Then I moved onto the diagonal seams.
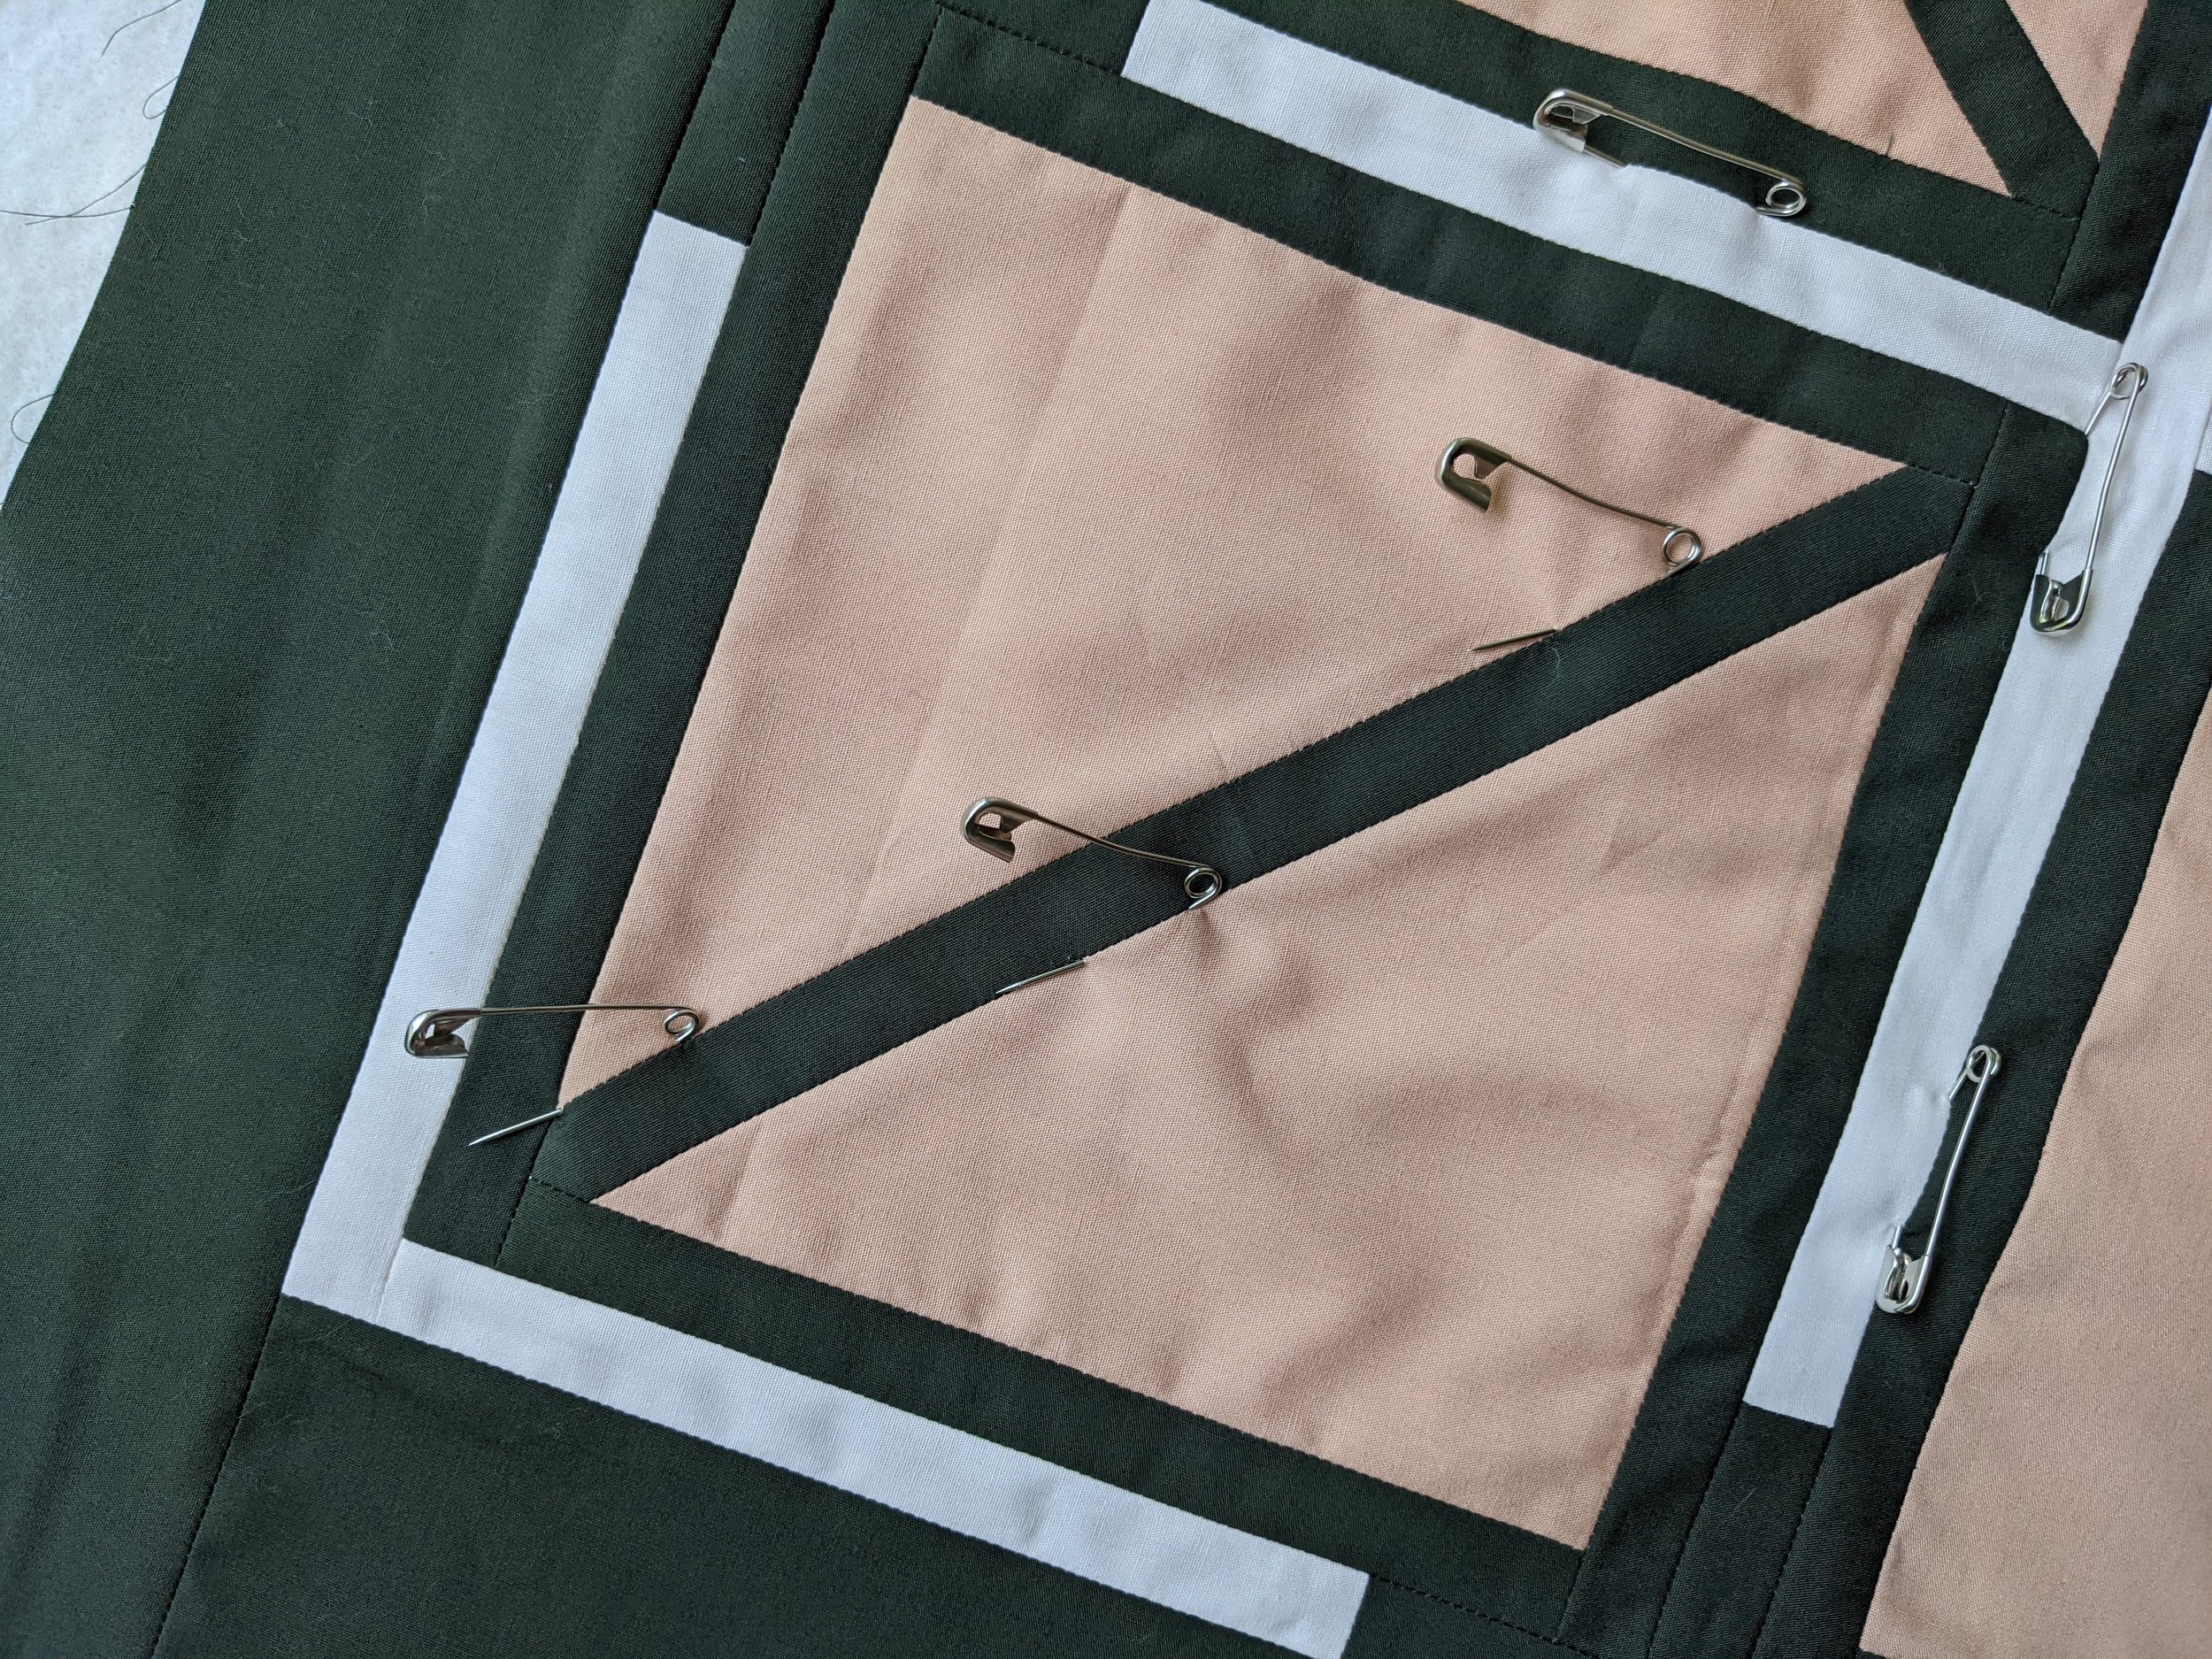
Once all your primary match points are pinned, move onto your secondary match points. Secondary match points don’t need to be as accurate as the primary match points, but will help keep everything aligned.
After secondary match points are pinned, fill in the open spaces with pins. Pins should be placed very close together on a project like this, within 2-3 inches, to help keep everything from shifting while quilting. After you’re finished pinning, do one more check to make sure everything lines up the way you want it.
Quilting
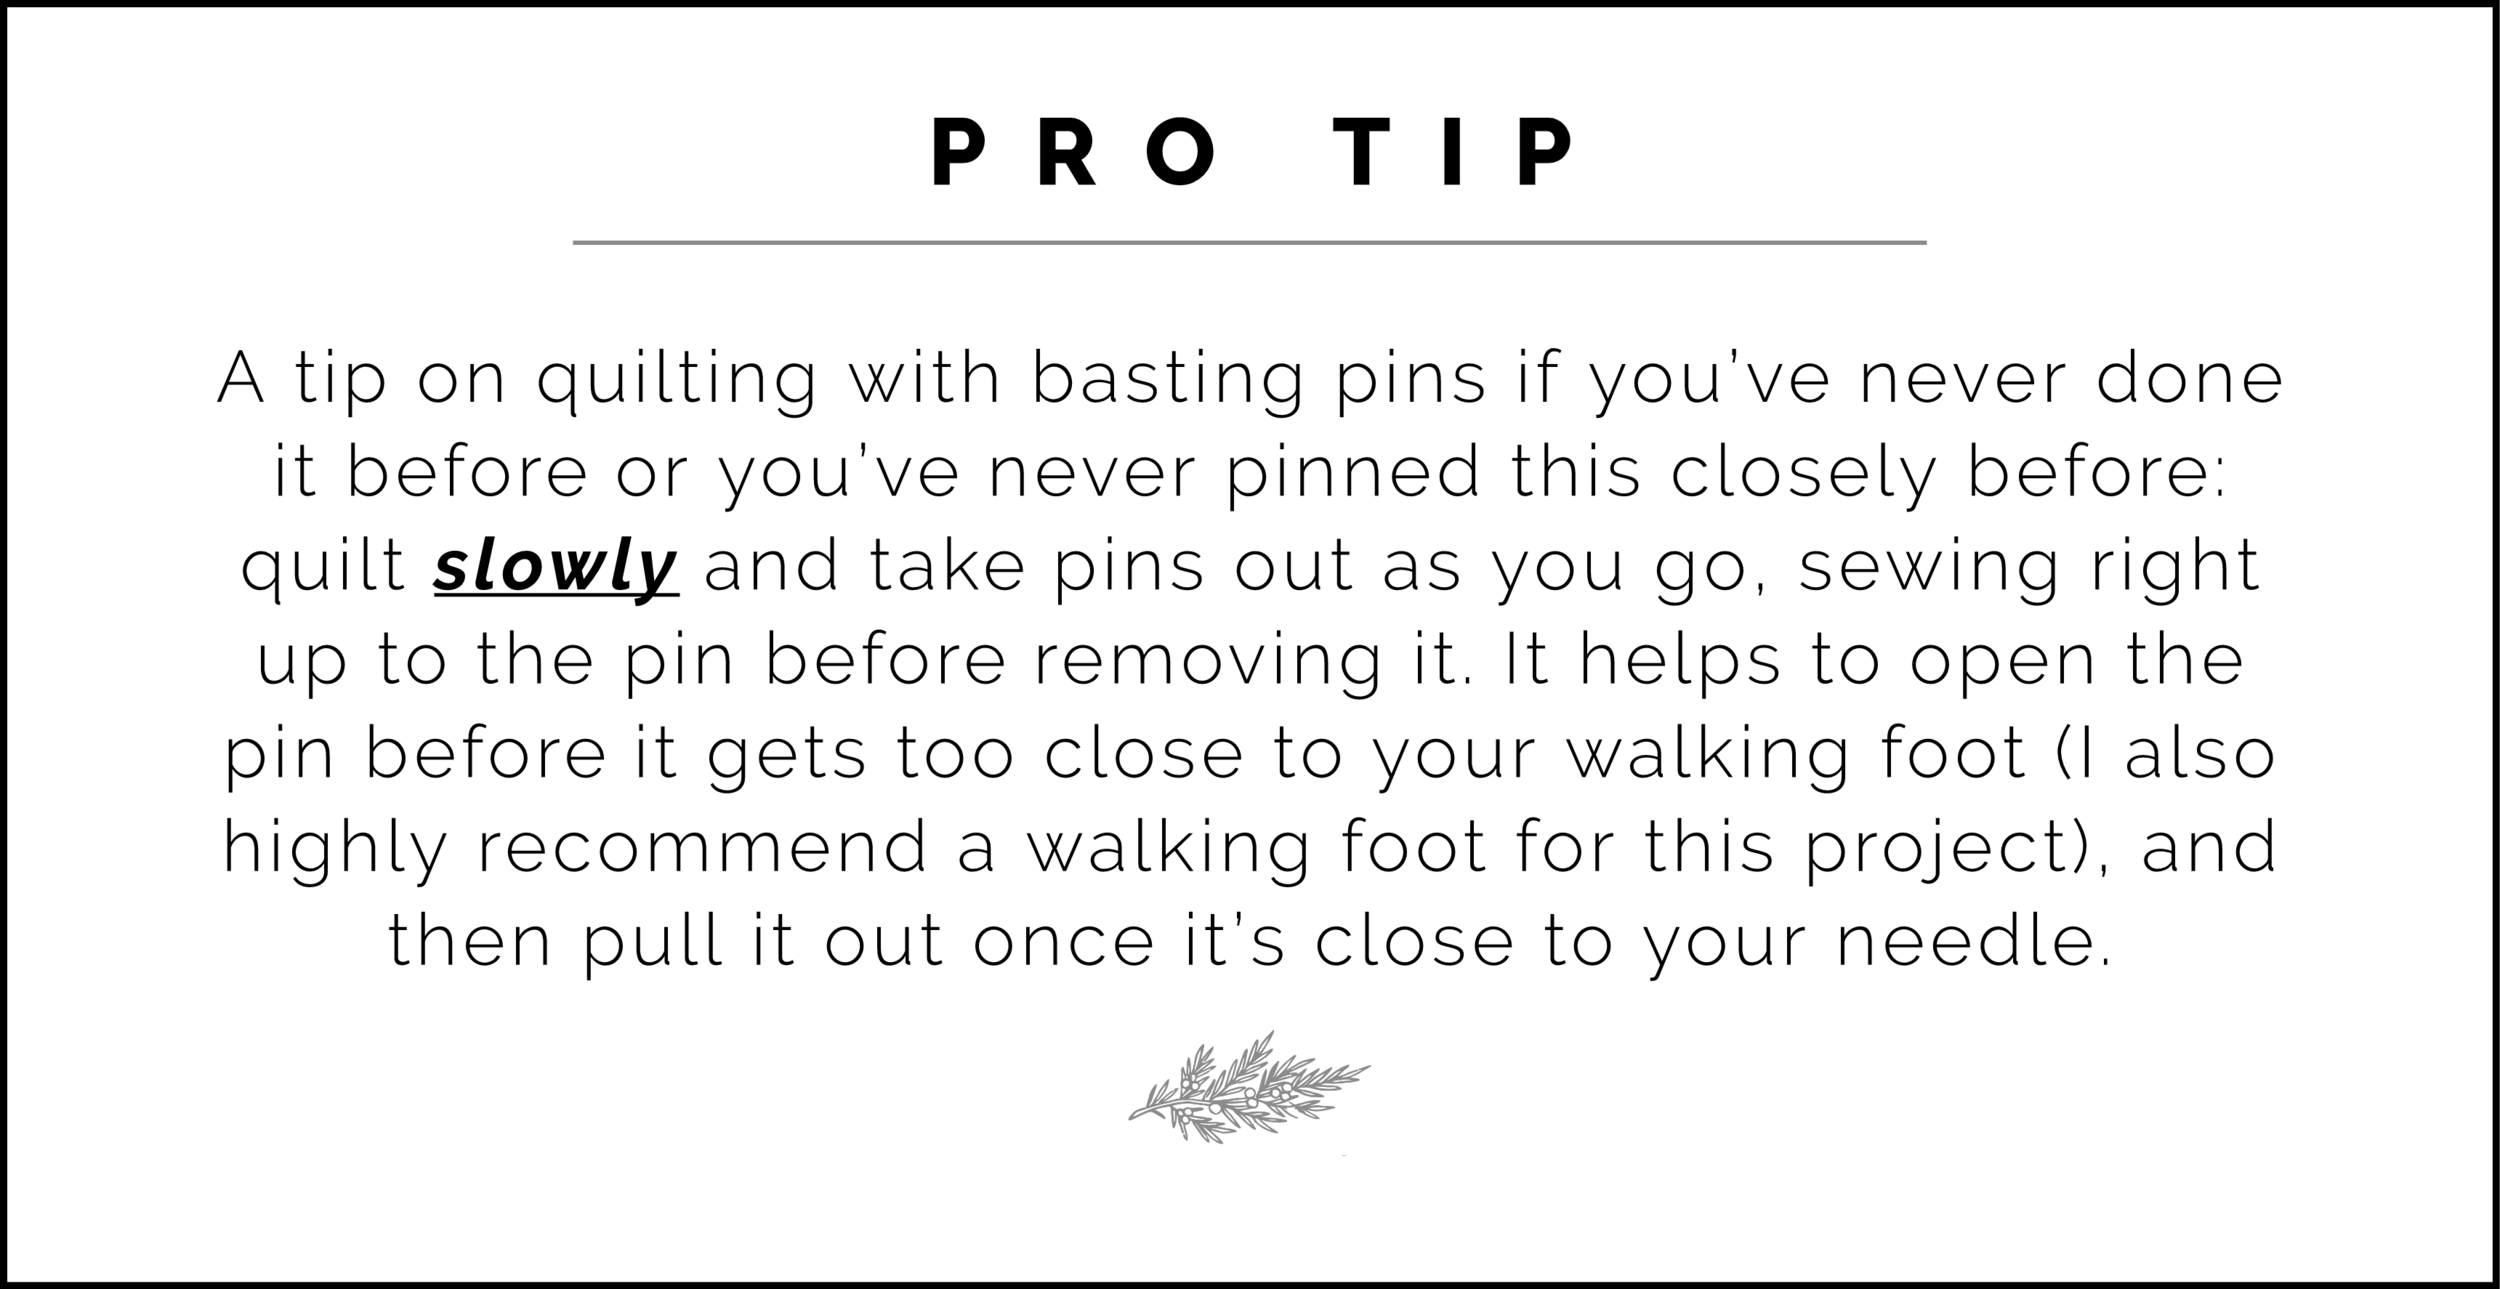
Now we’re ready to quilt! When quilting, we want to start with those primary match points again. Start by quilting on either side of your primary match point, using whatever your desired quilting design is. I do not recommend stitching in the ditch for a project like this as your two sides will not be 100% perfectly aligned and your quilt back will end up a mess.
For your first time, go with quilting that will be forgiving, like the 1” diamond grid pattern I used. When in doubt, simple, repetitive lines from edge to edge will be forgiving of small mistakes while showing off all the work you did to line up the front and back. Need more ideas? Check out some of the previous examples to plan out your own quilting strategy!
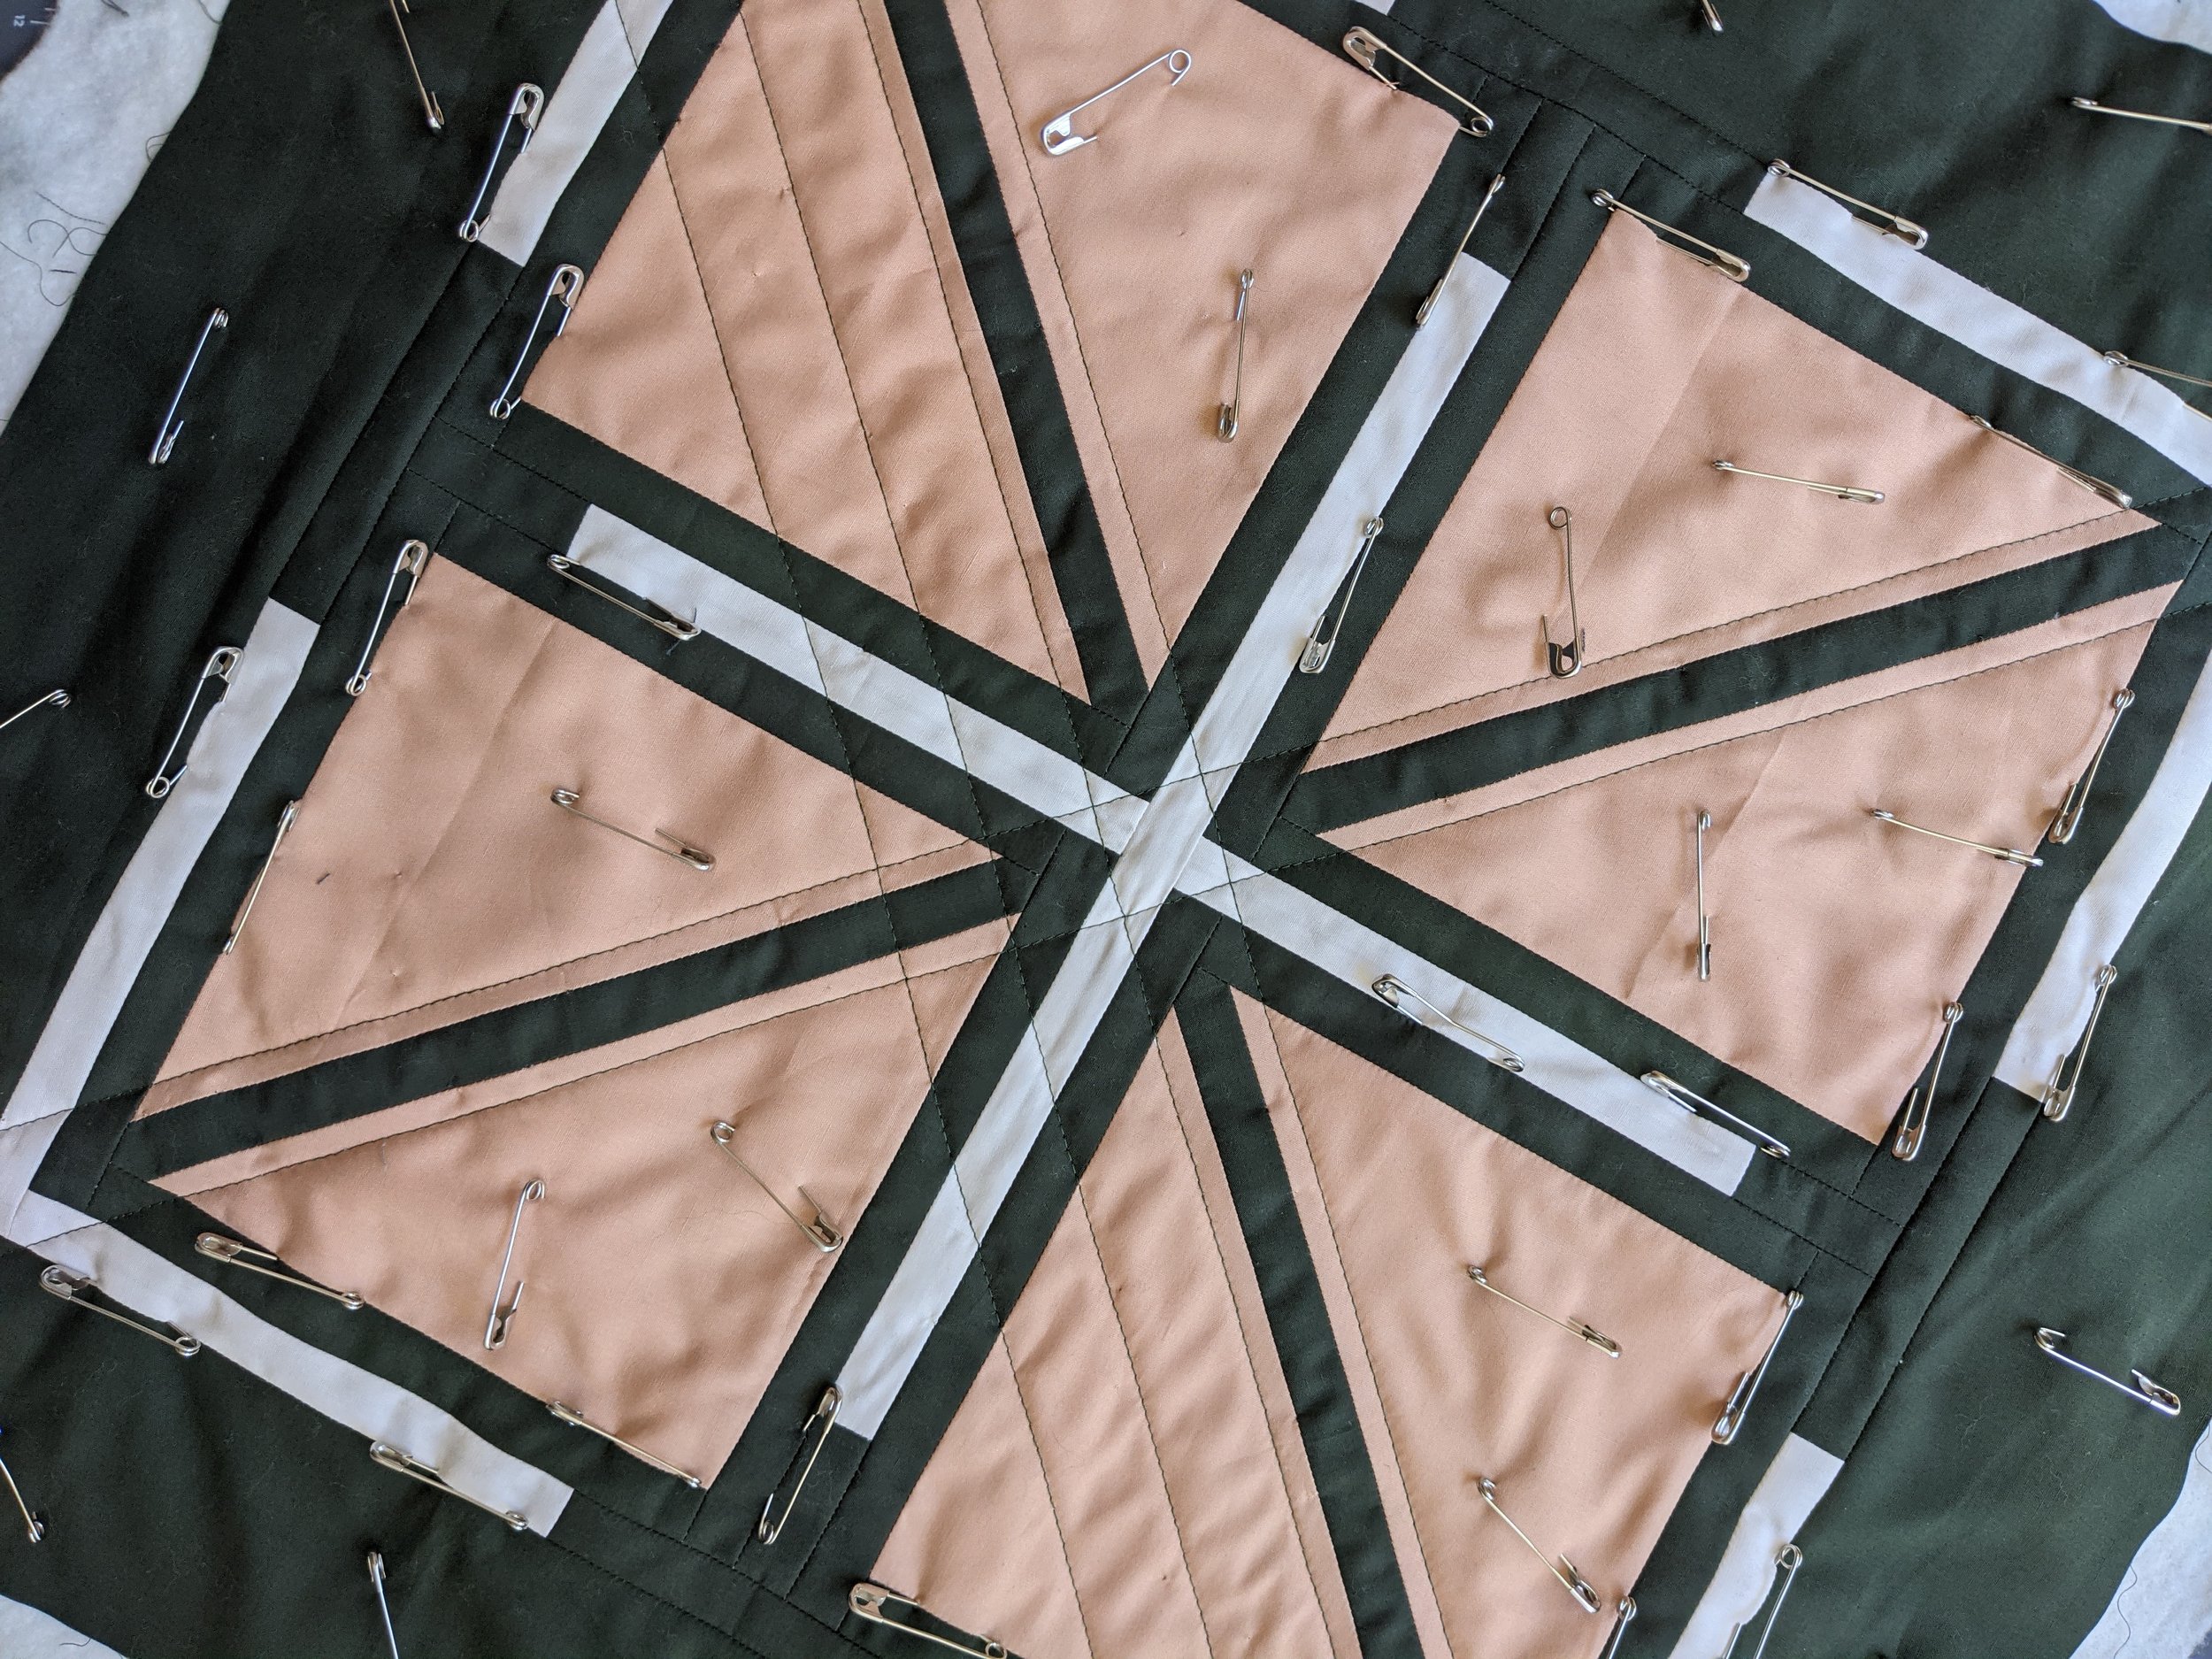
I started with quilting on either side of my diagonal strips and then started moving
out from there. As you can see from the quilt back, I was very happy with how the quilting lined up
on both sides - not perfect, but pretty darn close!
TRIMMING & FINISHING
Finally, we trim! Trim using your smaller quilt top as a guide and do an initial cut at one edge of the quilt top, keeping it as close to the edge of the quilt top as possible. Use parallel or perpendicular seams to help guide your cut.
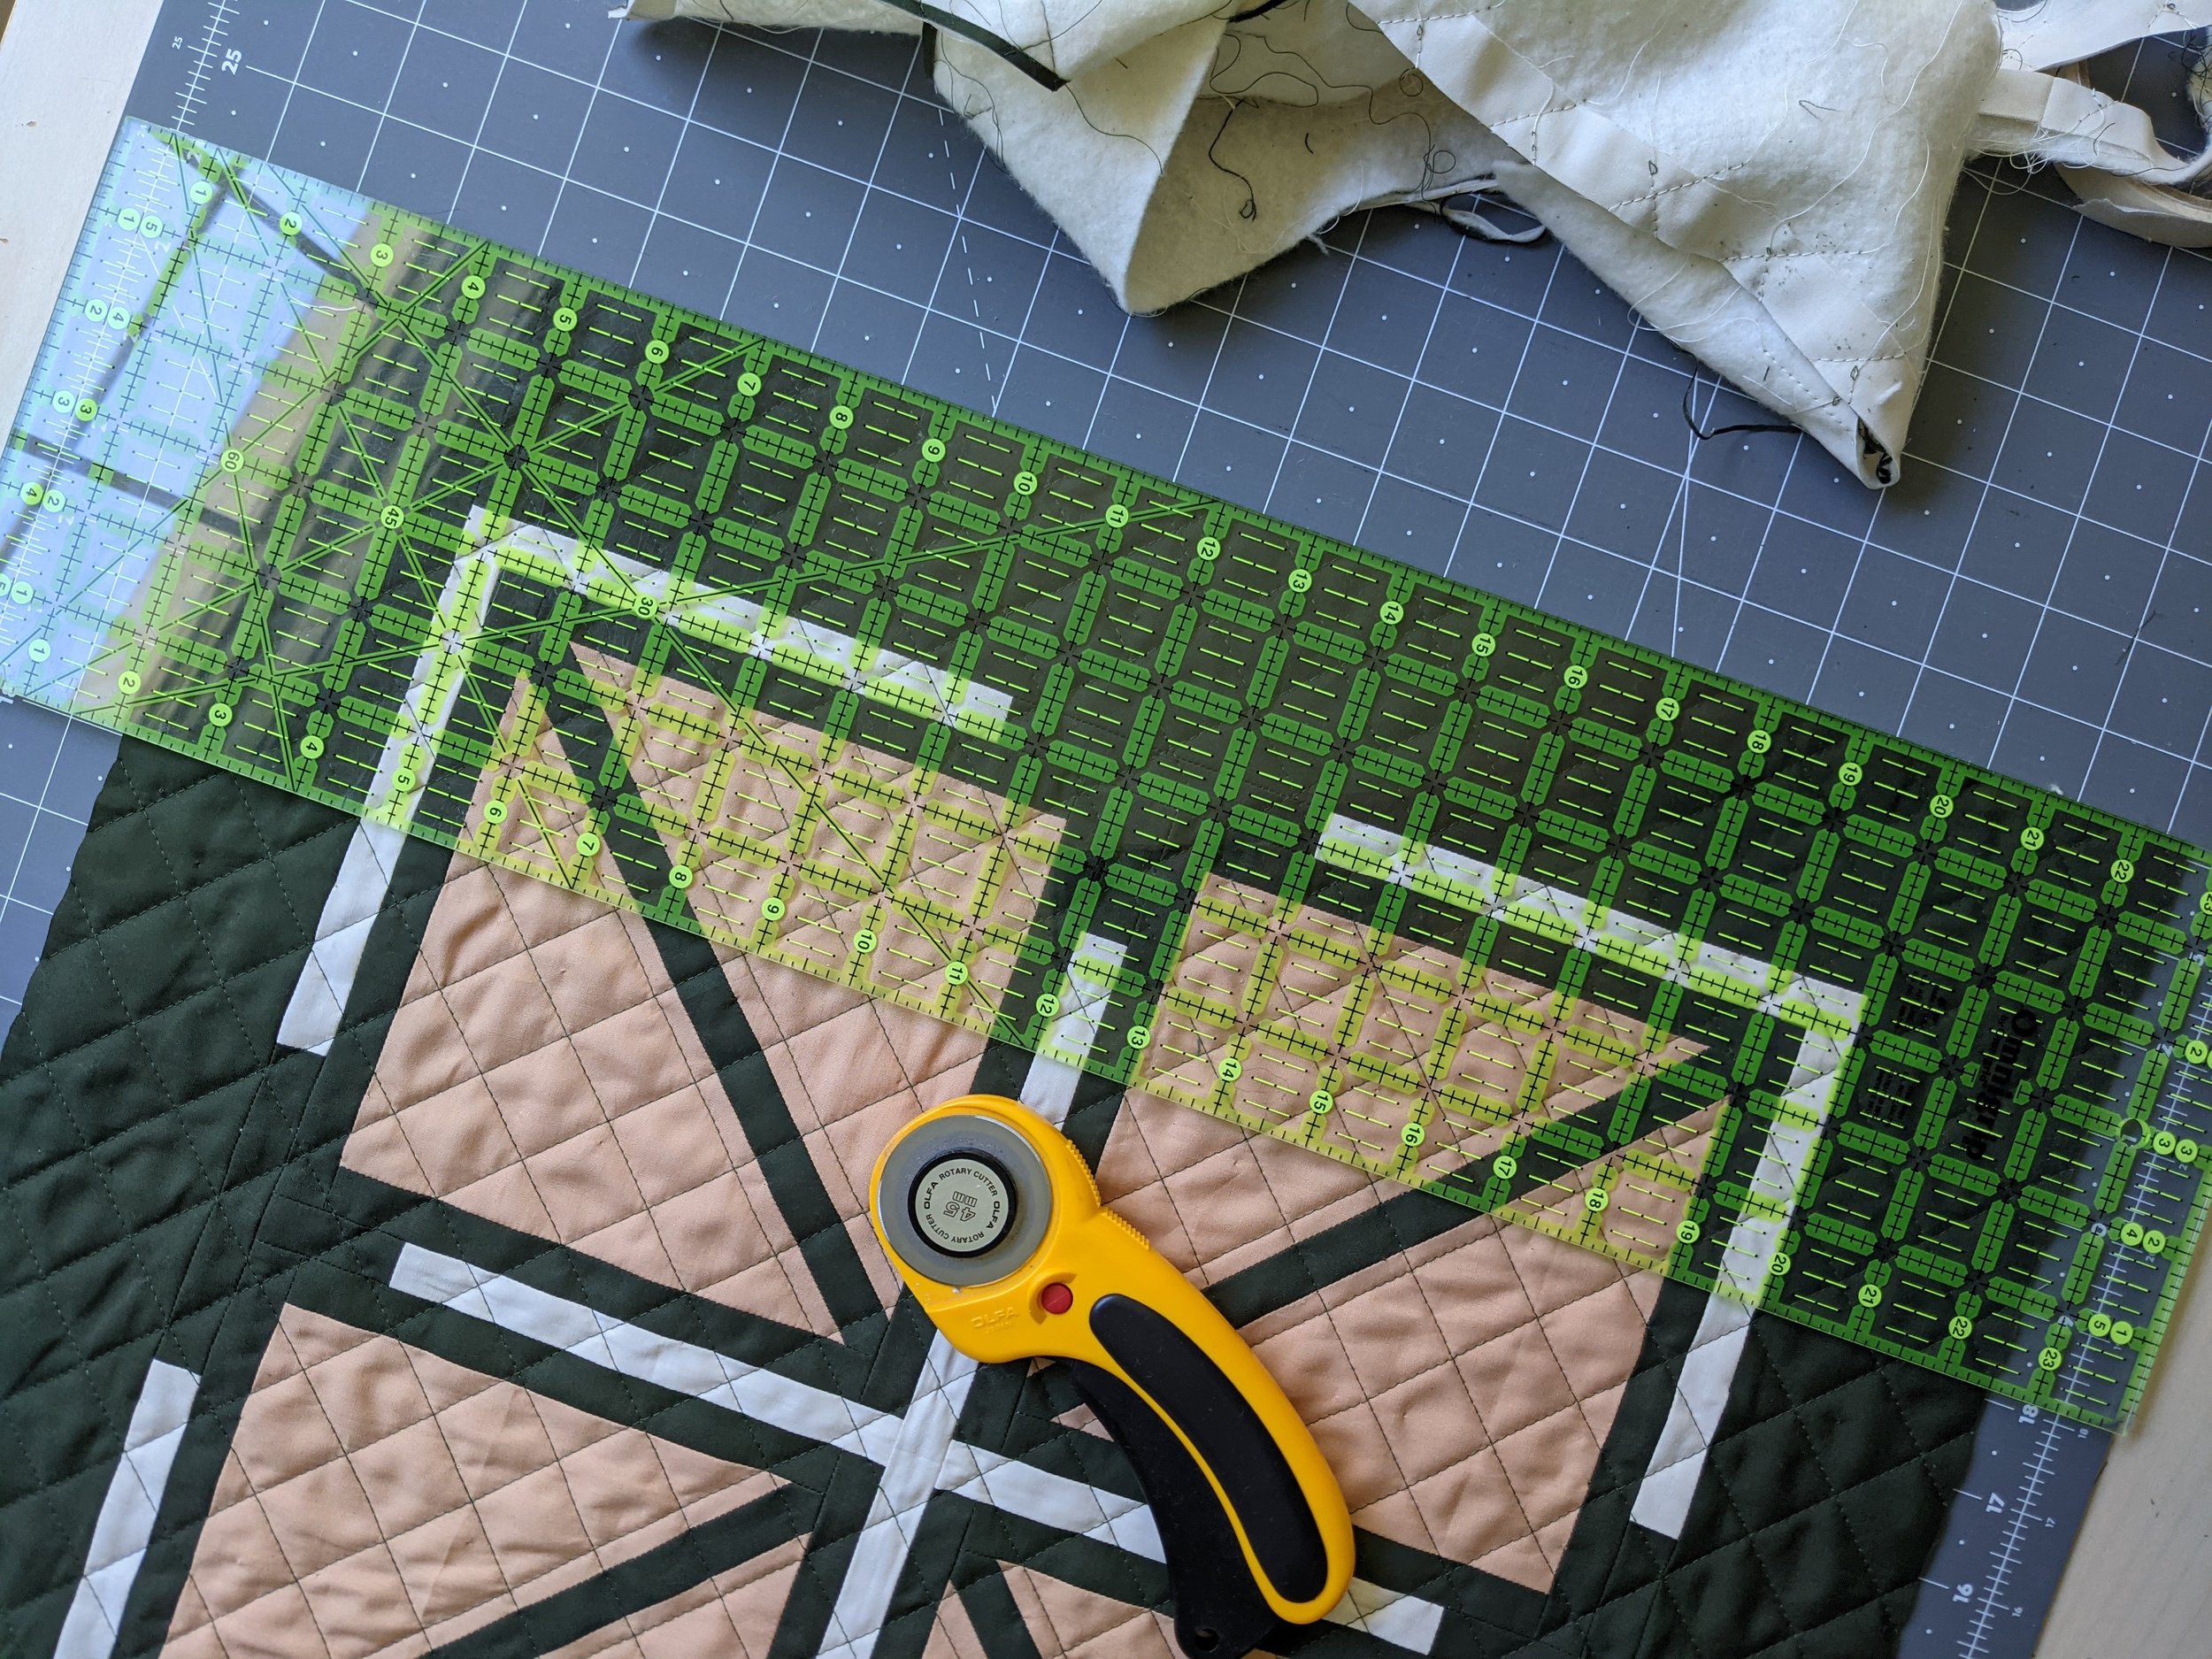
Then flip your quilt over and compare it to the back. One side may be more obviously straight than the other, so you may need to fudge a little bit to get both sides squared up enough to be visually square. Once you finish your first cut, turn your quilt and cut the opposite edge next, repeating the process until all 4 edges are cut.
After everything is squared and trimmed, you’re ready to bind it up and call it a day!

Whew! Double-sided quilts are no joke. Thanks for sticking with me through everything. Looking forward to seeing what you make: use the tags #juniperusthreadworkstutorial and #doublesidedquilt to share all your hard work!