
Adjourn QAL: Week 1
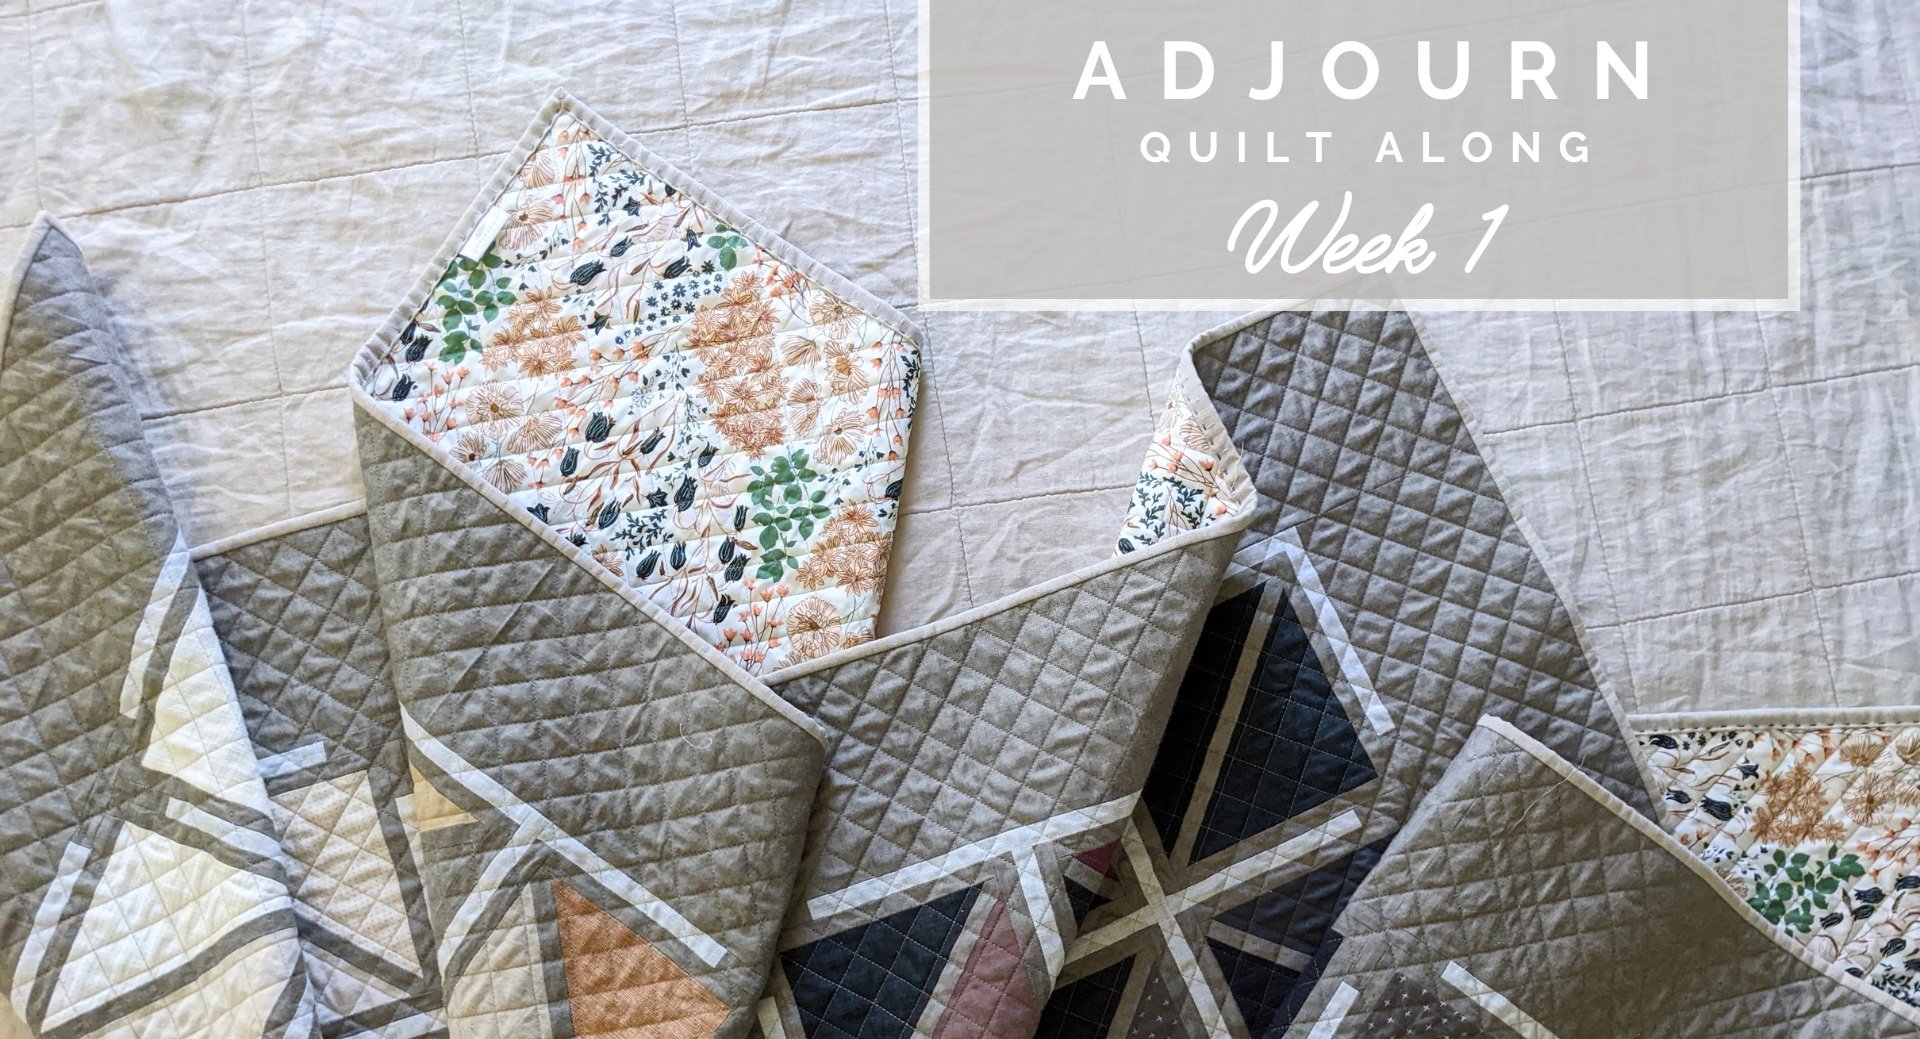
Welcome to Week 1 of the Adjourn Quilt Along! This week we will be cutting our fabric and, for those of you who chose the fat quarter or scrappy variation, laying out our design! There’s a lot to do this week, but it will set us up for an easy glide through the next few weeks.
If you haven’t already, make sure to check out the Adjourn QAL introductory post. That has all the information about our QAL schedule, available kits, recommended tools, and our amazing sponsors!
And in case you hadn’t heard, Emily from Brown Eyed Quilter, Lilo from Trace Creek Quilting, and Rosie Girl Quilting will be offering 25% off longarm quilting on all Adjourn Quilts up to 2 months after the quilt along!
Adjourn Quilt Along Schedule:
Week 1, February 13th: Cutting fabric, strip piecing, and layout
Prize sponsor: Lamb and Loom FabricsWeek 2, February 20th: Blocks 1-2
Prize sponsor: Great Heron Thread Co.Week 3, February 27th: Blocks 3-4
Prize sponsor: Bookends QuiltingWeek 4, March 6th: Blocks 5-6
Prize sponsor: Pasadena Quilt StudioWeek 5, March 13th: Catch-up Week
Prize sponsor: Zahm Co.Week 6, March 20th: Blocks 7-8
Prize sponsor: Piece Fabric Co.Week 7, March 27th: Blocks 9-10
Prize sponsor: Rosie Girl QuiltingWeek 8, April 3rd: Blocks 11-12
Prize sponsor: Trace Creek QuiltingWeek 9, April 10th: Sashing and Assembly
Grand Prize Sponsor: Brown Eyed Quilter & Tree House Quilting Co.
Fabric Pulls
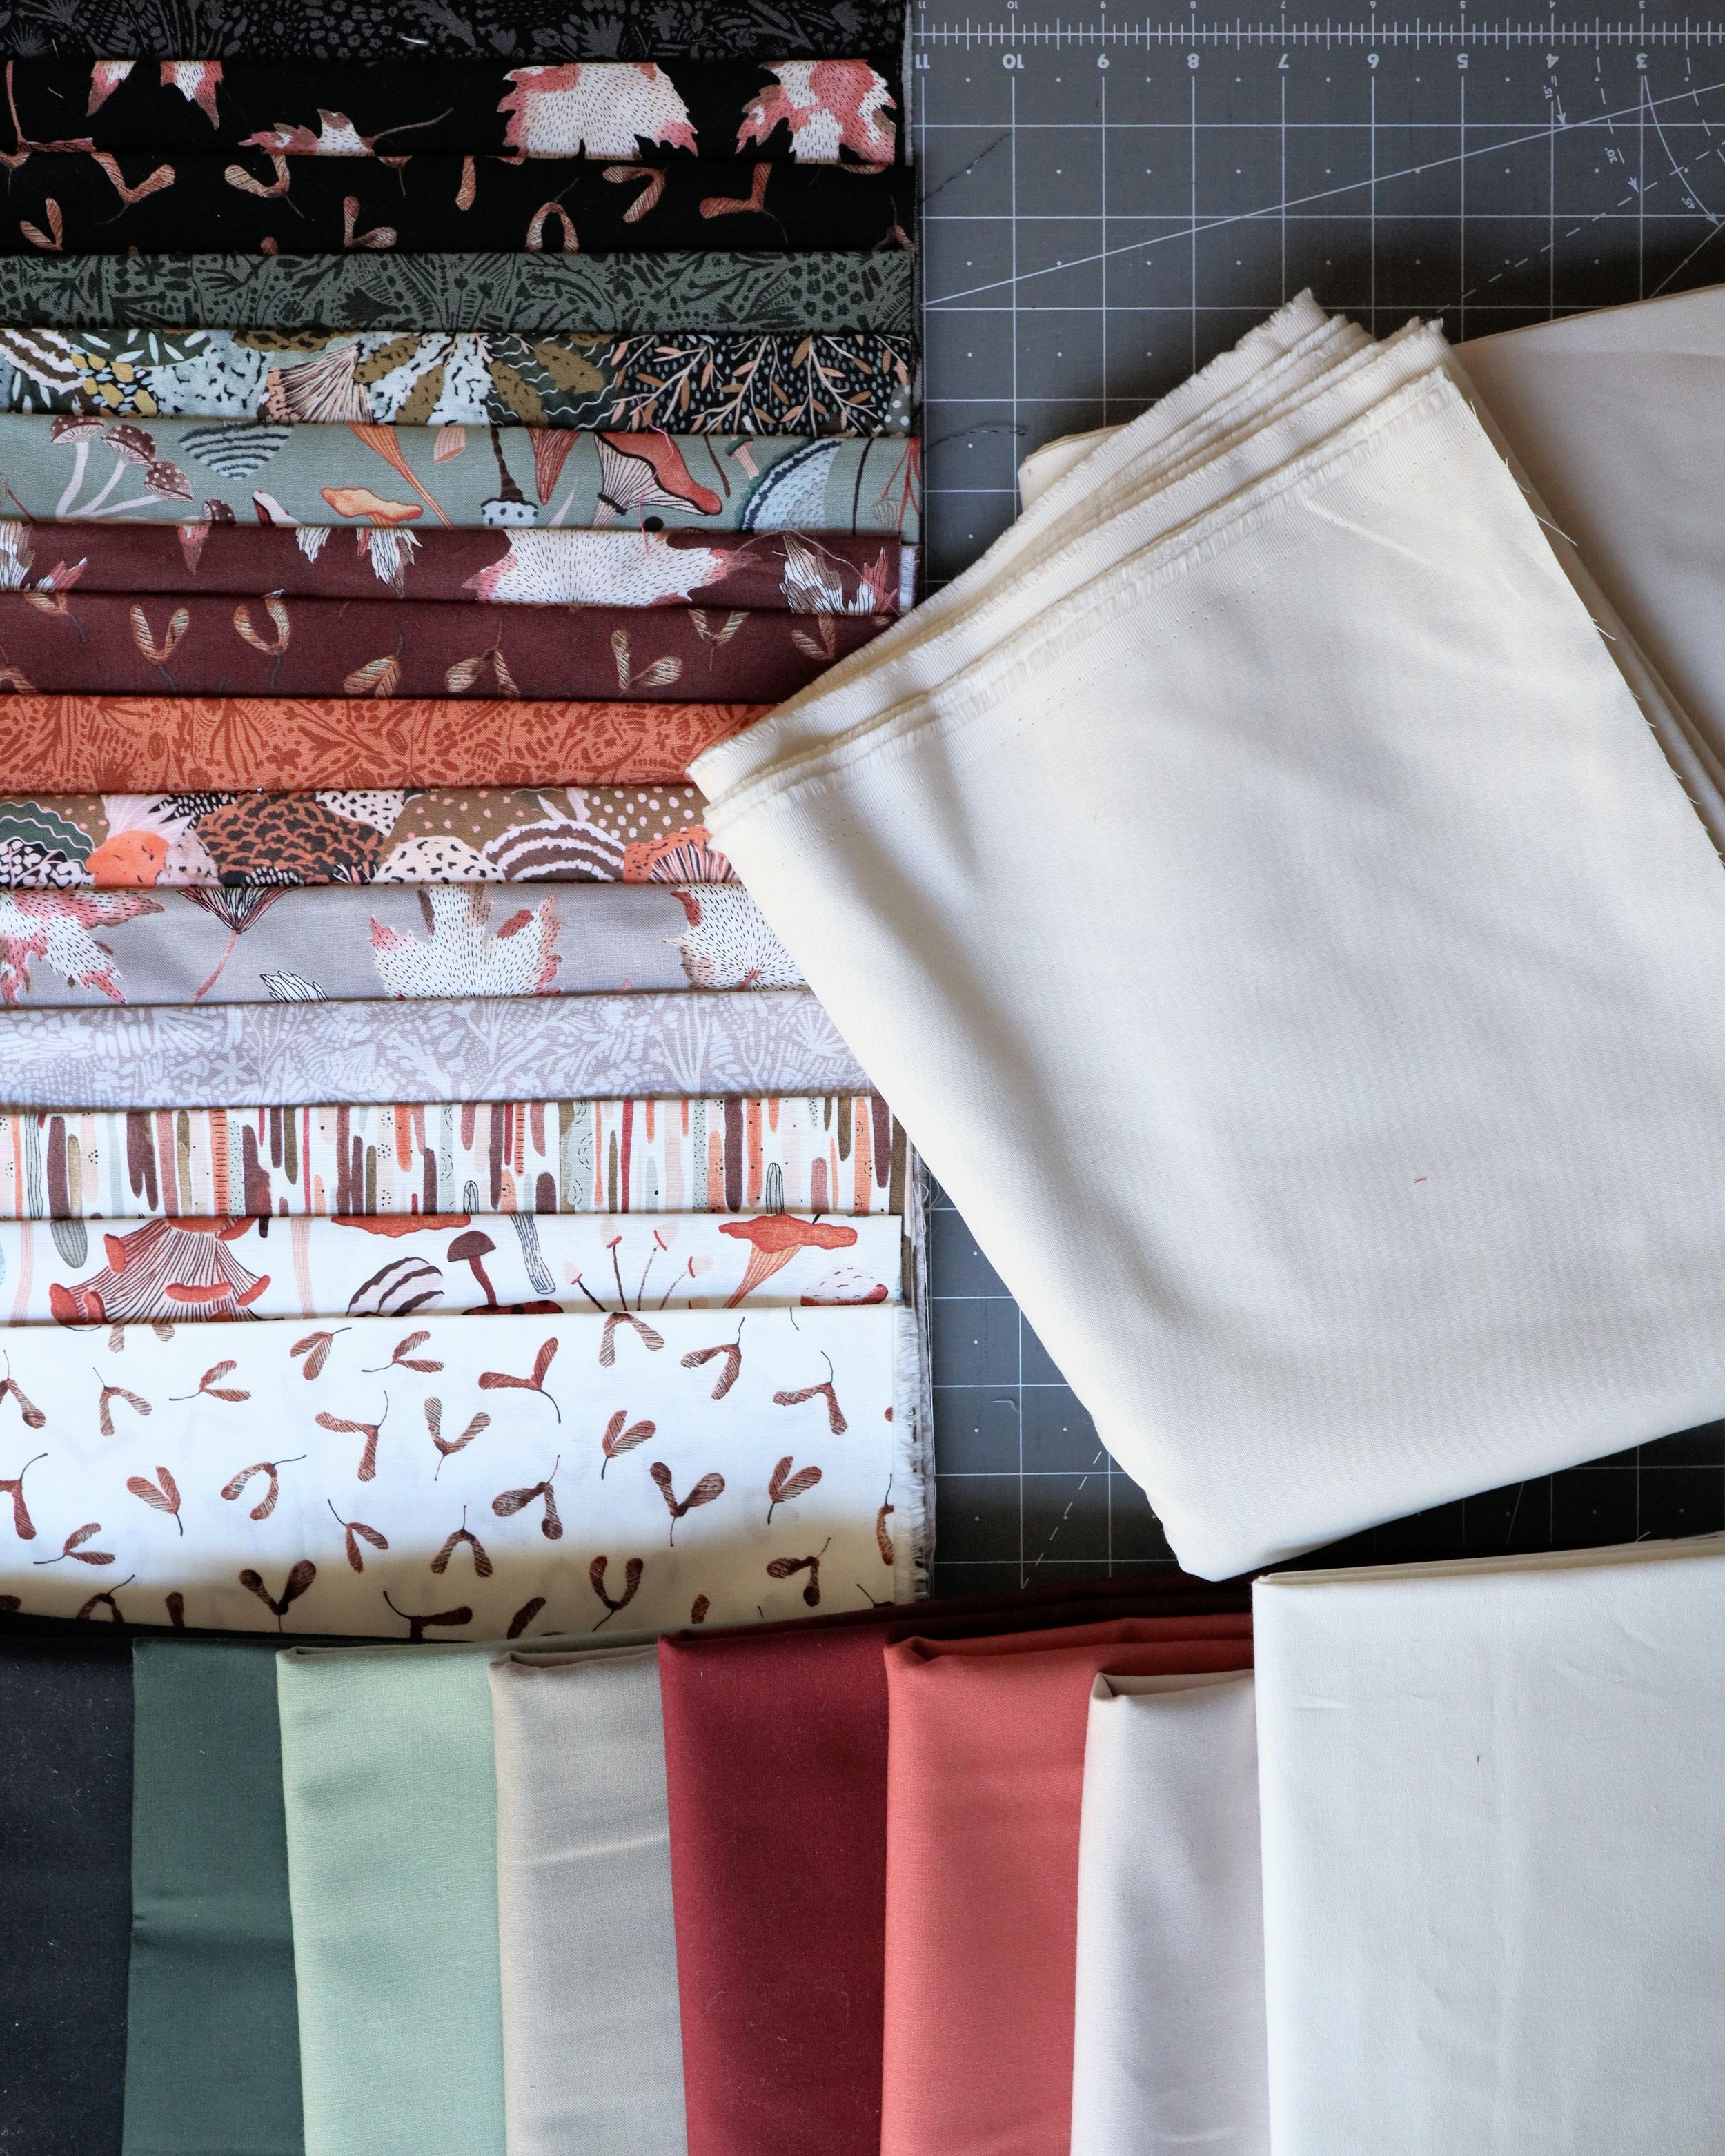
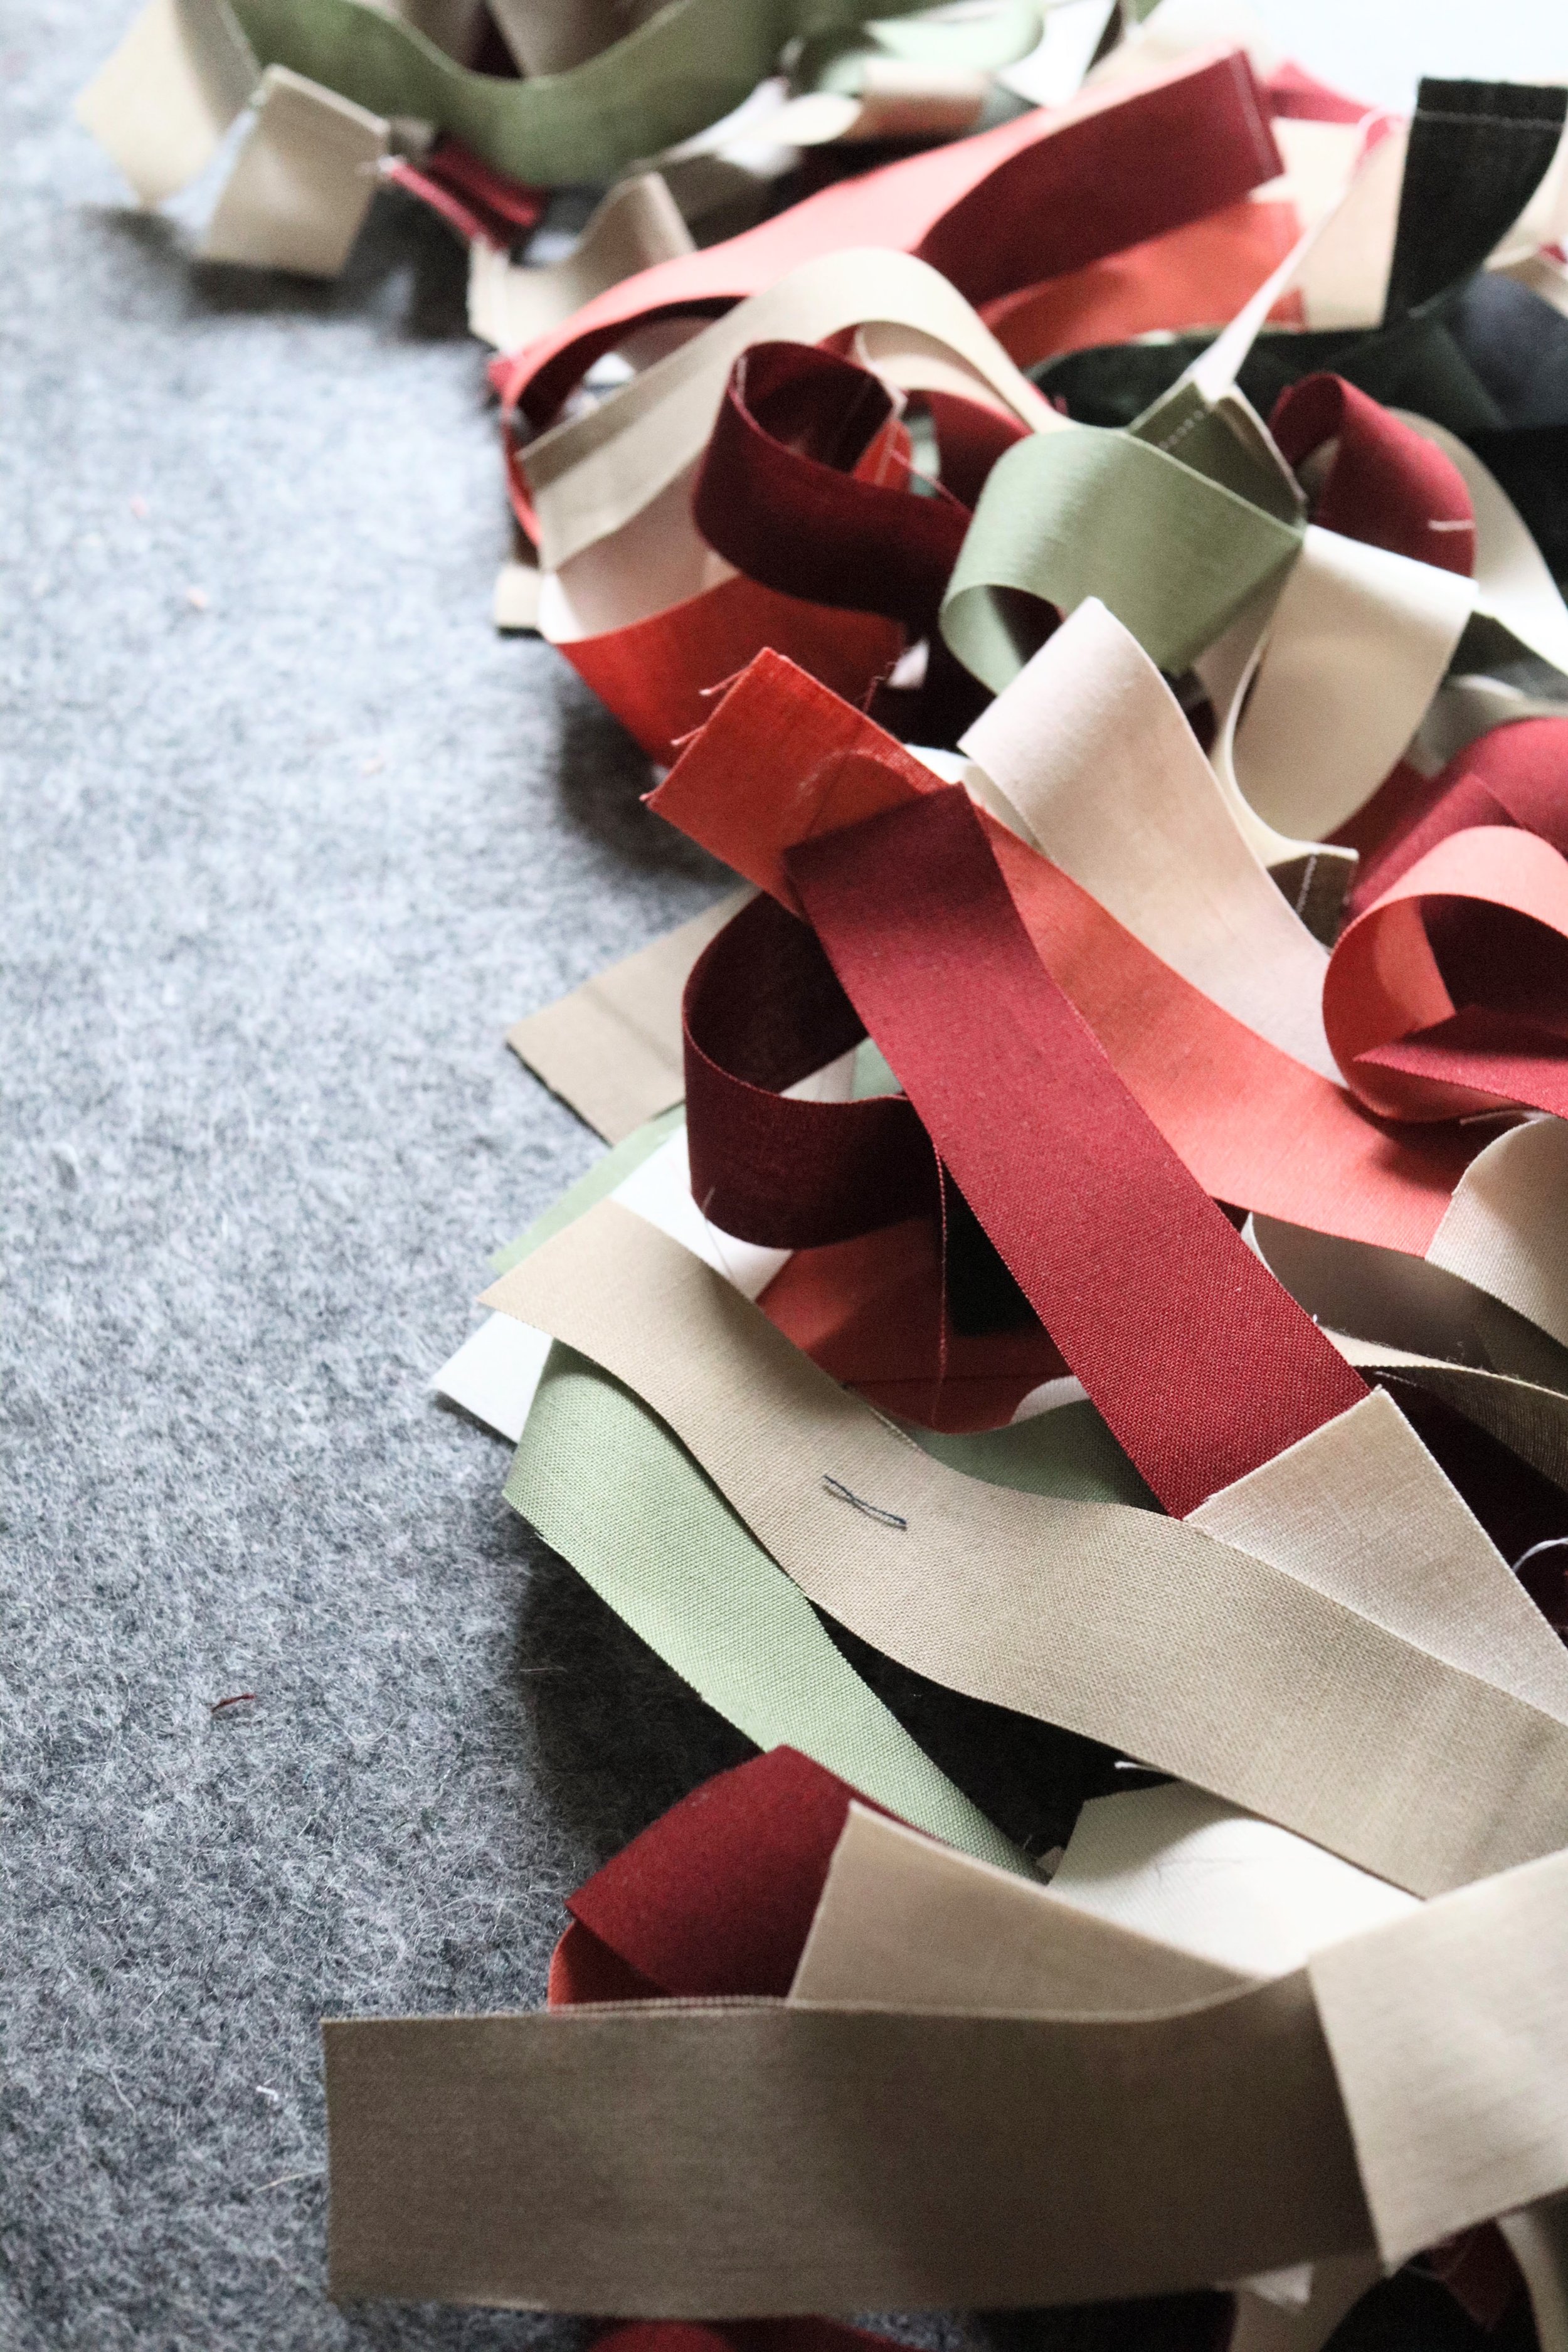
I will be making 2 Adjourn Quilts on this quilt along journey: a throw size using the scrappy variation, and a baby size using the fat quarter variation. I was excited to pull from my existing stash of bundles that I’ve bought from my favorite quilt shops over the years. I’ve been waiting for the perfect quilt for these bundles and this is definitely the one!
The fabrics I am using are:
Throw
Color A: Boccaccini Meadows: After the Rain fat quarter bundle
Color B: Kona in Oyster
Color C: Kona in Black, Evergreen, OD Green, Mushroom, Brick, Sienna, Doeskin, Bone
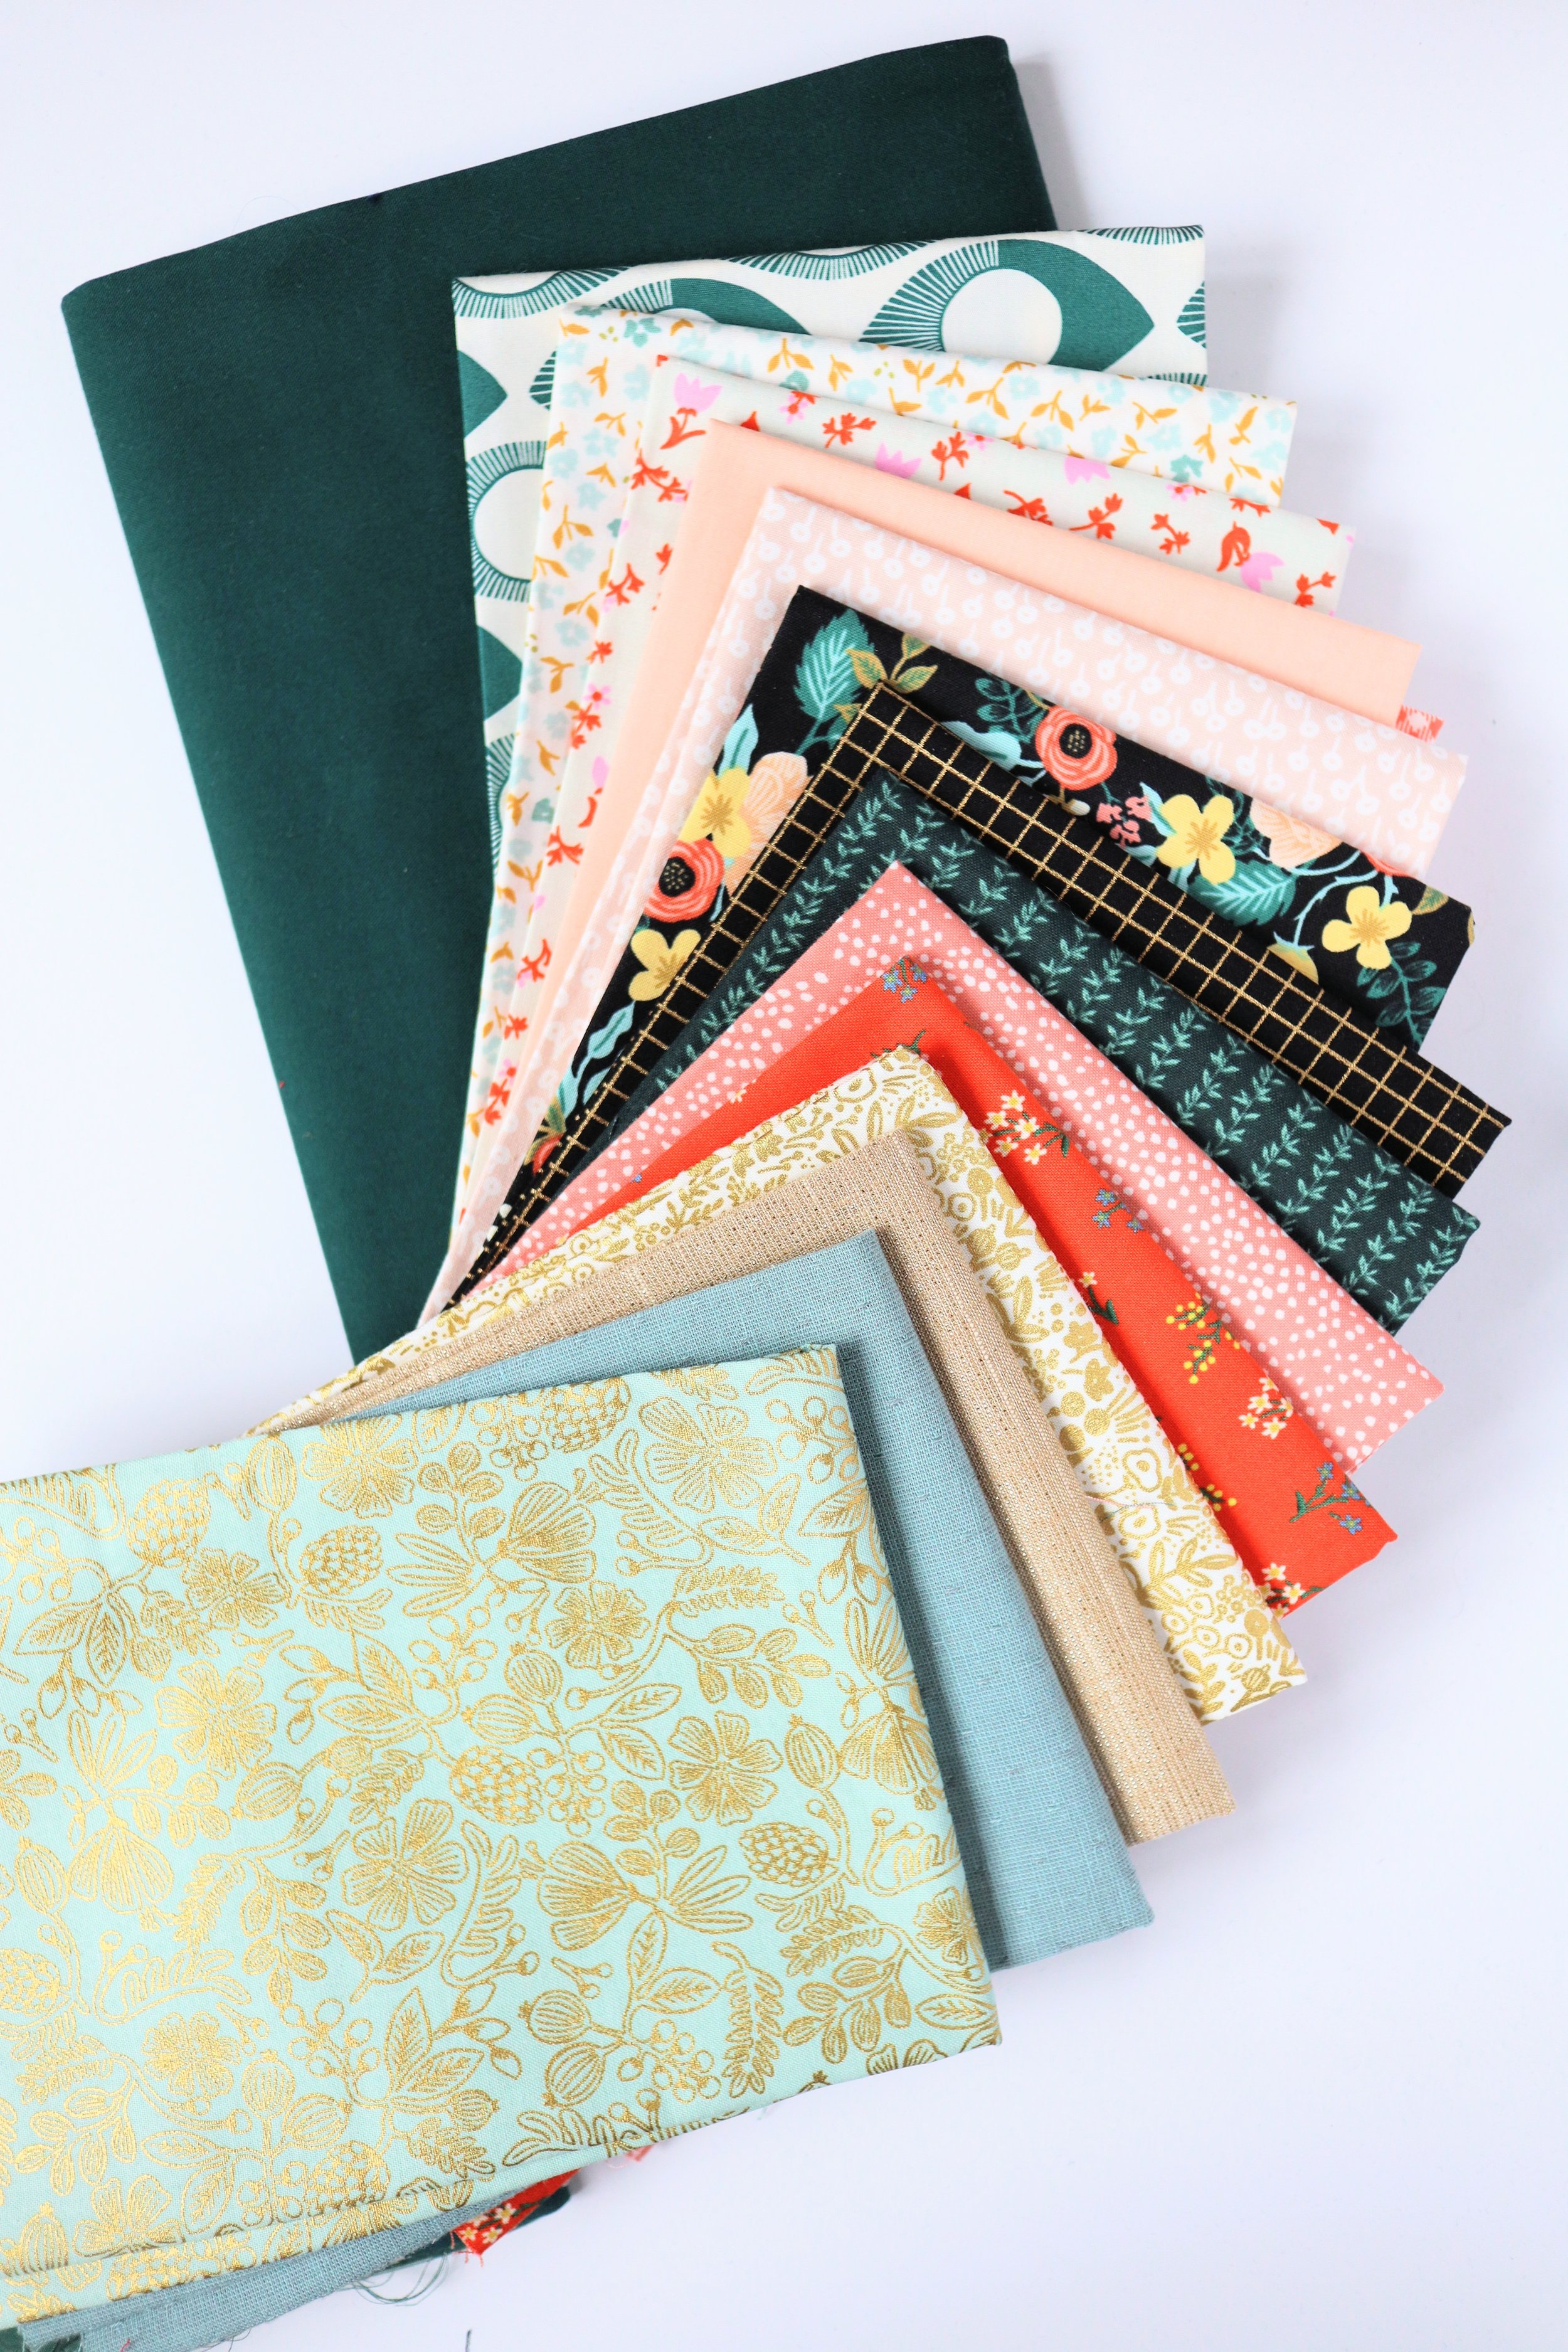
Baby
Color A: Cozy Winter fat quarter bundle from Lamb and Loom Fabrics
Color B: Kona in Spruce
Color C: Ruby Star Society Cross Weave in Dahlia
If you’re going with the scrappy variation using precuts, you will need at least 8 fat quarters or 24 fat eighths for the throw size, but you are certainly not limited to that number. The more you have, the more variation you will have within your quilt. For my throw, I had 15 fat quarters. Check out the cutting tips below to figure out how many Color A pieces you will need to cut from your unique fabric bundle!
Quilt supplies needed this week:
There are no special supplies needed this week, you’ll do just fine with a rotary cutter, cutting mat, and whatever your preferred rulers are, however there are supplies that I recommend to make cutting all those one inch strips a lot easier! The tools I’m using are:
Creative Grids 12.5” x 24” ruler for cutting WOF strips
Creative Grids Stripology XL ruler for cutting 1” strips (recommended!)
Olfa 45mm rotary cutter for cutting WOF strips
Olfa 60mm rotary cutter for cutting 1” strips with the Stripology ruler
Now, there’s a lot to do this week, so let’s get to it!
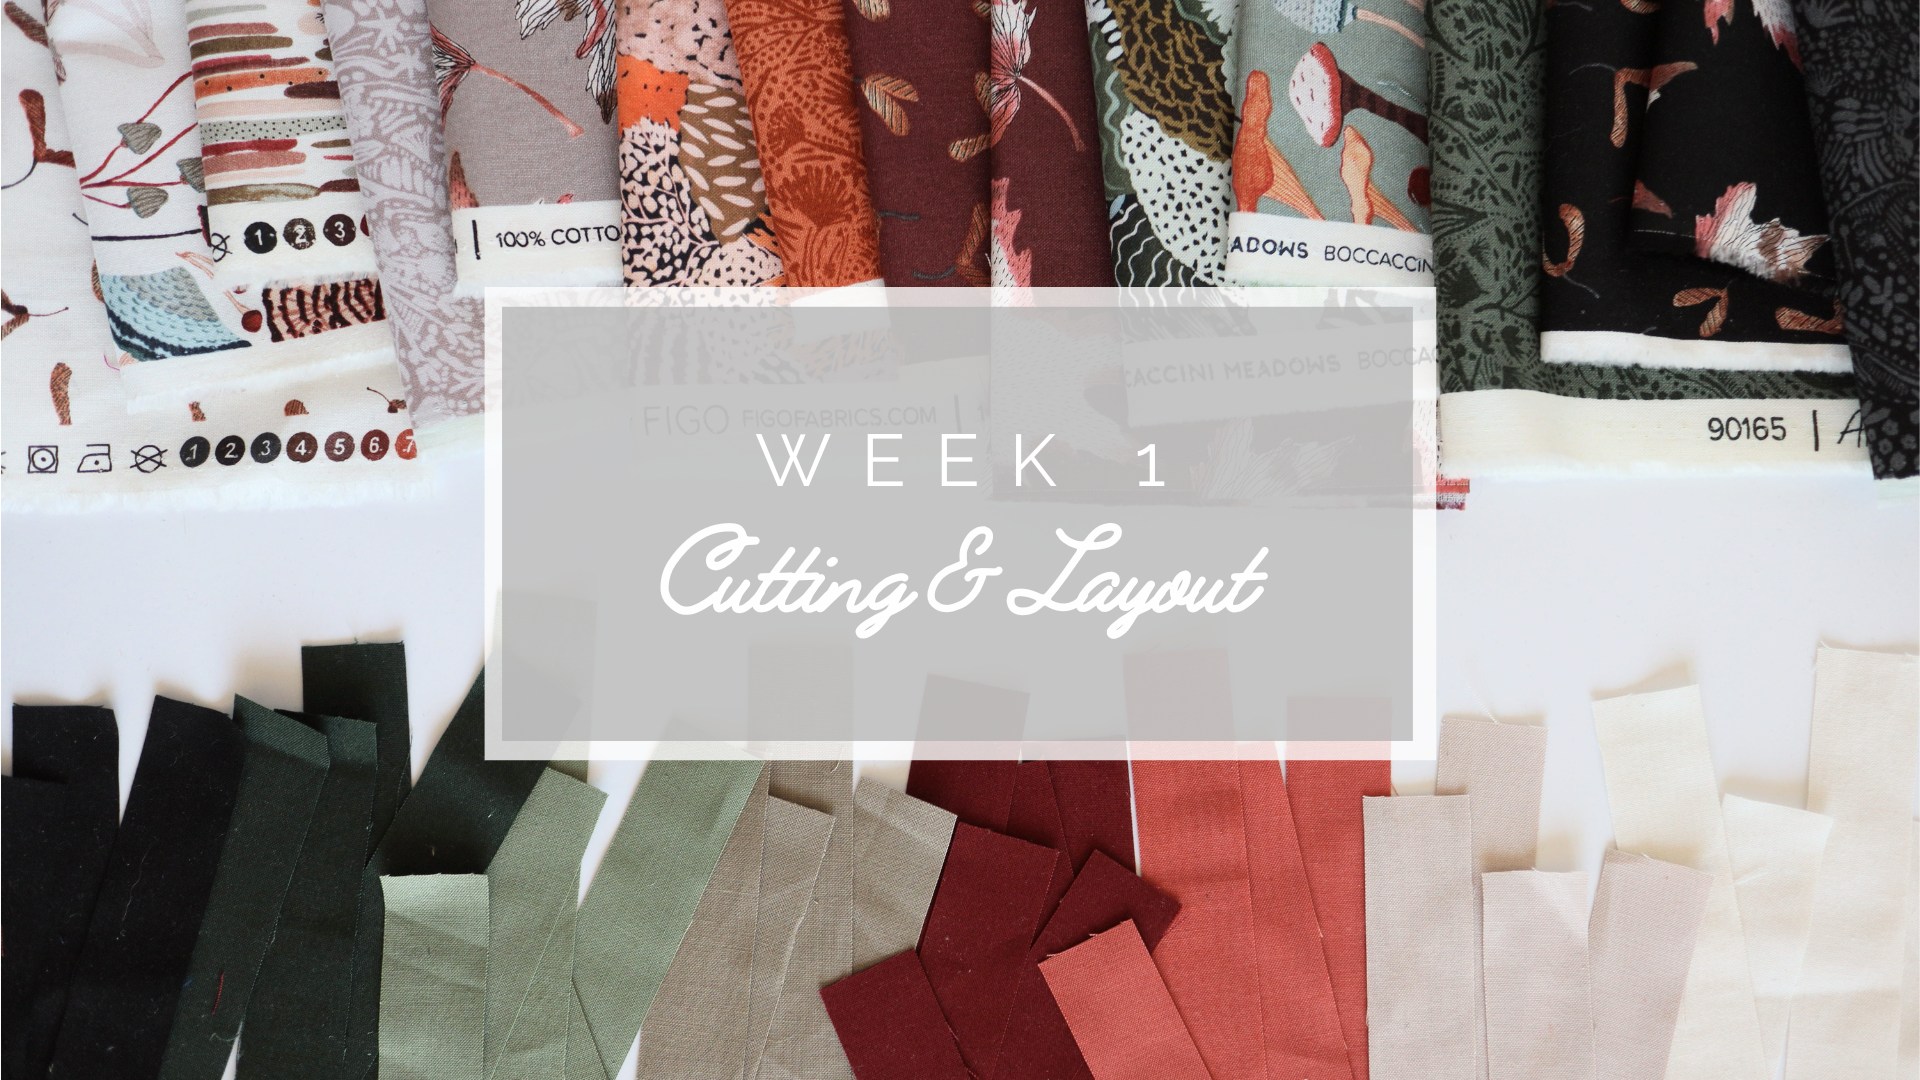
Week 1 goal: cutting
Cutting instructions for the Adjourn Quilt are fairly straightforward, You’re really only cutting squares, rectangles (for those who are strip piecing) and strips - but there are a lot of strips and they are small! So I have a few tips to make the process easier:
TIP #1: CUT ON GRAIN
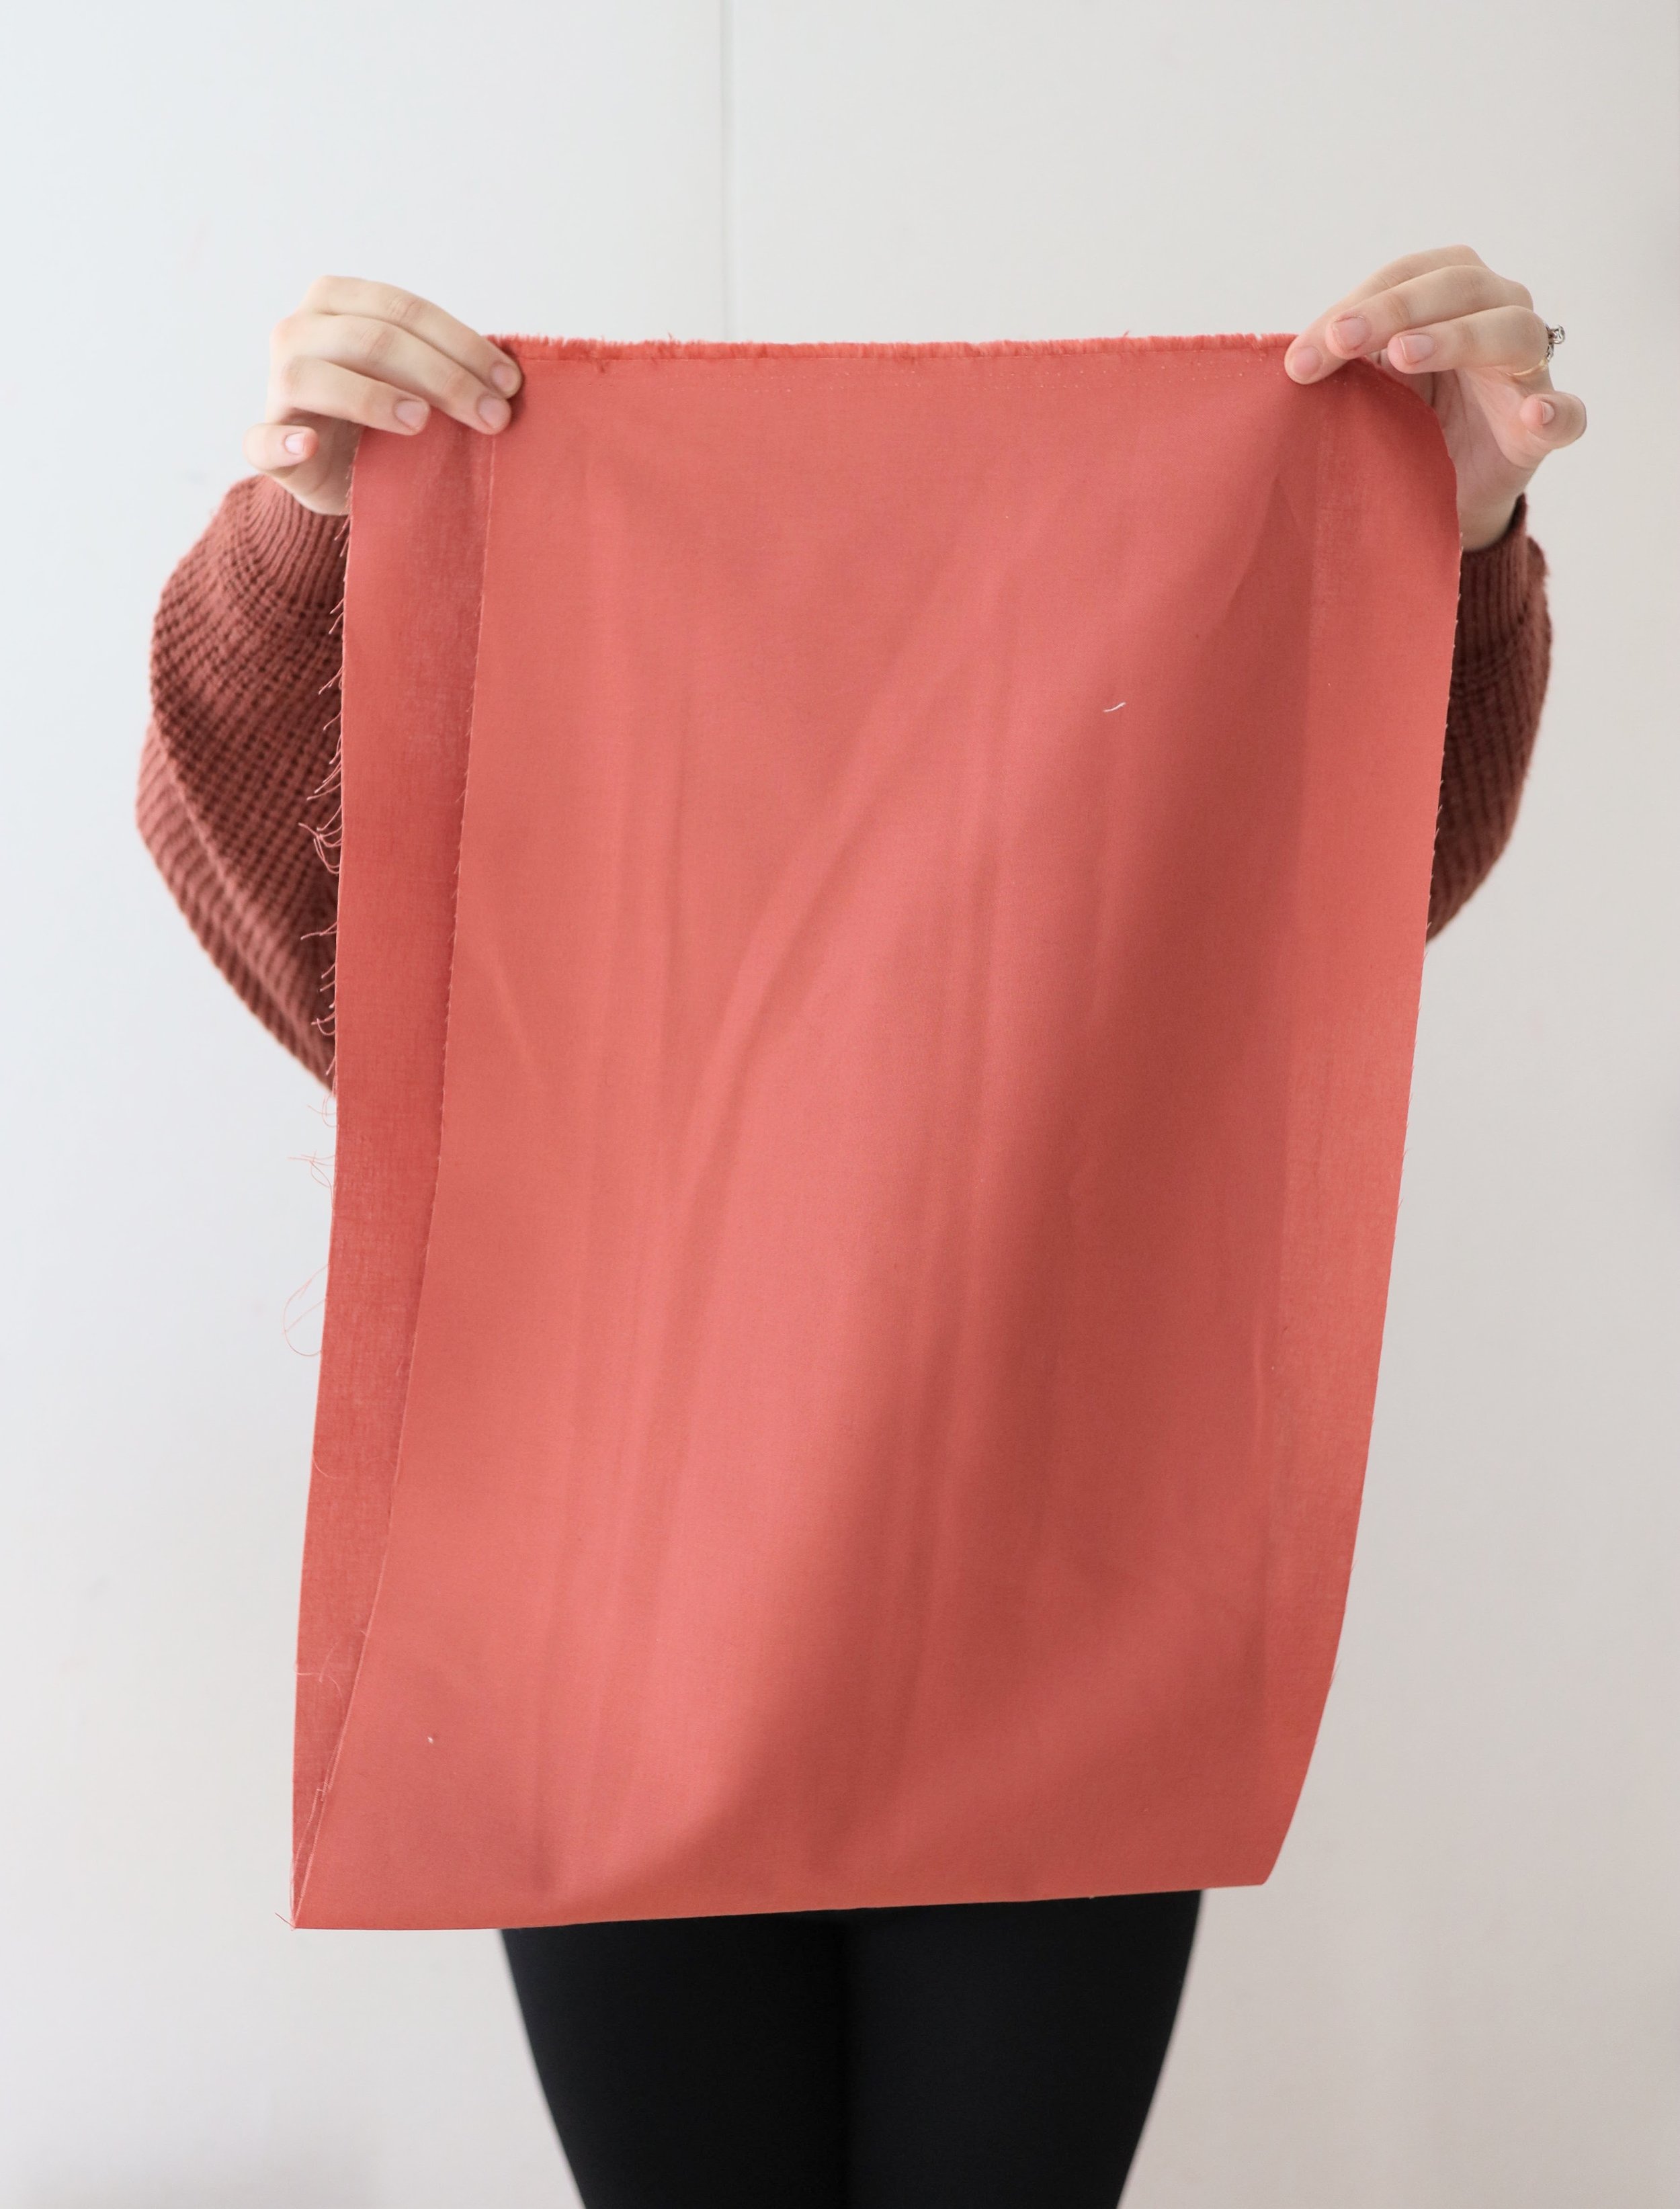
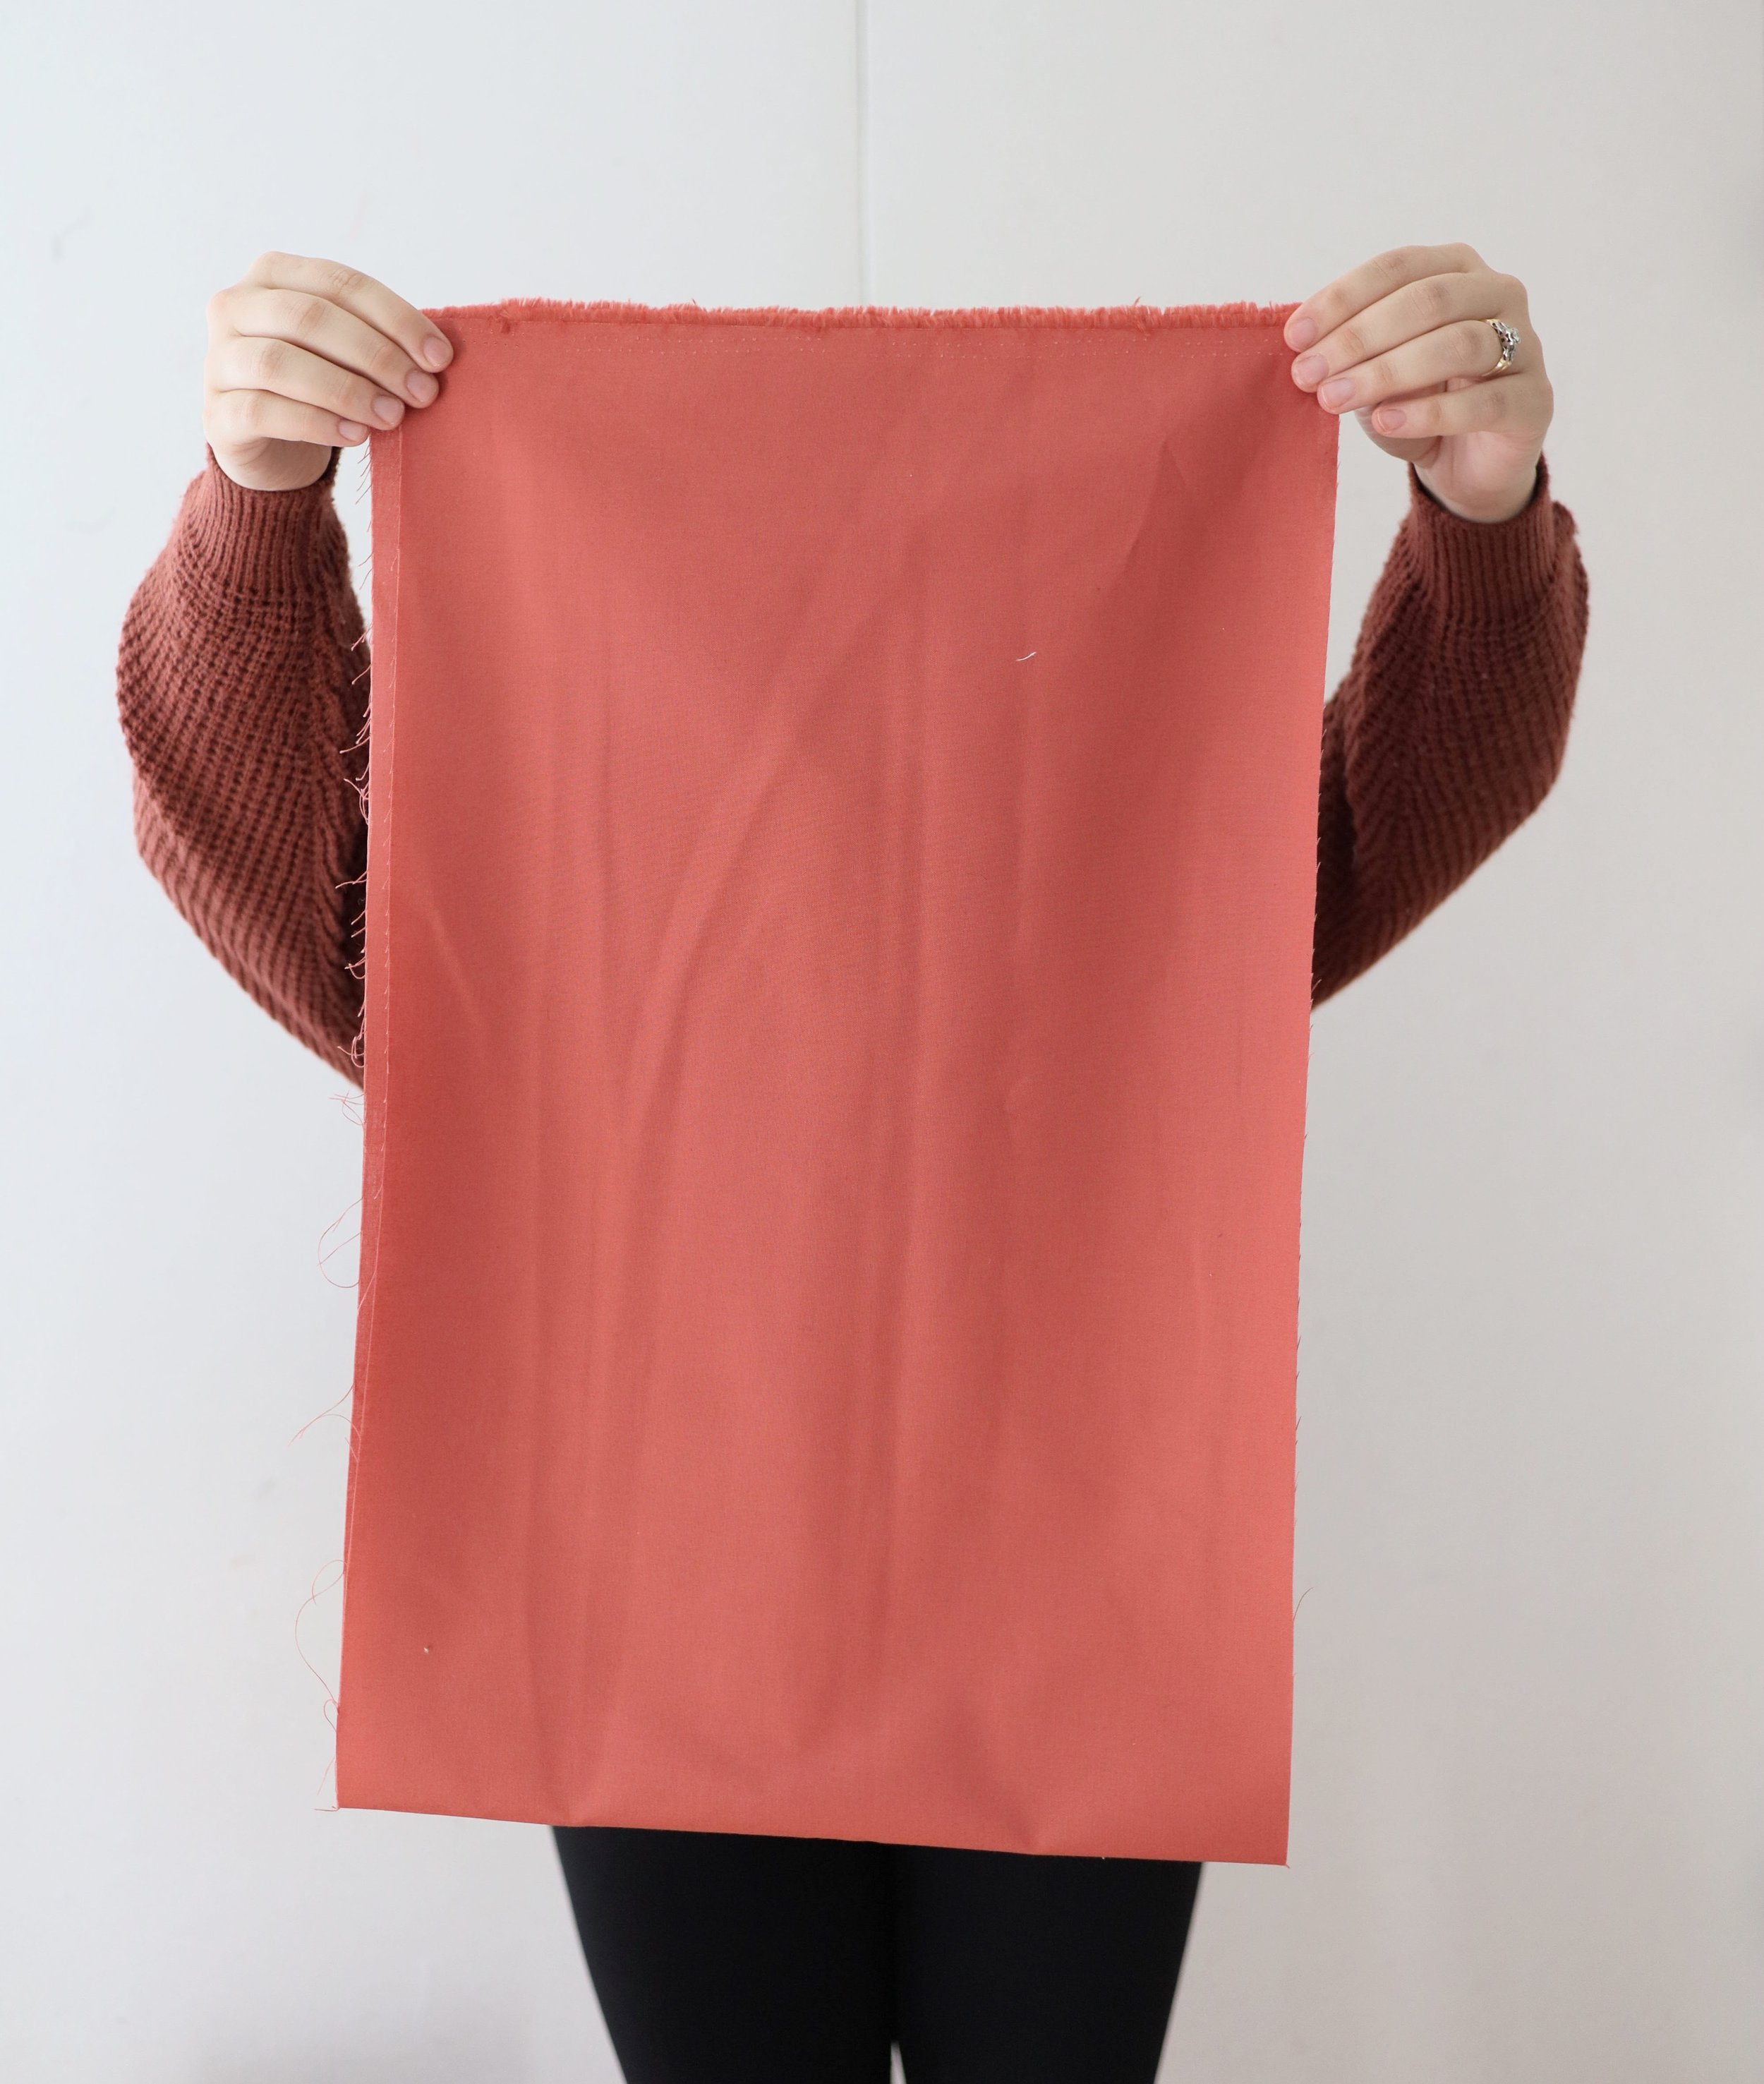
We’re not using really long pieces, so no need to pre-wash or rip your fabric (unless you want to of course!), but do make sure your fabric is laying approximately on grain before you start cutting! The easiest way to do this is to fold your already ironed fabric in half, matching the selvages, and pick it up, holding it horizontally with the selvages on top. Line up the selvages and shift the fabric around by sliding the selvages in opposite directions, side to side, until it is on grain. You’re looking for the fabric to fall straight down with no twists, warps, or drag lines.
Once you think you have it straight, lay your fabric on your cutting table and smooth any wrinkles, maintaining the fold line. From here, you can cut your WOF strips as you normally would, lining up your 24” ruler with the folded edge.

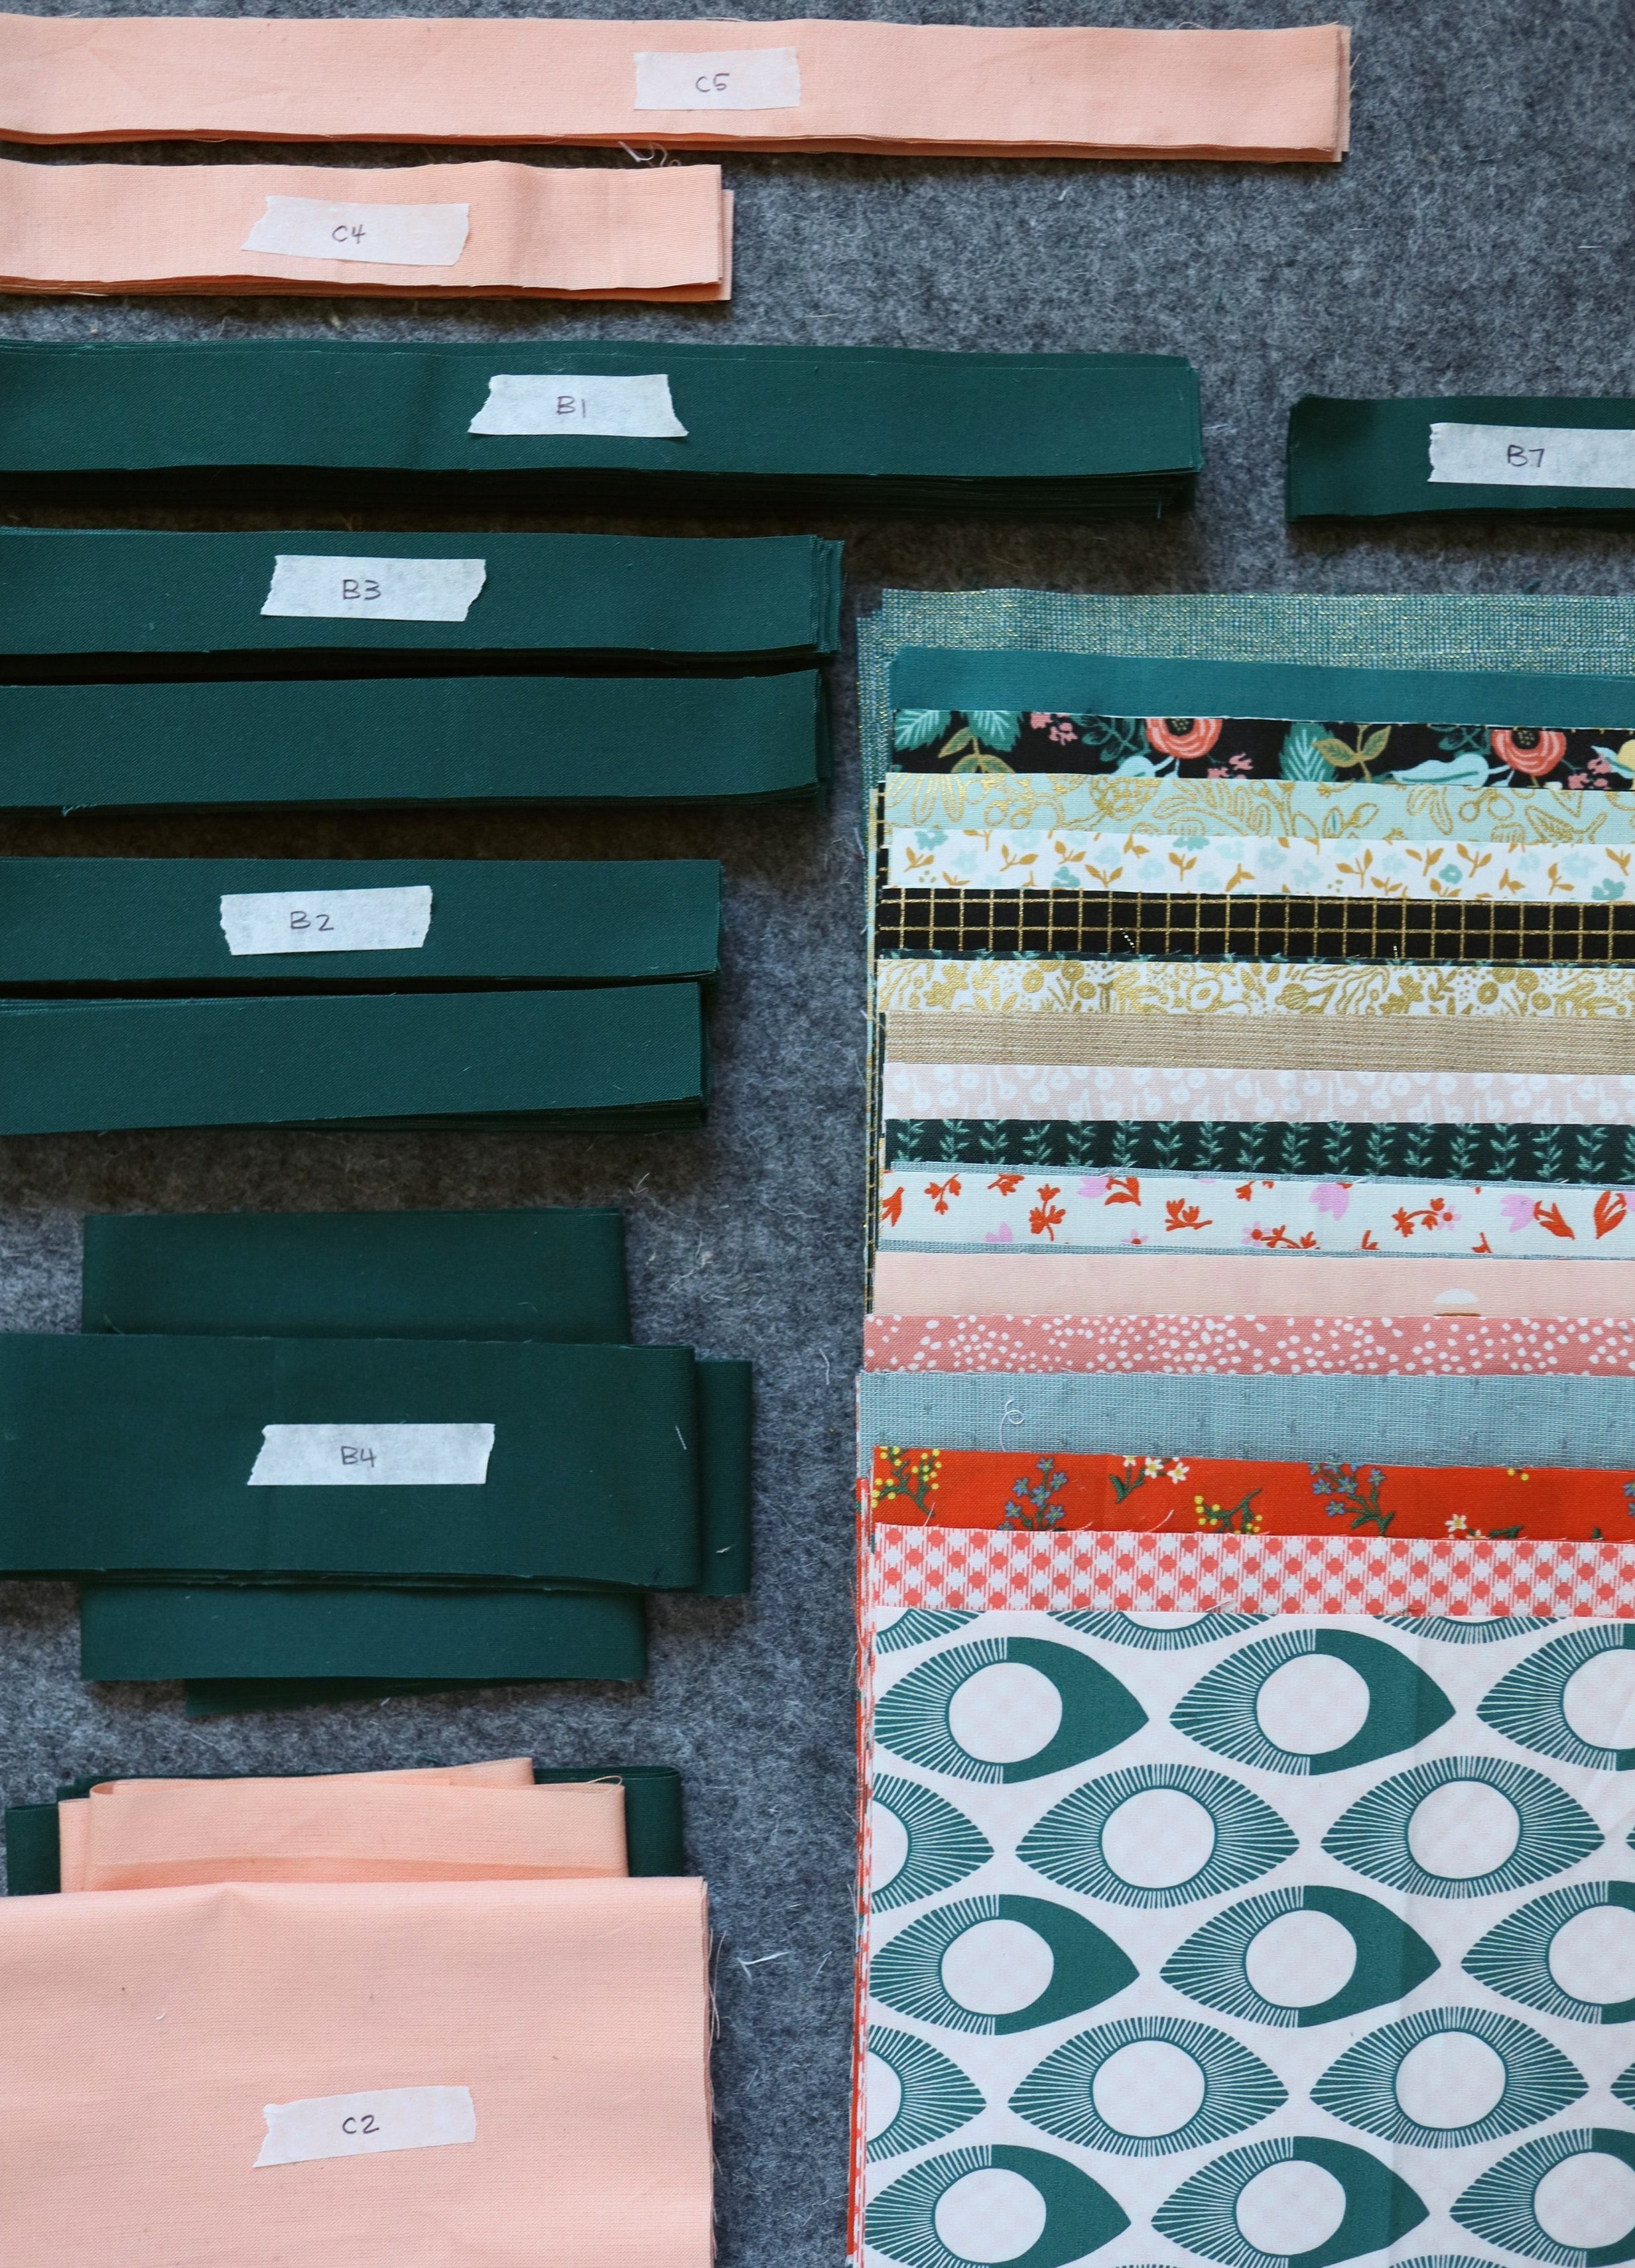
TIP #2: LABEL YOUR PIECES
As you’re cutting make sure to add the recommended labels to your pieces (noted in the cutting instructions of the pattern)! There are so many similarly sized pieces that adding labels makes the piecing process a breeze!
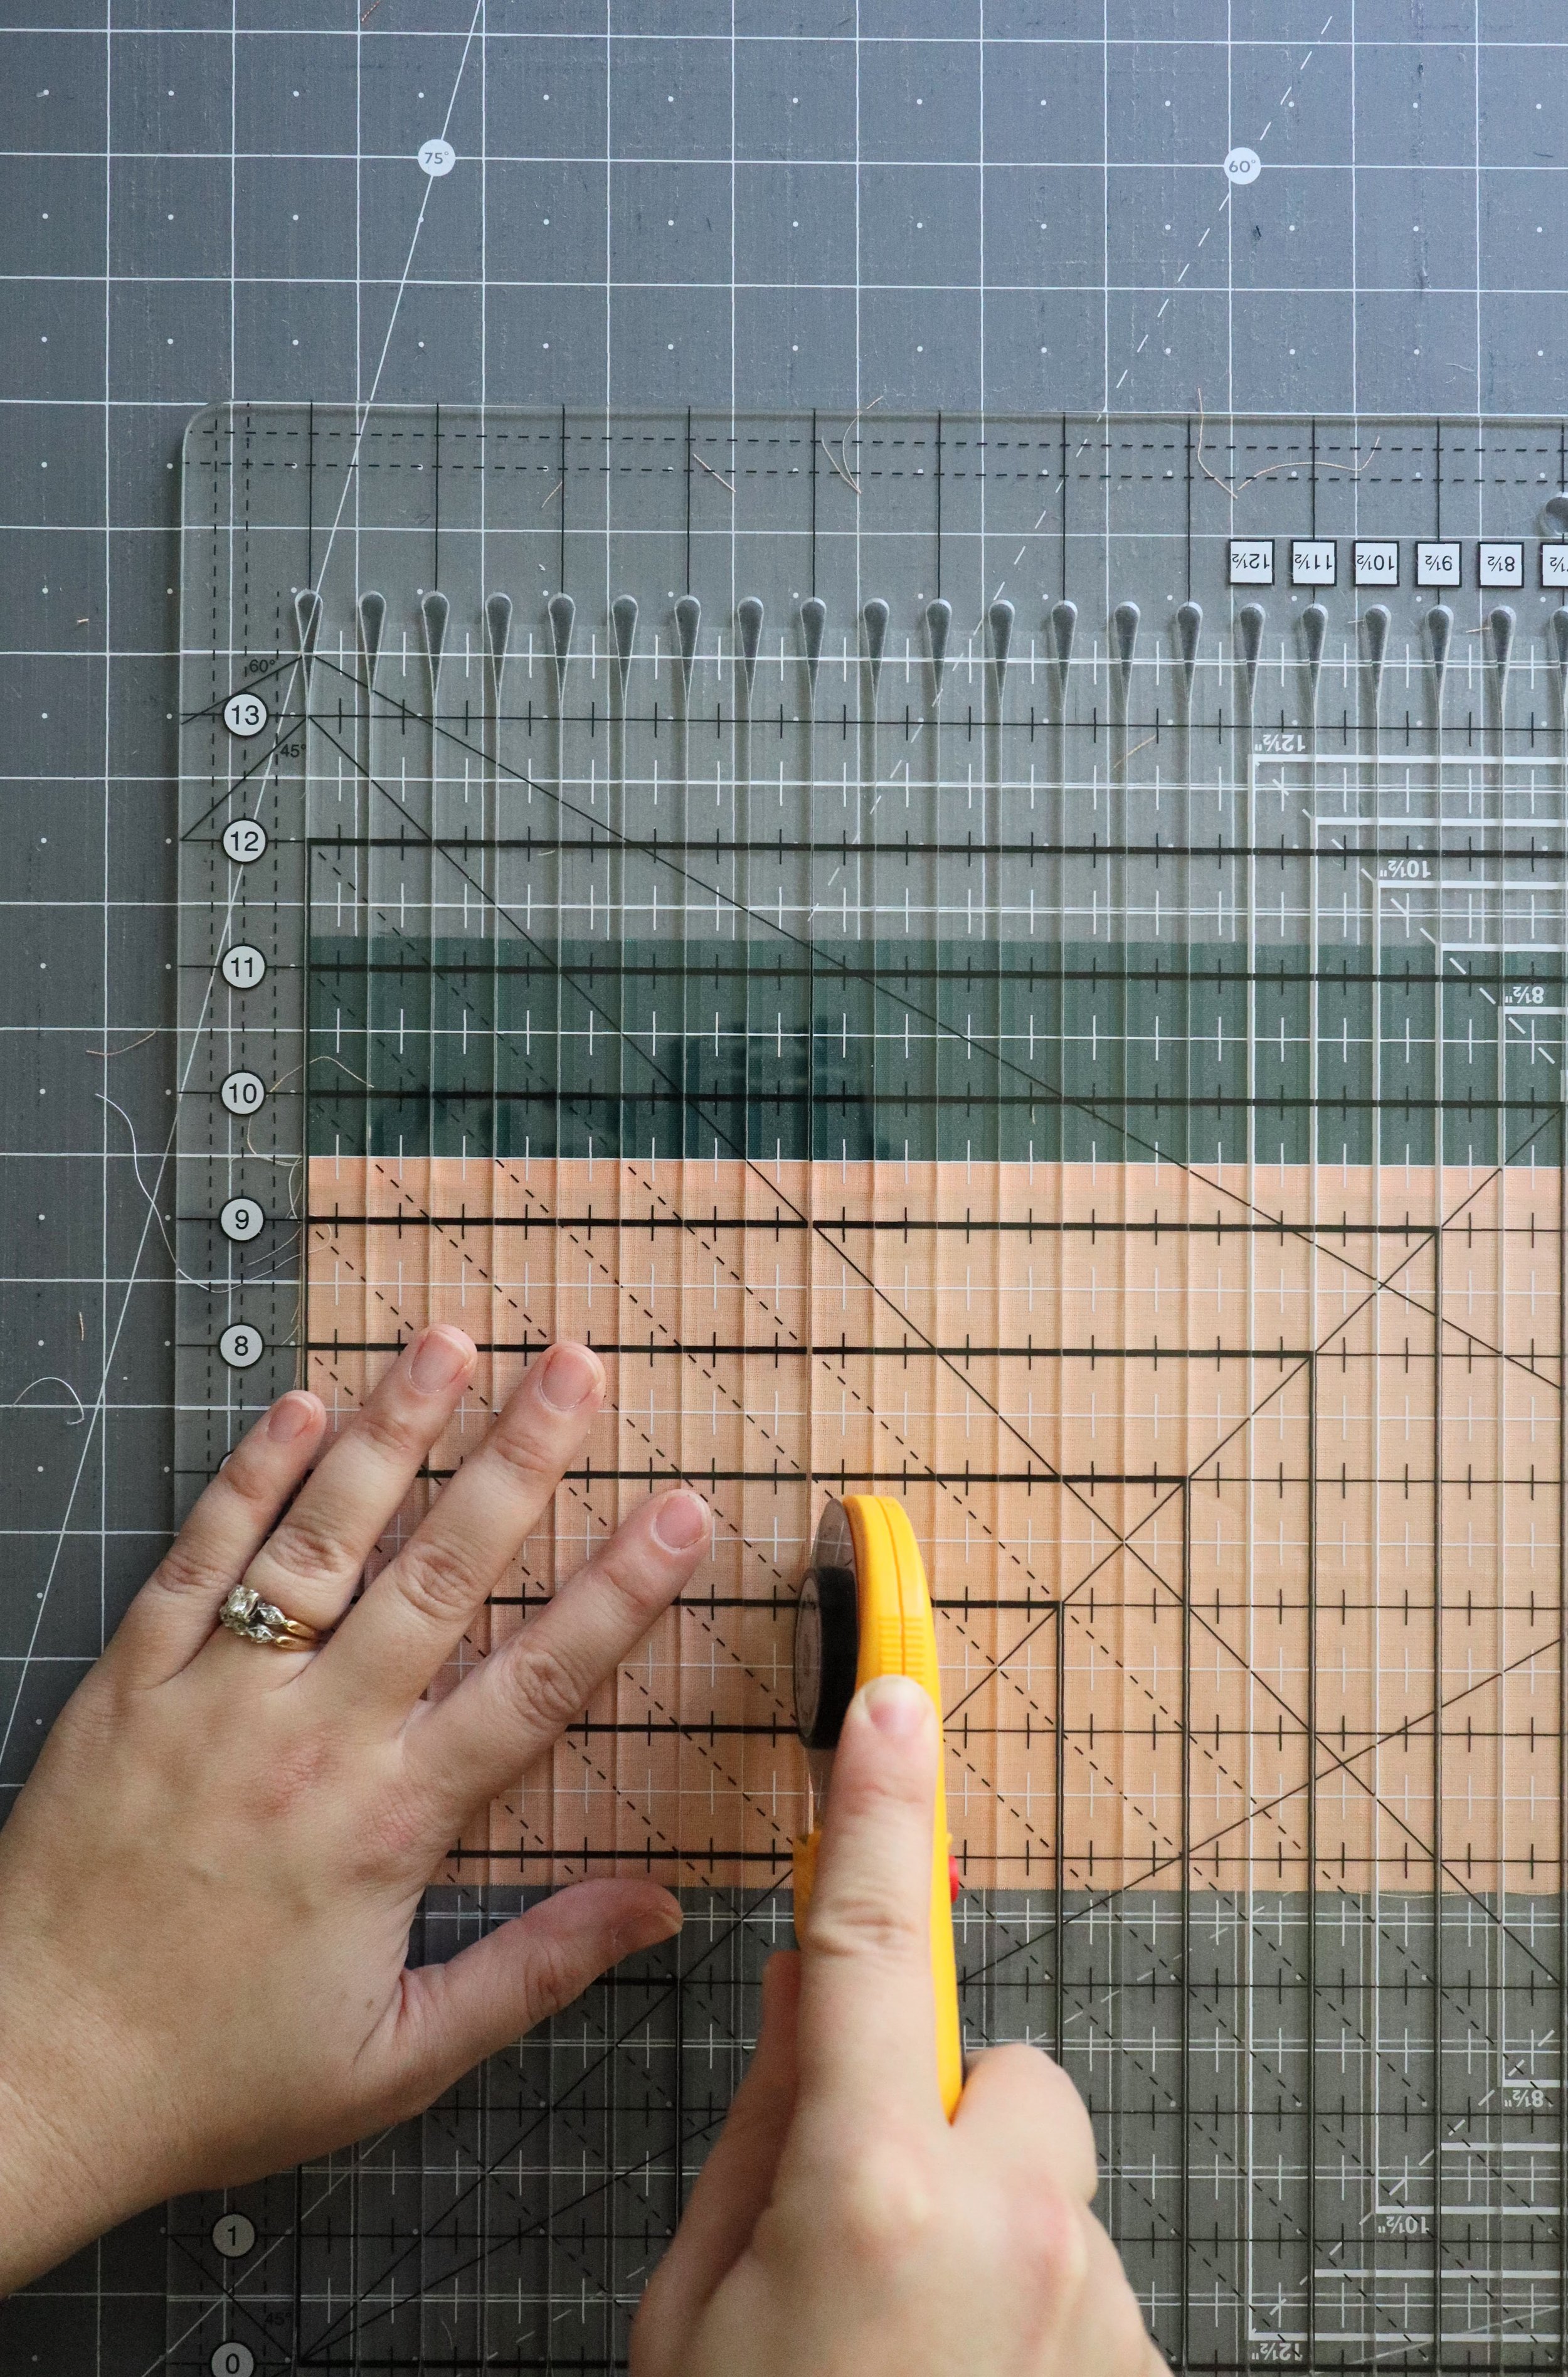
TIP #3: USE A STRIPOLOGY RULER TO SPEED UP CUTTING
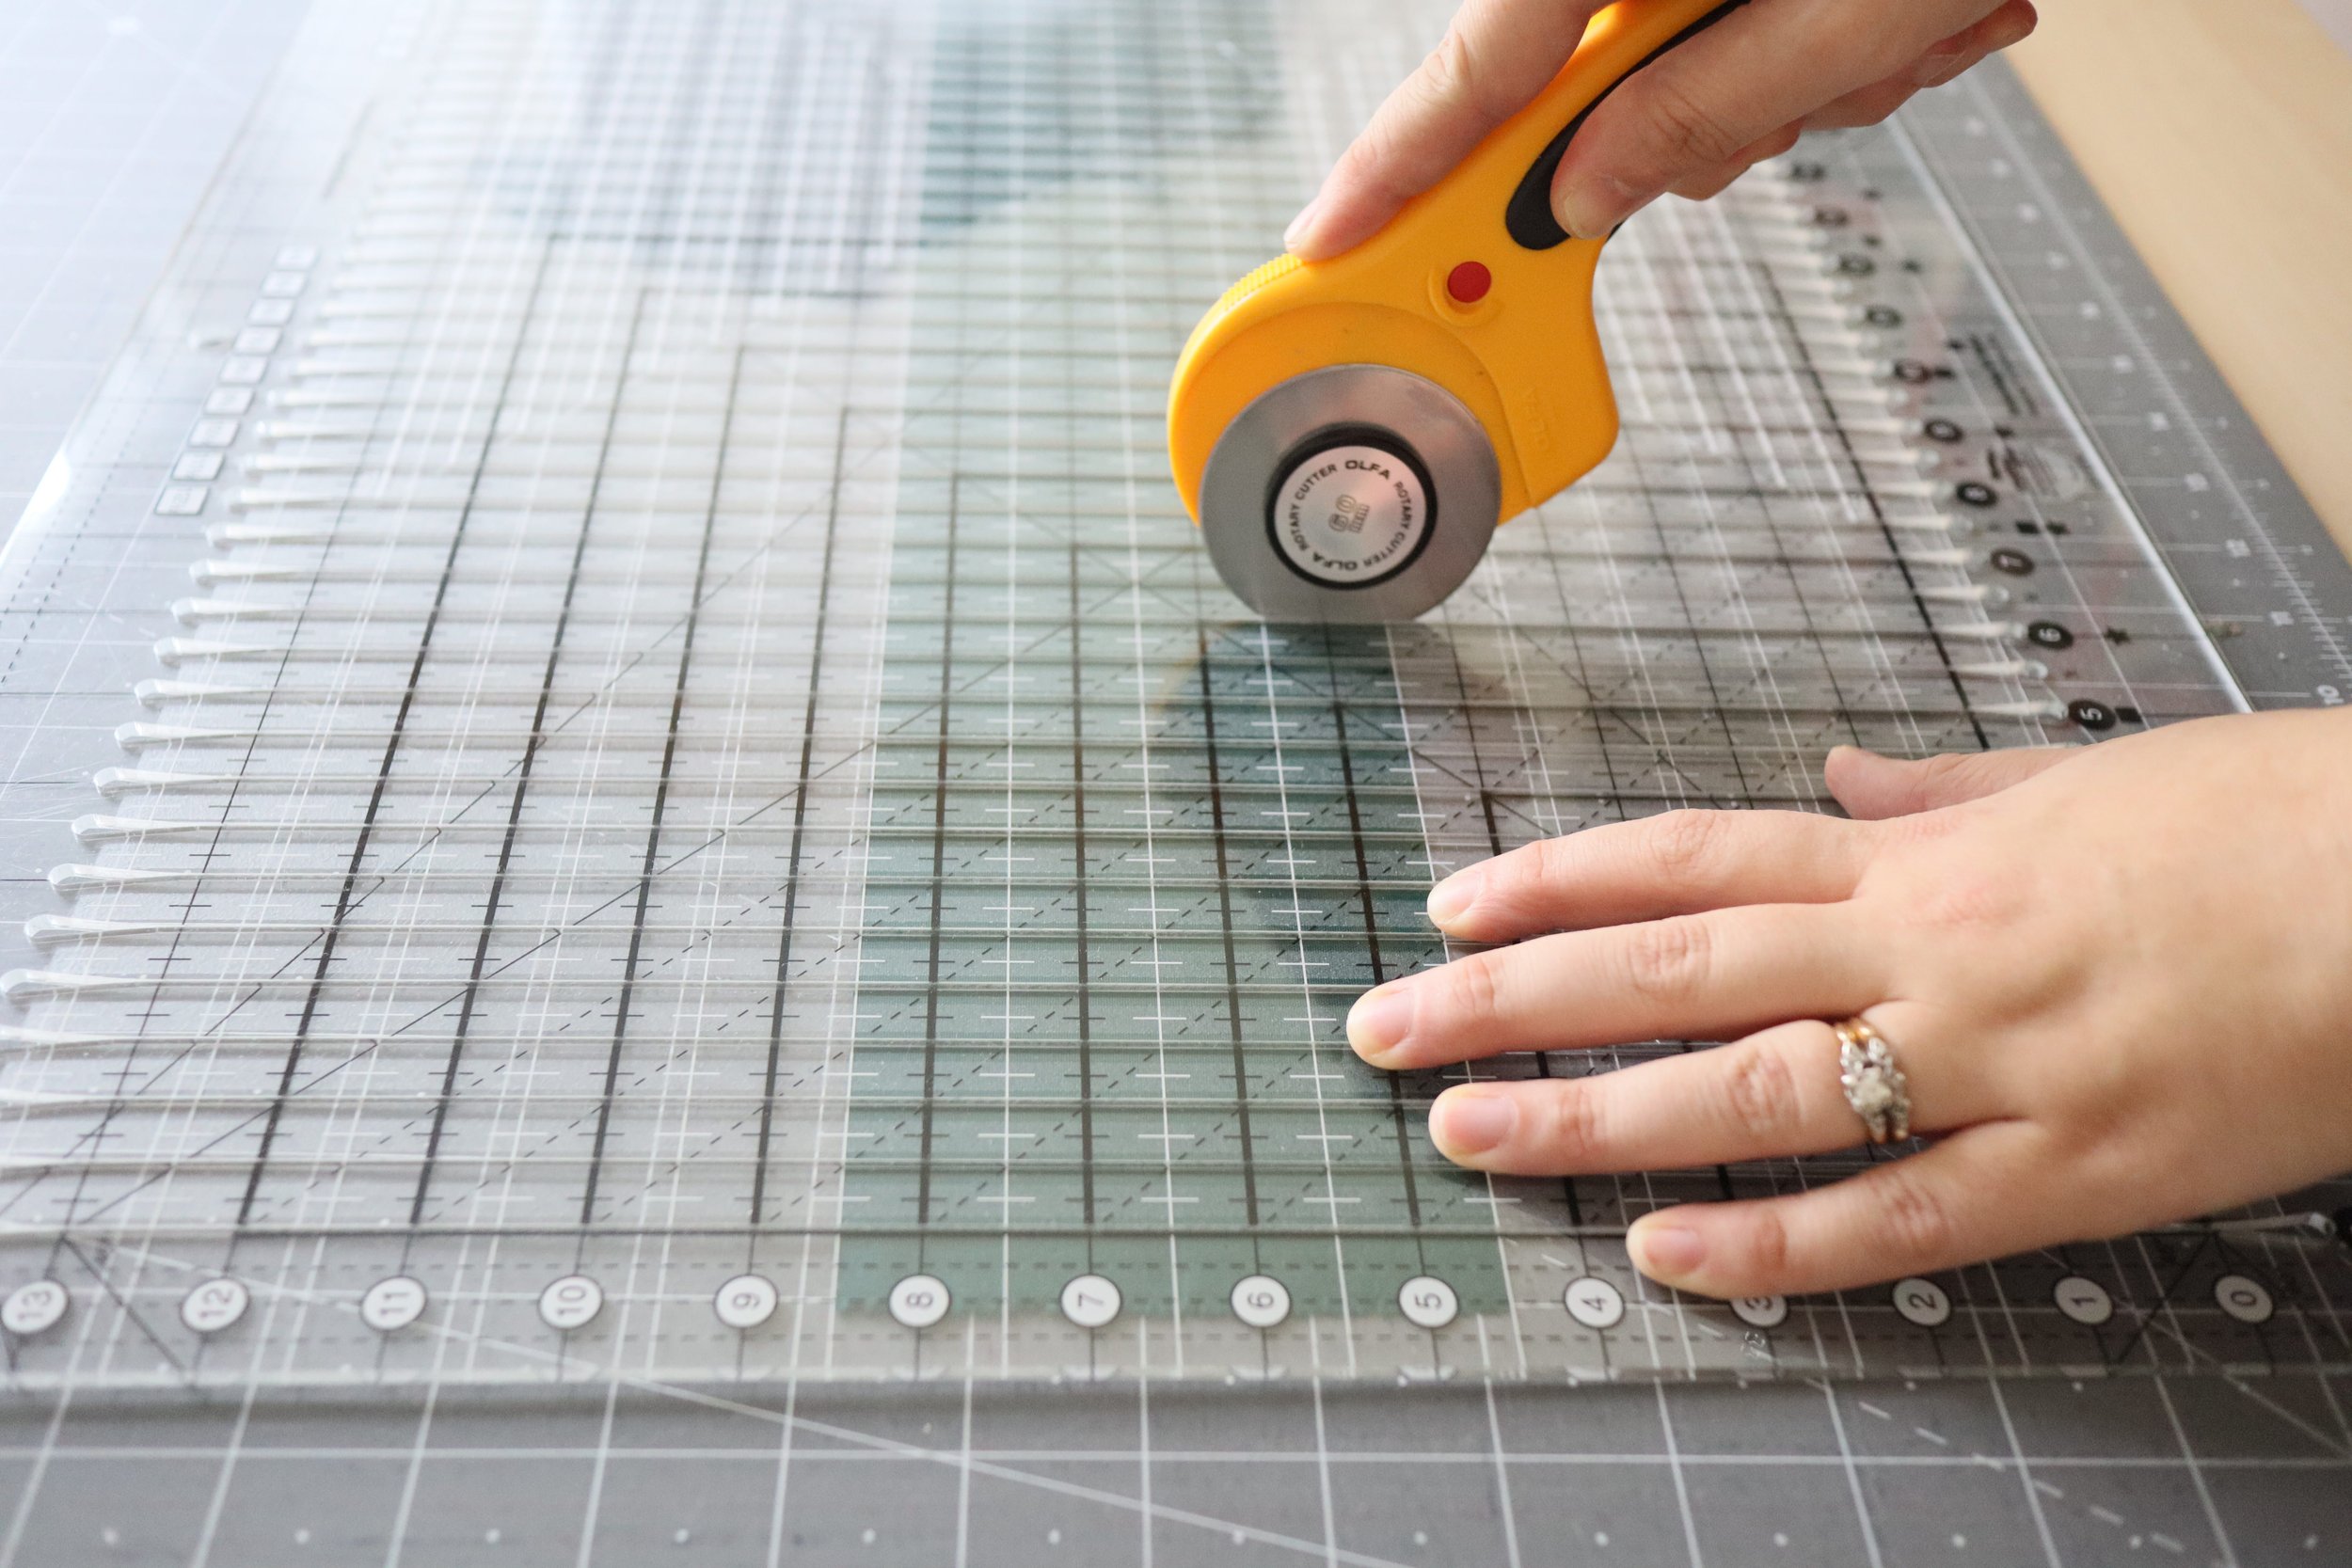
I love my Stripology XL Ruler from Creative Grids! I made 3 different Adjourn Quilt samples when I was writing my pattern and it cut down my cutting time significantly! (pun definitely intended!) You can certainly cut all those 1” strips without it, but if you quilt regularly, it’s worth the cost IMHO!
I have 2 recommendations when using the Stripology XL ruler. First, I’ve found that using a 60mm rotary cutter works best with this ruler, as the 45mm rotary cutter doesn’t consistently reach all the way through the slits. Maybe it’s just me, but if you have trouble too, try the 60mm. My second tip is to make sure you’re holding the ruler firmly with your opposite hand. It does tend to shift as you cut if you’re not diligent.
CUTTING THE COLOR A PIECES (FOR FAT QUARTERS & FAT EIGHTHS)
If you’re using fat quarters or fat eighths, you may need to do a little math to figure out how many Color A pieces to cut from each fabric. But good news! I’ve done the math for you, so all you have to do is plug in your own numbers! There are 4 Color A squares in each block (or 8 pieces once you cut them in half) and there are 12 blocks, so to figure out how many Color A pieces you need to cut, just use this equation:
48 ÷ (number of fabrics) = (number of Color A pieces to cut from each fabric)
I had 15 fat quarters in my throw size, so my equation looked like this:
48 ÷ 15 = 3.2
So I rounded up to the nearest whole number and cut 4 pieces from each fabric.

WeEk 1 Goal: Strip Piecing
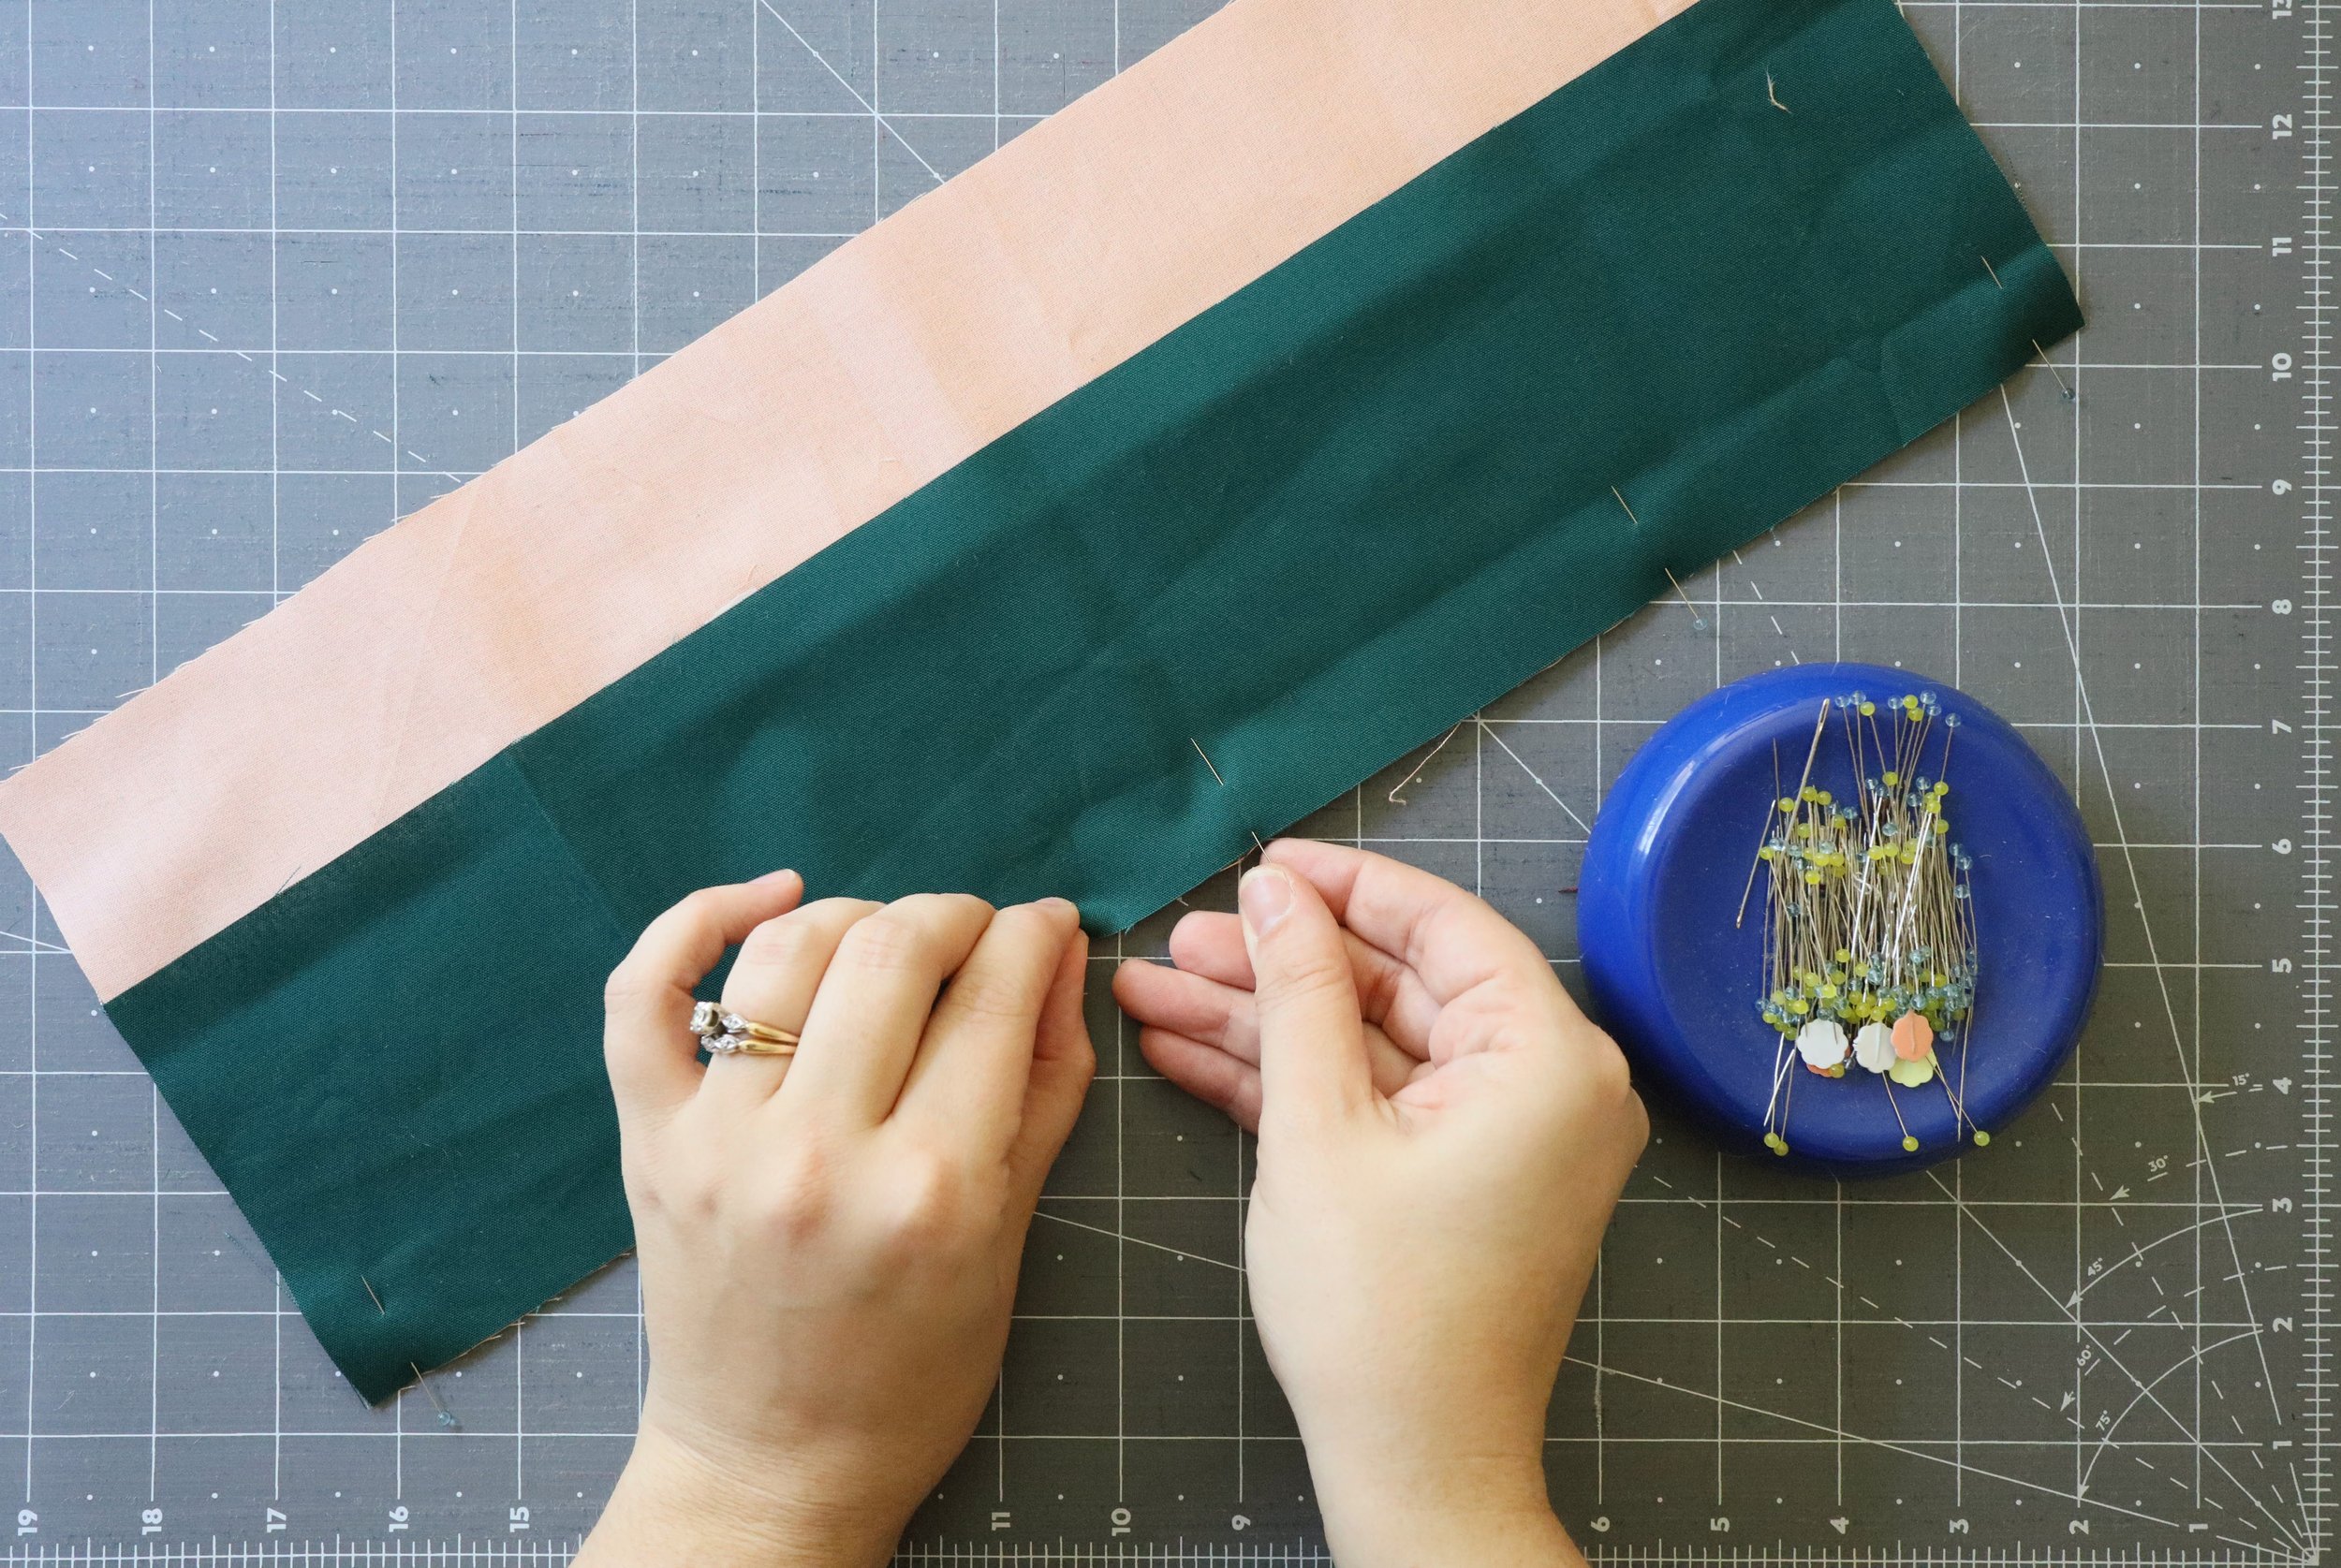
Most of you will be strip piecing your Color B and Color C pieces. Precision in piecing is the name of the game with the Adjourn Quilt and one of the best ways to keep things precise is to pin. every. piece. Yes, this makes the process longer, but I promise you it’s worth it!
Strip piecing is fairly straightforward. You sew two larger pieces of fabric together, then trim them into smaller strips to make the whole process a whole lot easier. Plus, you end up with more accurate strips. (If you’re making your crosses and/or background scrappy, skip to the next section for tips.)
To do this with your strip piecing, match up your corresponding pieces and place a pin at each end, making sure the edges and corners are aligned. Then place pins at regular intervals (every 4-6 inches) along the edge you will sew. Pinning will prevent one fabric stretching more than the other while sewing, which can cause the seam to warp slightly, resulting in less accurate pieces. Pinning is very helpful for keeping all your seams straight and even and will be a common theme throughout this whole quilt pattern!
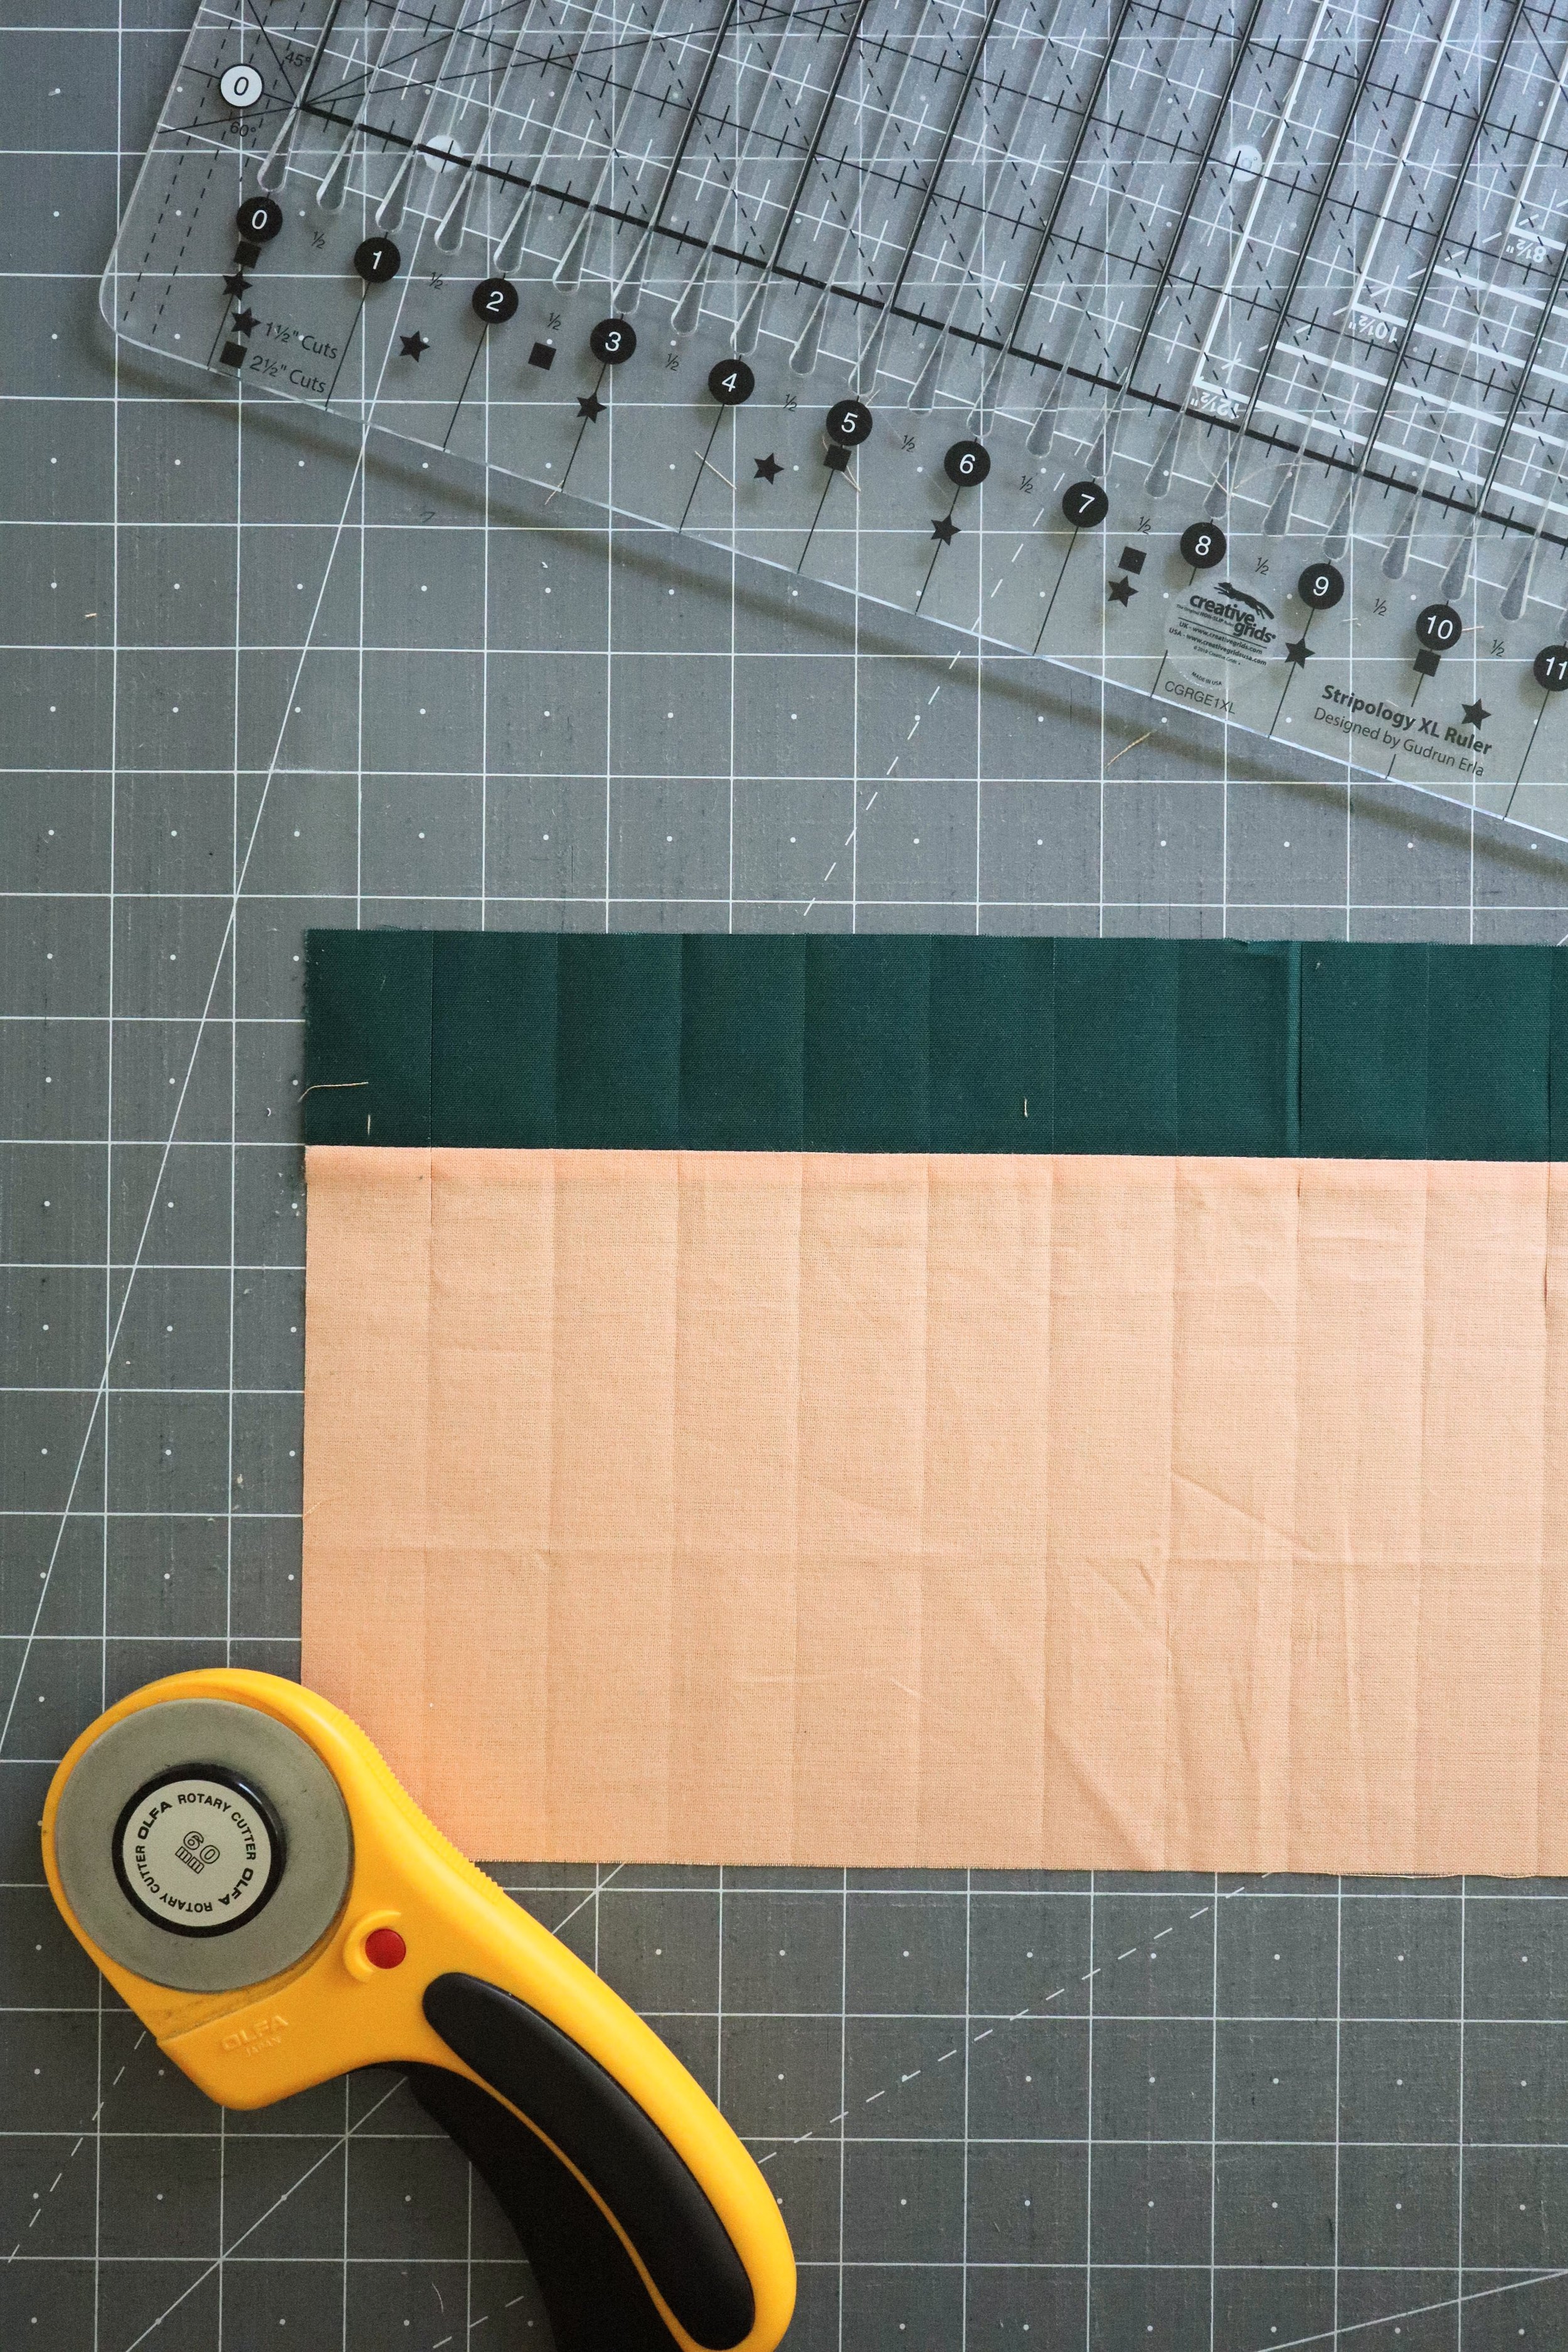
Once you’ve pinned, sewed, and pressed those seams open (I’ll talk more about this next week, but for now, just trust me!), we’ll be cutting 1” strips from these pieces. Only one size of the strips will fit in the Stripology ruler, so pull that out for the smaller strip units to make cutting go a little faster.
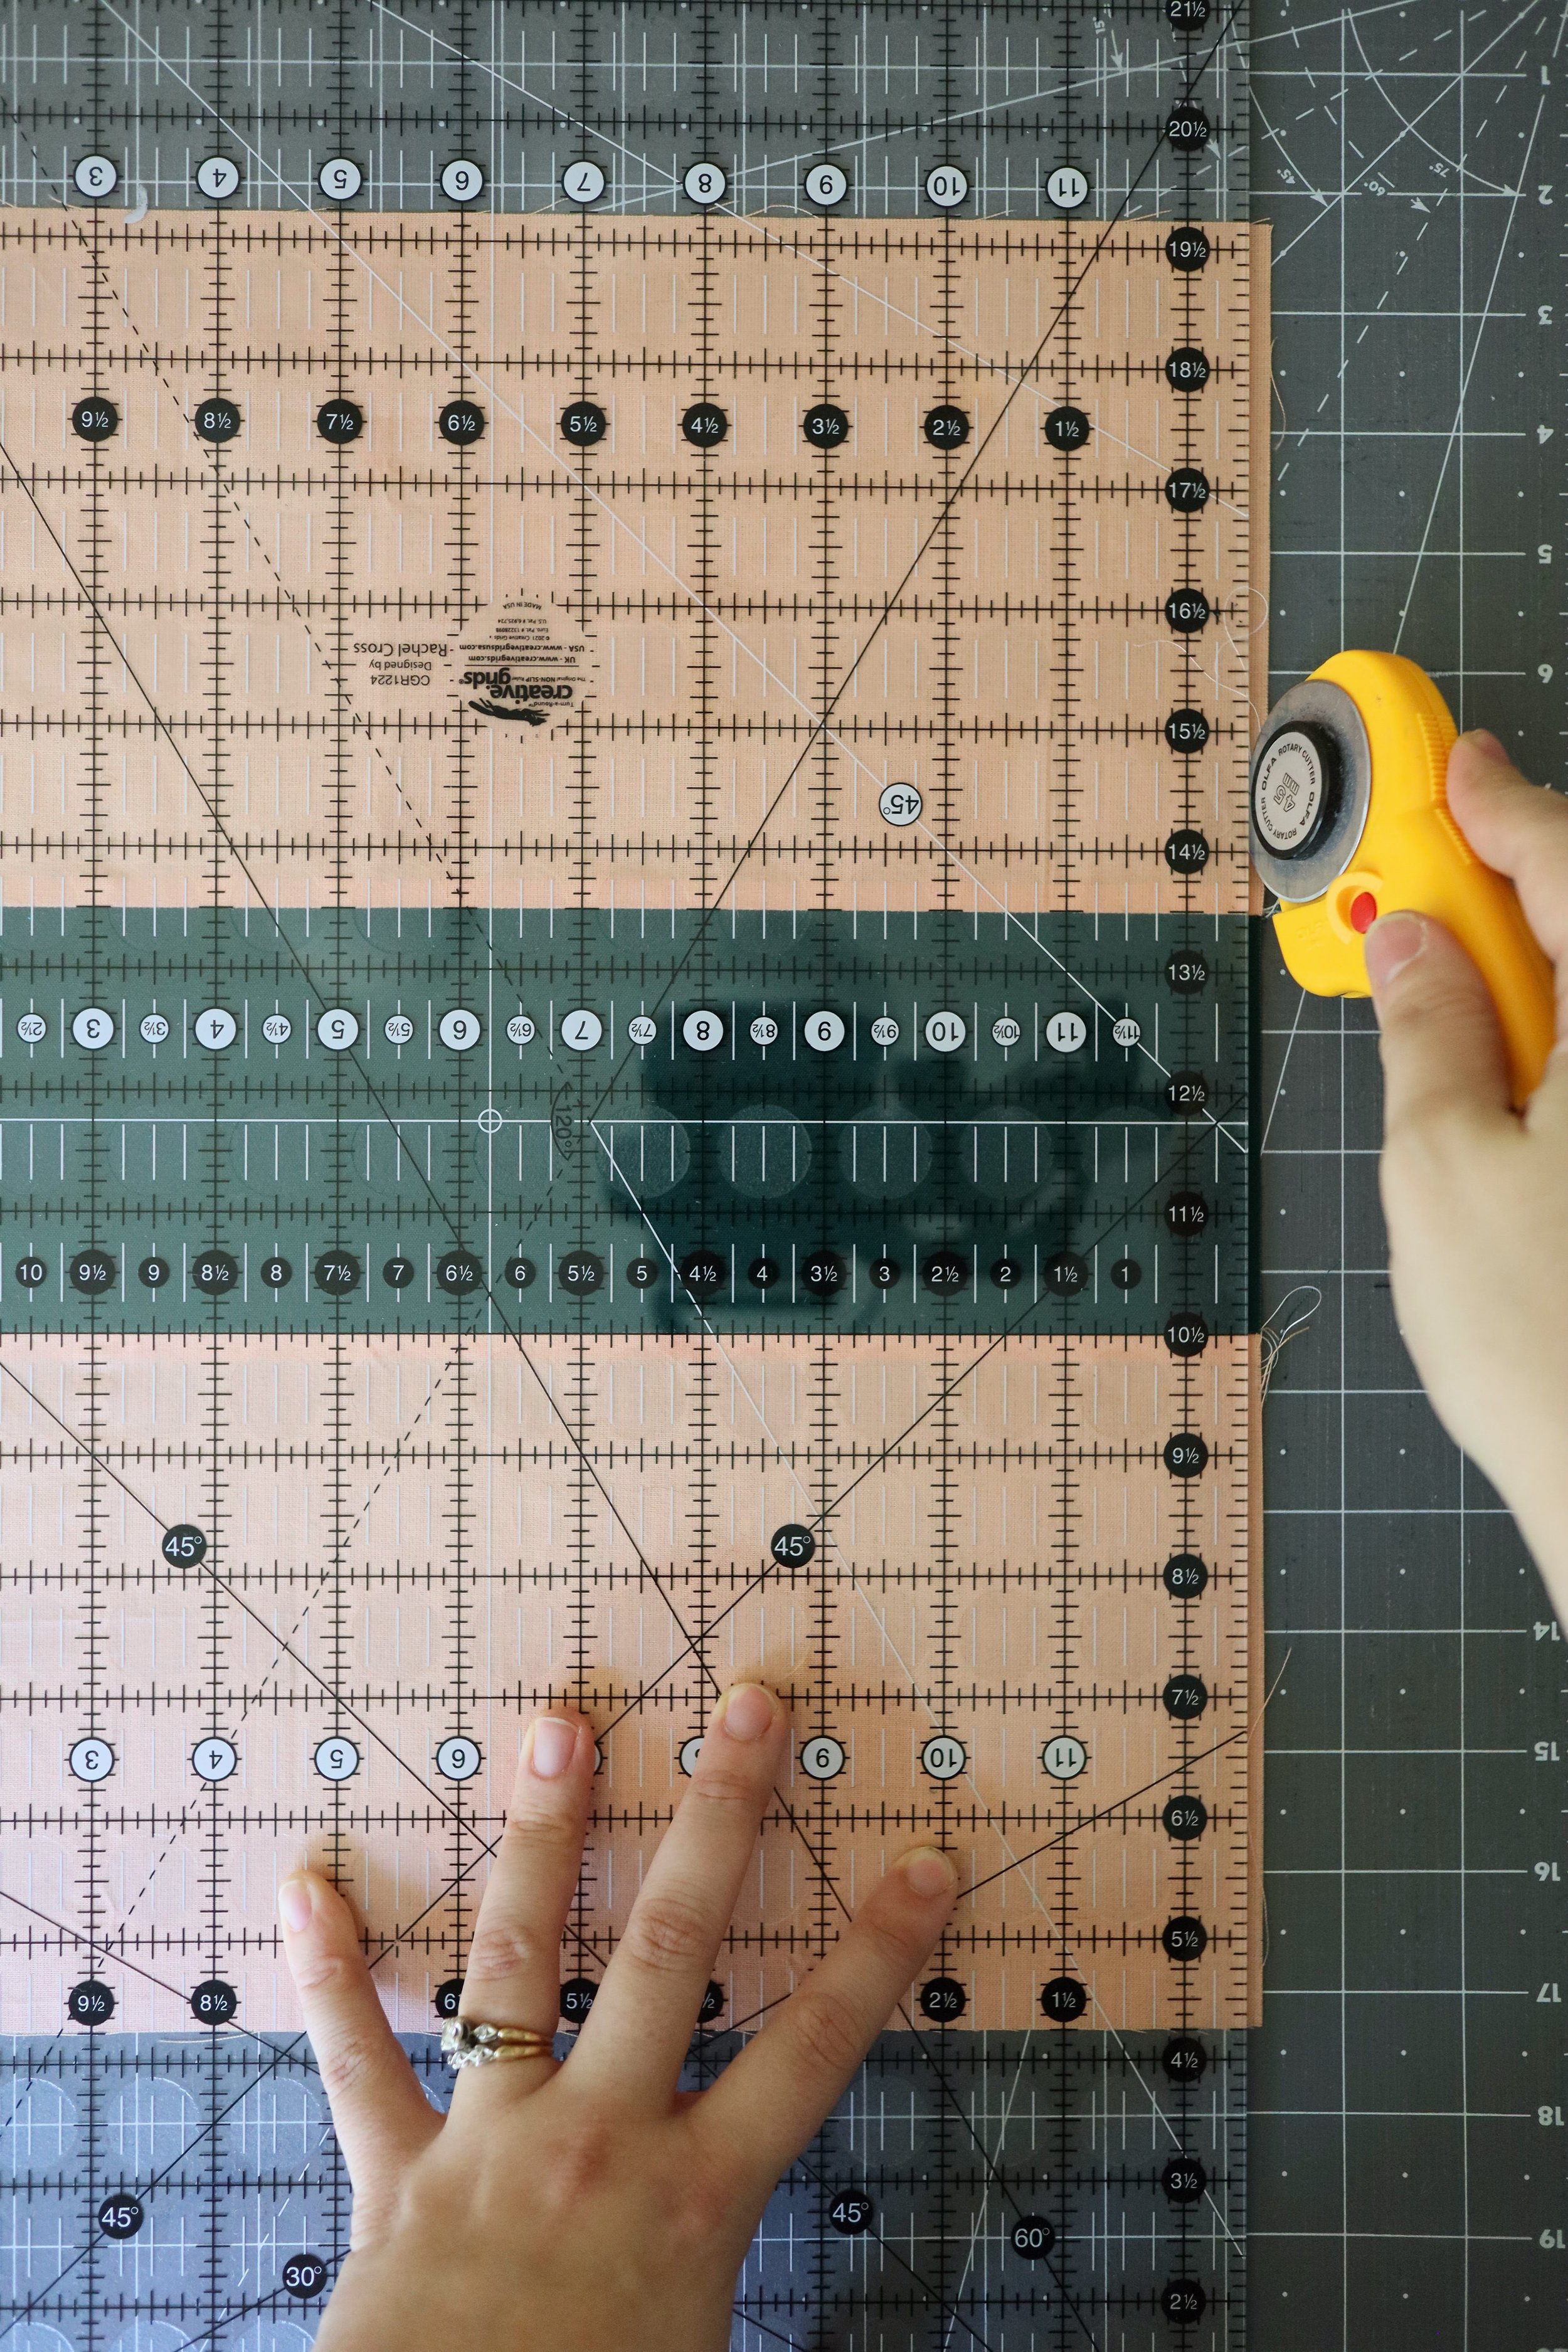
When using the standard ruler, I recommend using the ruler to measure your strips rather than the cutting mat. This will give you more control over your cutting and will result in straighter, more precise strips. I also recommend lining up your ruler along multiple lines to make sure everything is straight. You can see in my photos below, I lined up the ruler on the top and bottom edges as well as the two seam lines between Colors A and B. Trim off a sliver of fabric to straighten up the edge and then cut your 1” strips from there.

SCRAPPY PIECING
If your layout includes scrappy crosses (Color C pieces) like my After the Rain fabric pull, you will not be strip piecing, but will be piecing all those strip units individually. Go ahead and do that this week as well if you have the time, otherwise you have the option of choosing to piece these along with each week’s blocks. It’s up to you!
When placing these strips right sides together for piecing, make sure the top and bottom edge line up along with the edge you’re about to sew. Your top piece should completely overlap from top edge to bottom edge without any of the bottom fabric “peeking” out. This will keep your strip unit nice and straight!

Week 2 Goal #3: Layout
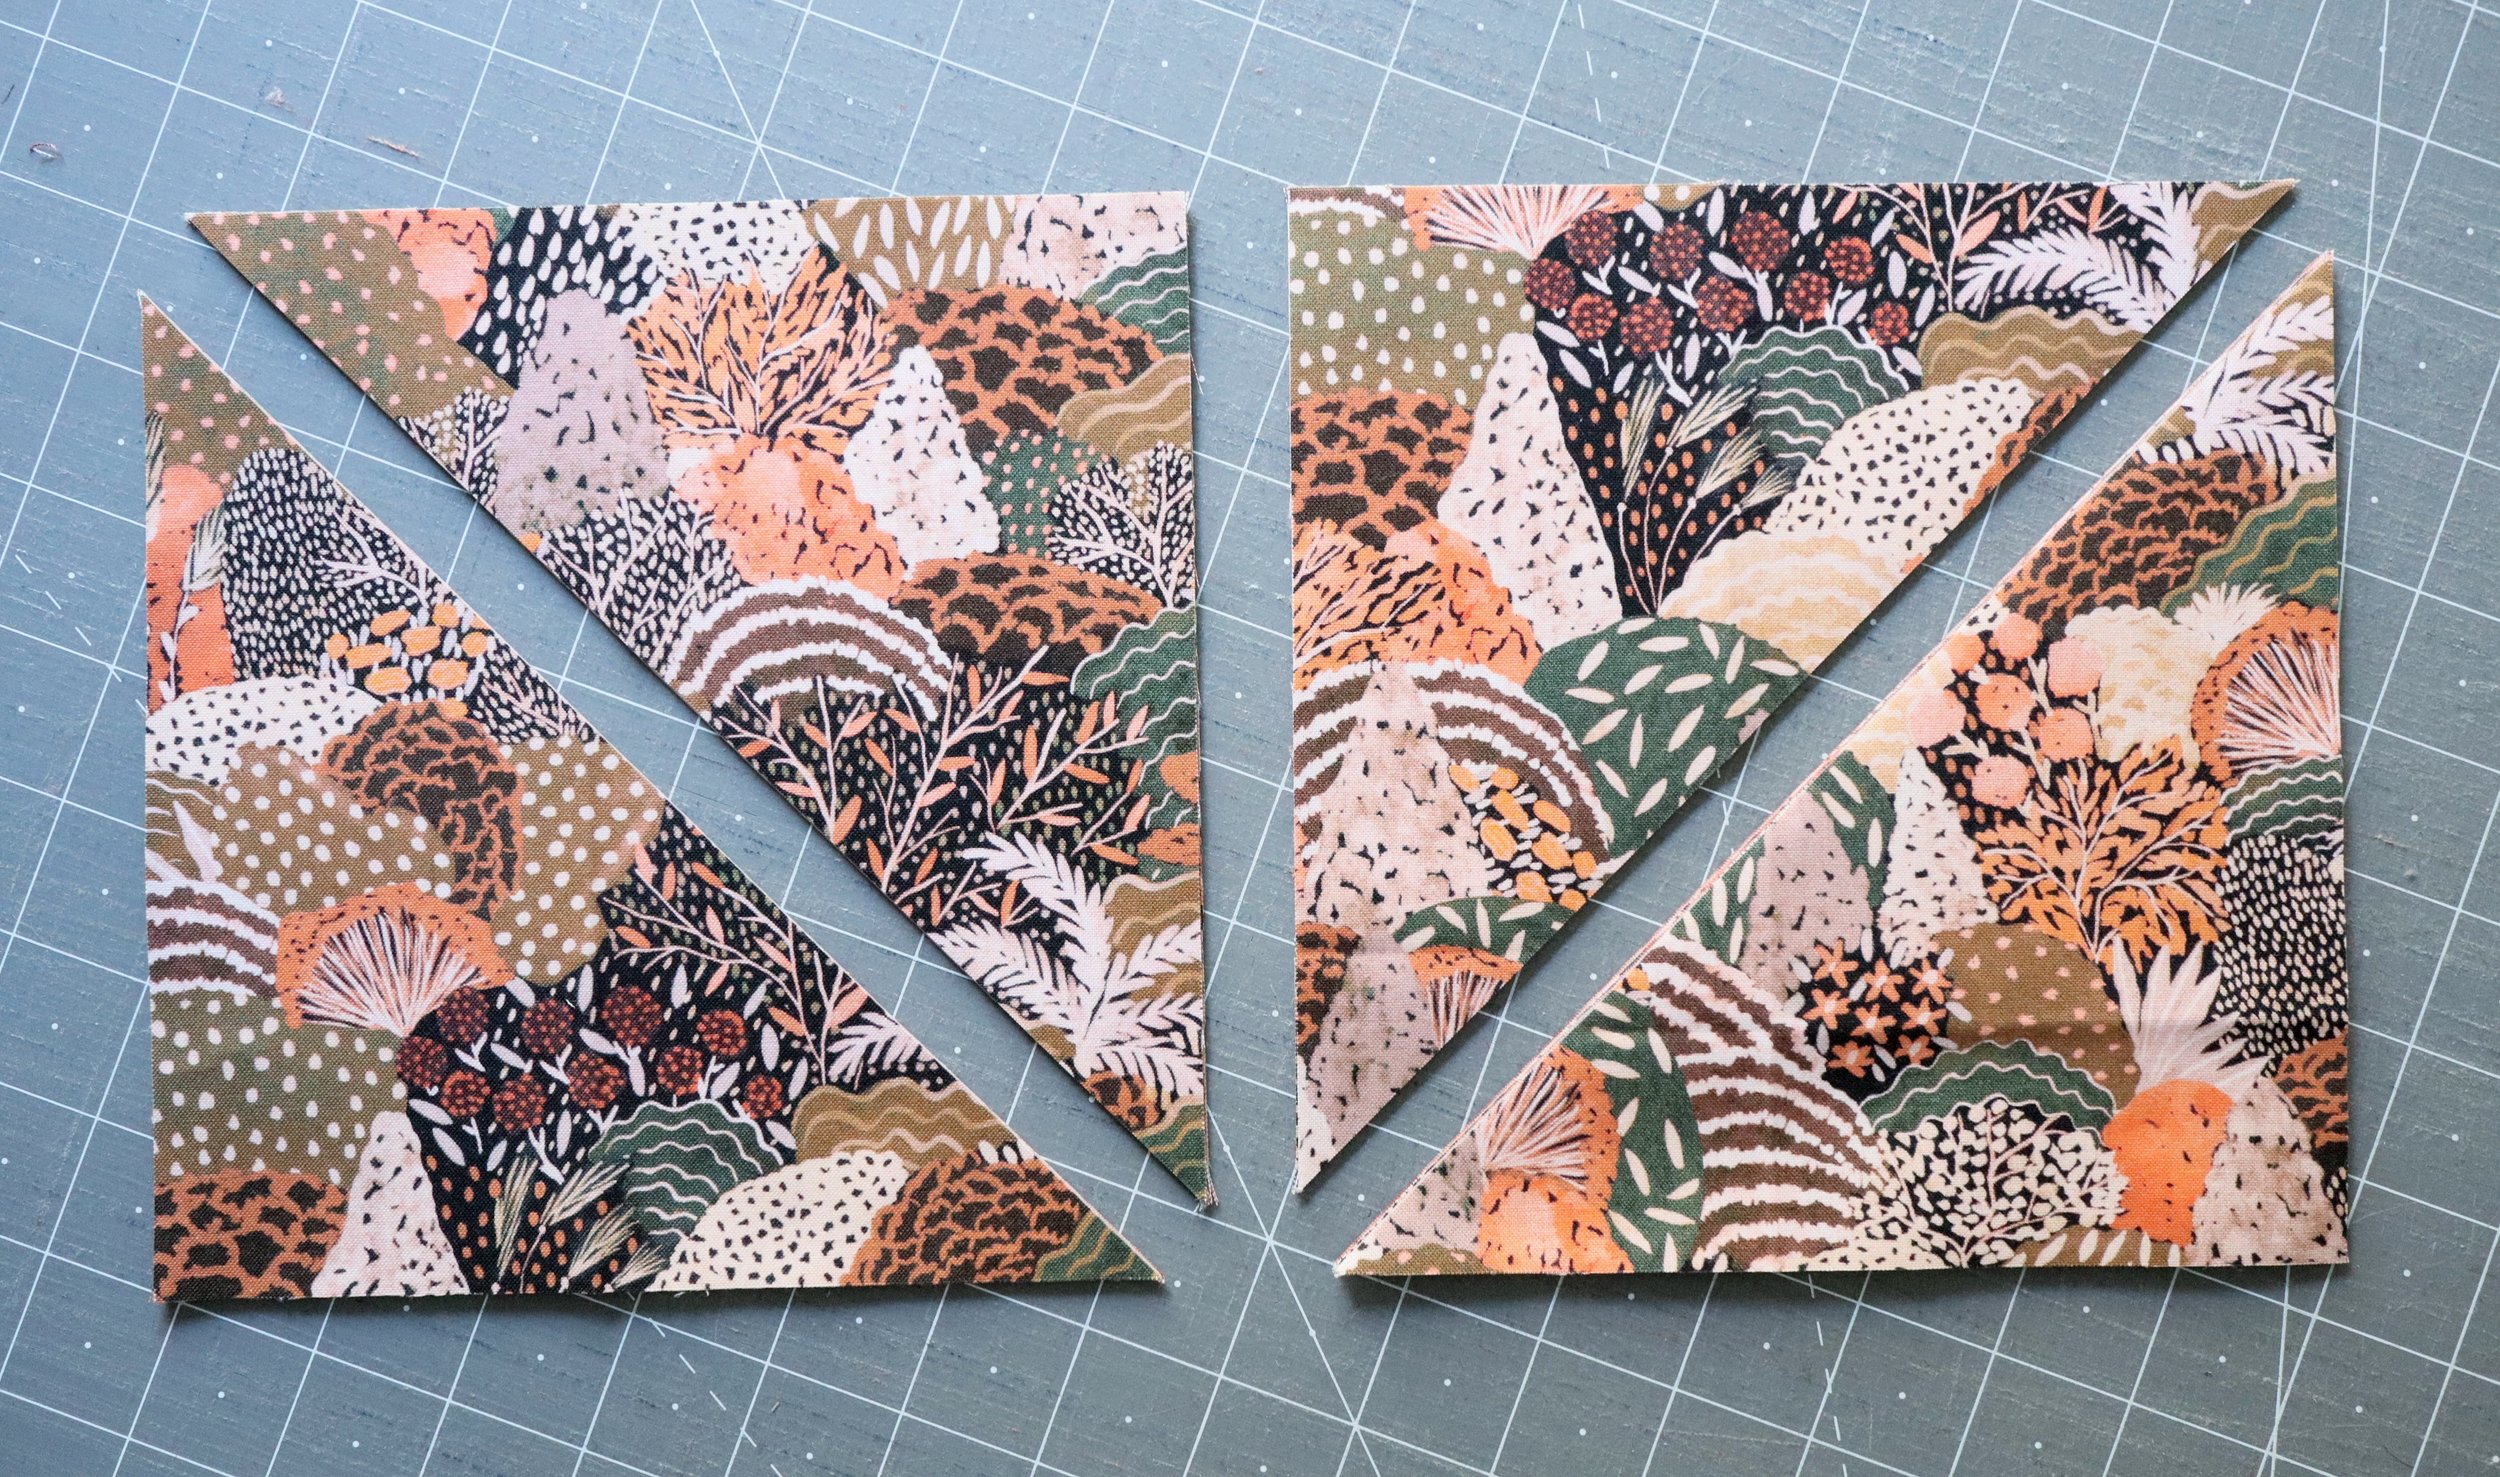
Our last item on the “to do” list this week is to create a layout for your quilt top. If you’re making the 3-color variation, you get to skip this step! For those making the fat quarter, fat eighth, or scrappy version, FIRST, make sure to cut all your squares in half diagonally from corner to corner. This step is in the block assembly instructions, not in the cutting instructions, but you’ll want to do this before you can create your layout. If you’re using directional fabric and want to keep everything facing the same direction, divide the pieces in half and cut each pile in opposite directions like this:
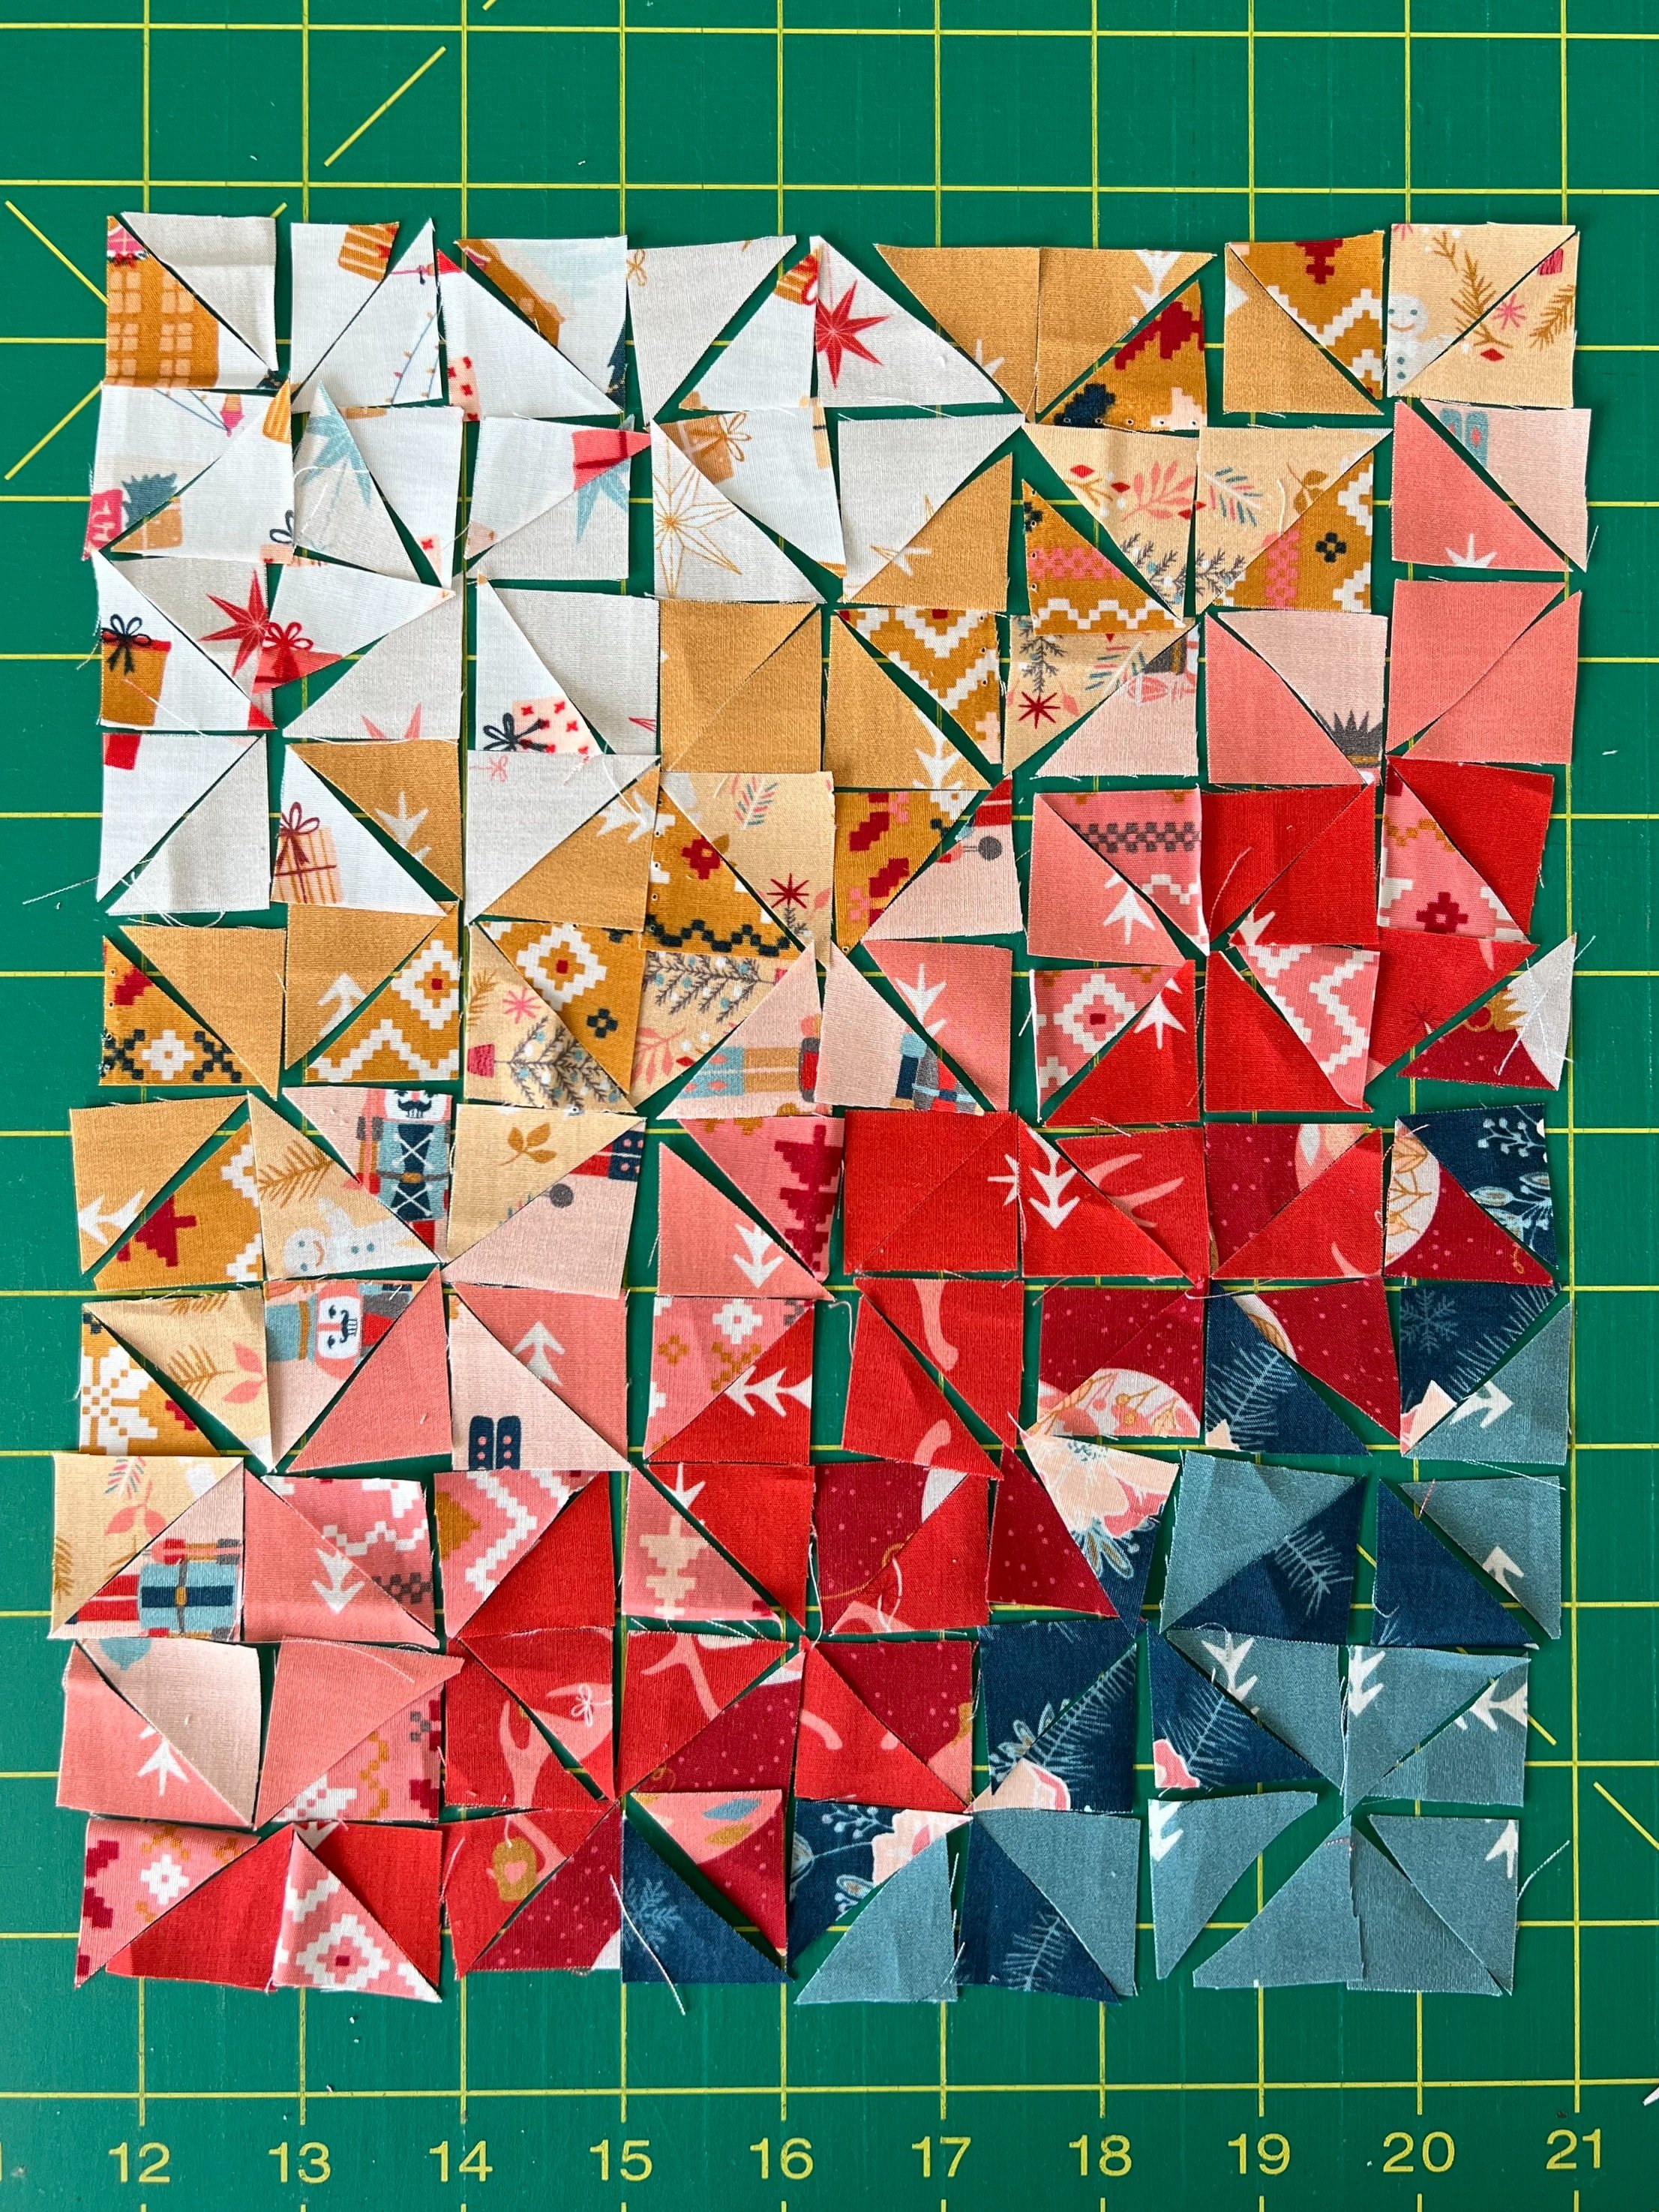
Once your squares are cut, find a large space where you can lay out your pieces. I use my design wall, which is made up of two large rigid insulation boards wrapped in flannel, but you can also lay your pieces out on the floor. Alternatively, if you’re short on space, you can use scraps to make a mini Adjourn layout like Katie from Crestview Quilts did! And because my design board was taken up by my other design, I followed suit!
You only need to lay out the Color A pieces, don’t worry about the Color B or Color C pieces unless you’re using multiple fabrics for these. As it turns out, that’s just what I’m doing for my Color C pieces in my Boccaccini Meadows pull! So I actually did lay out both A and C on my design wall.
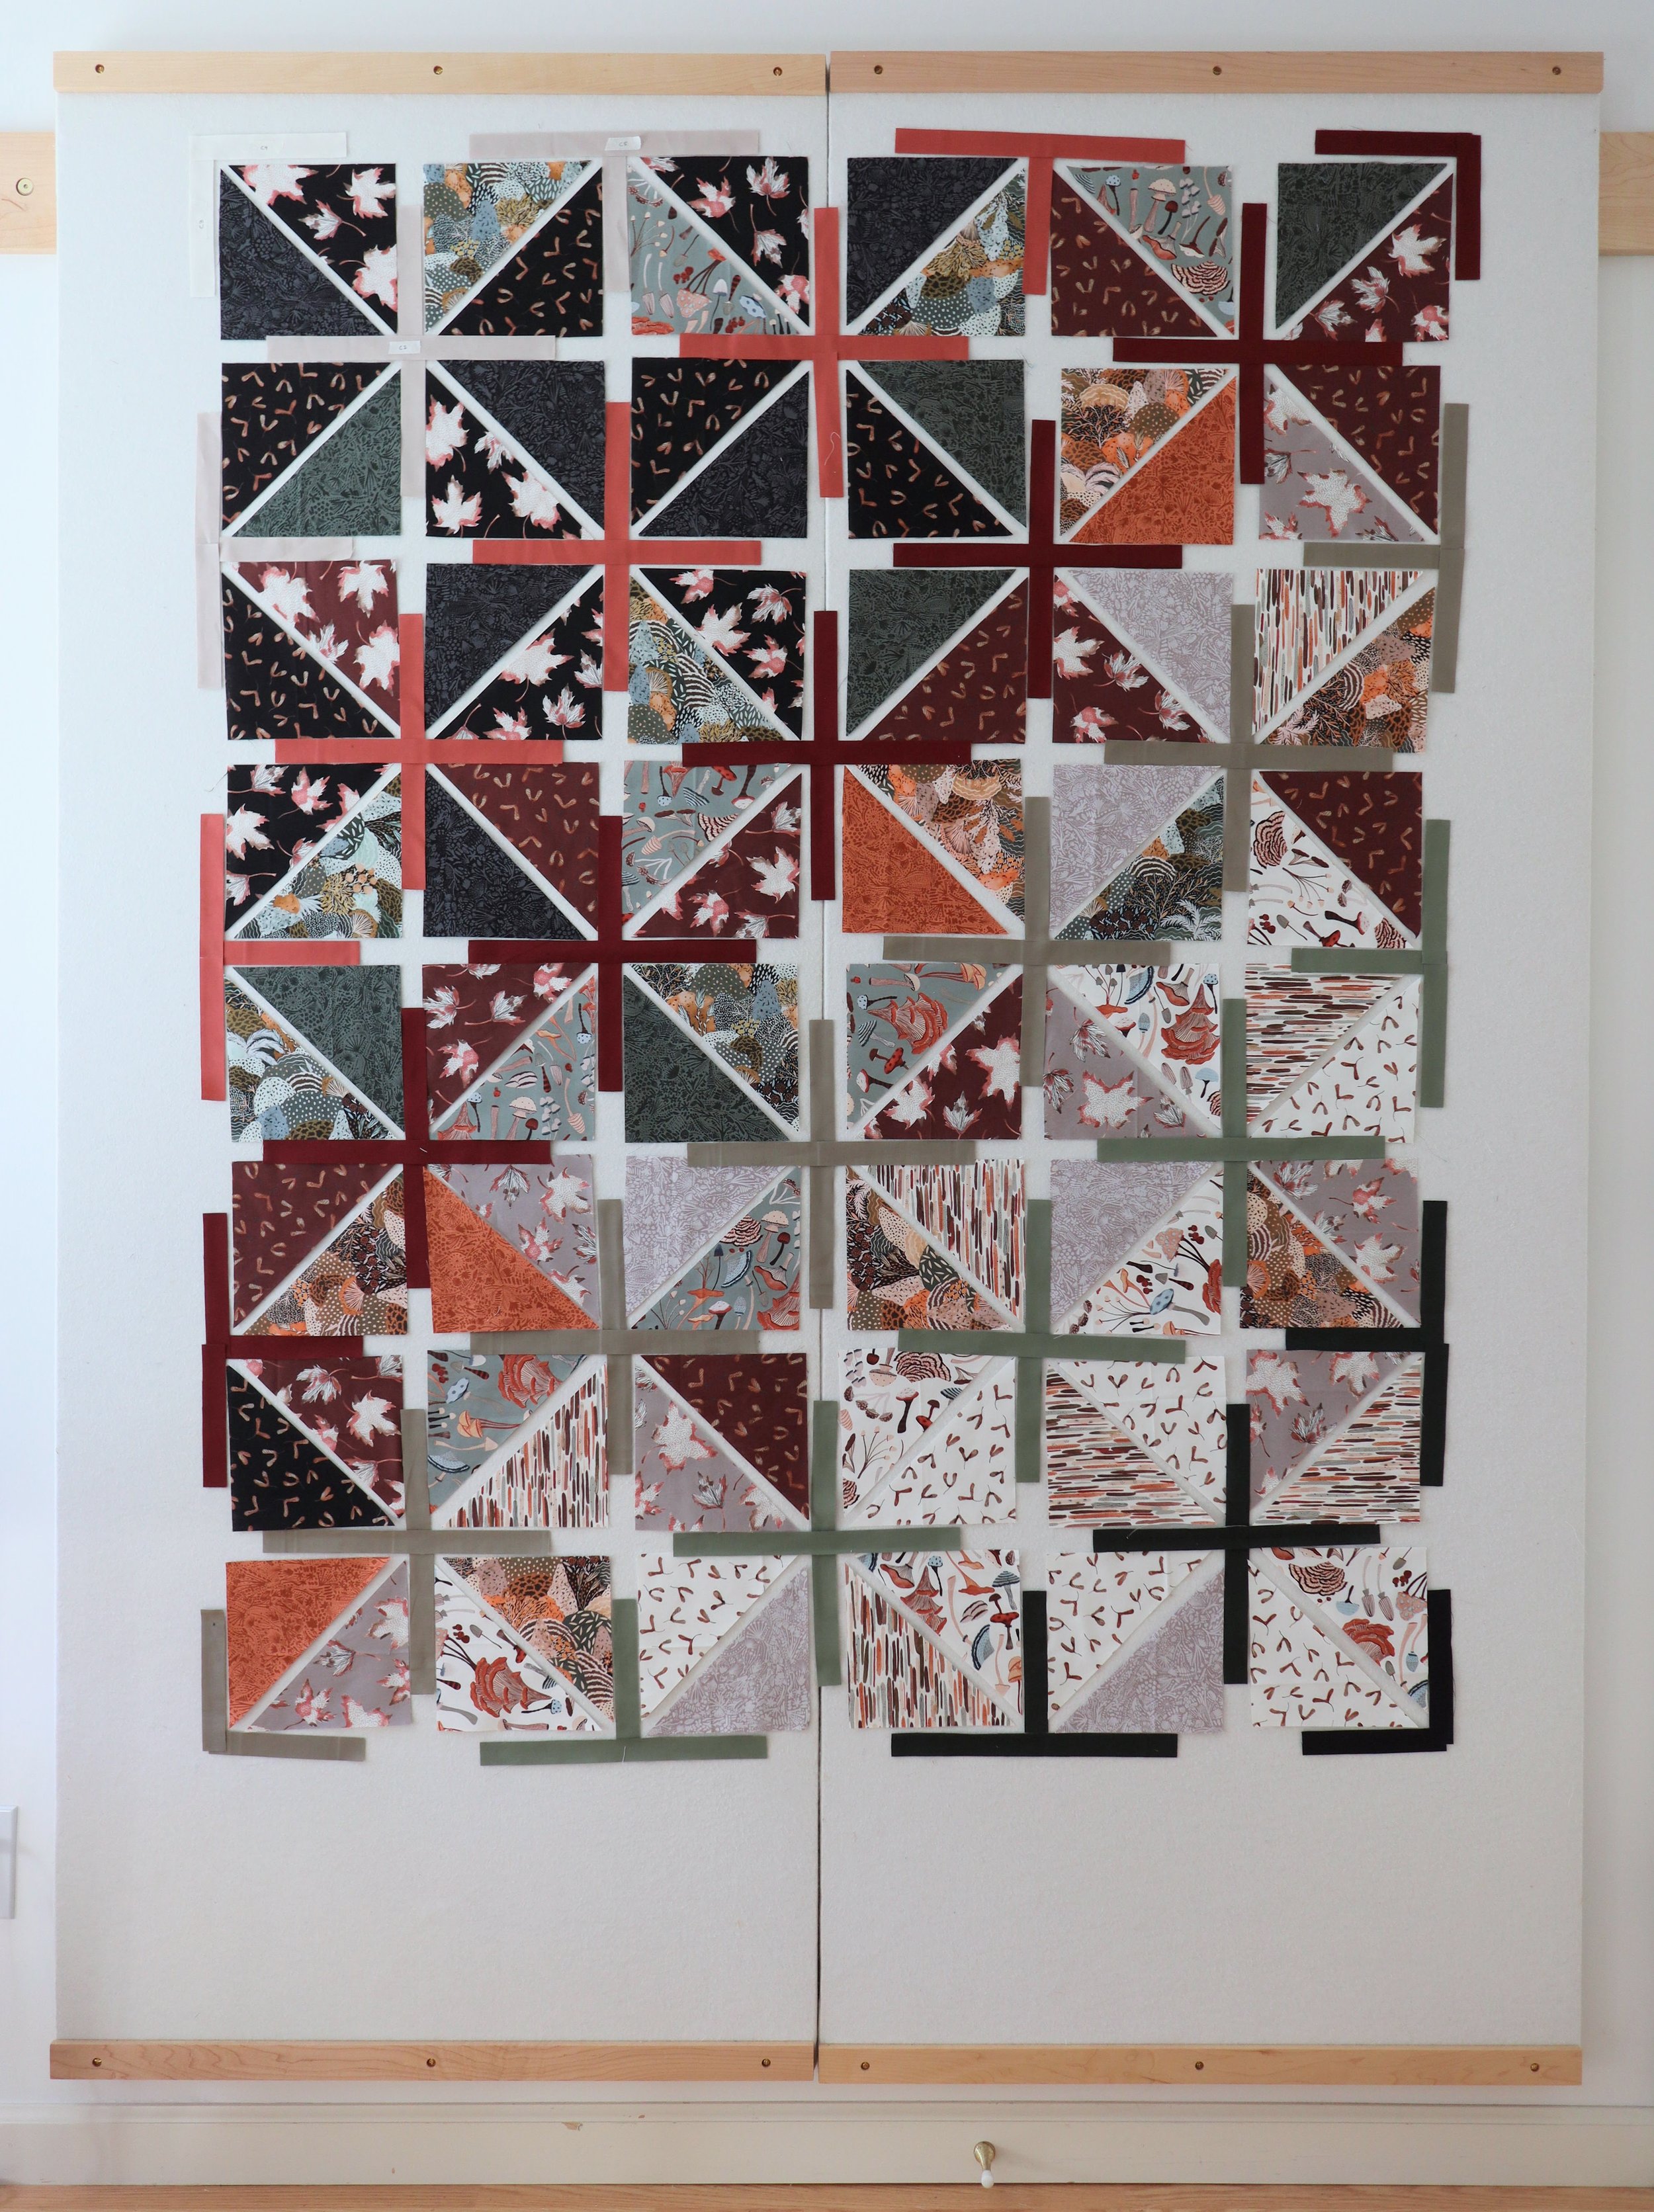
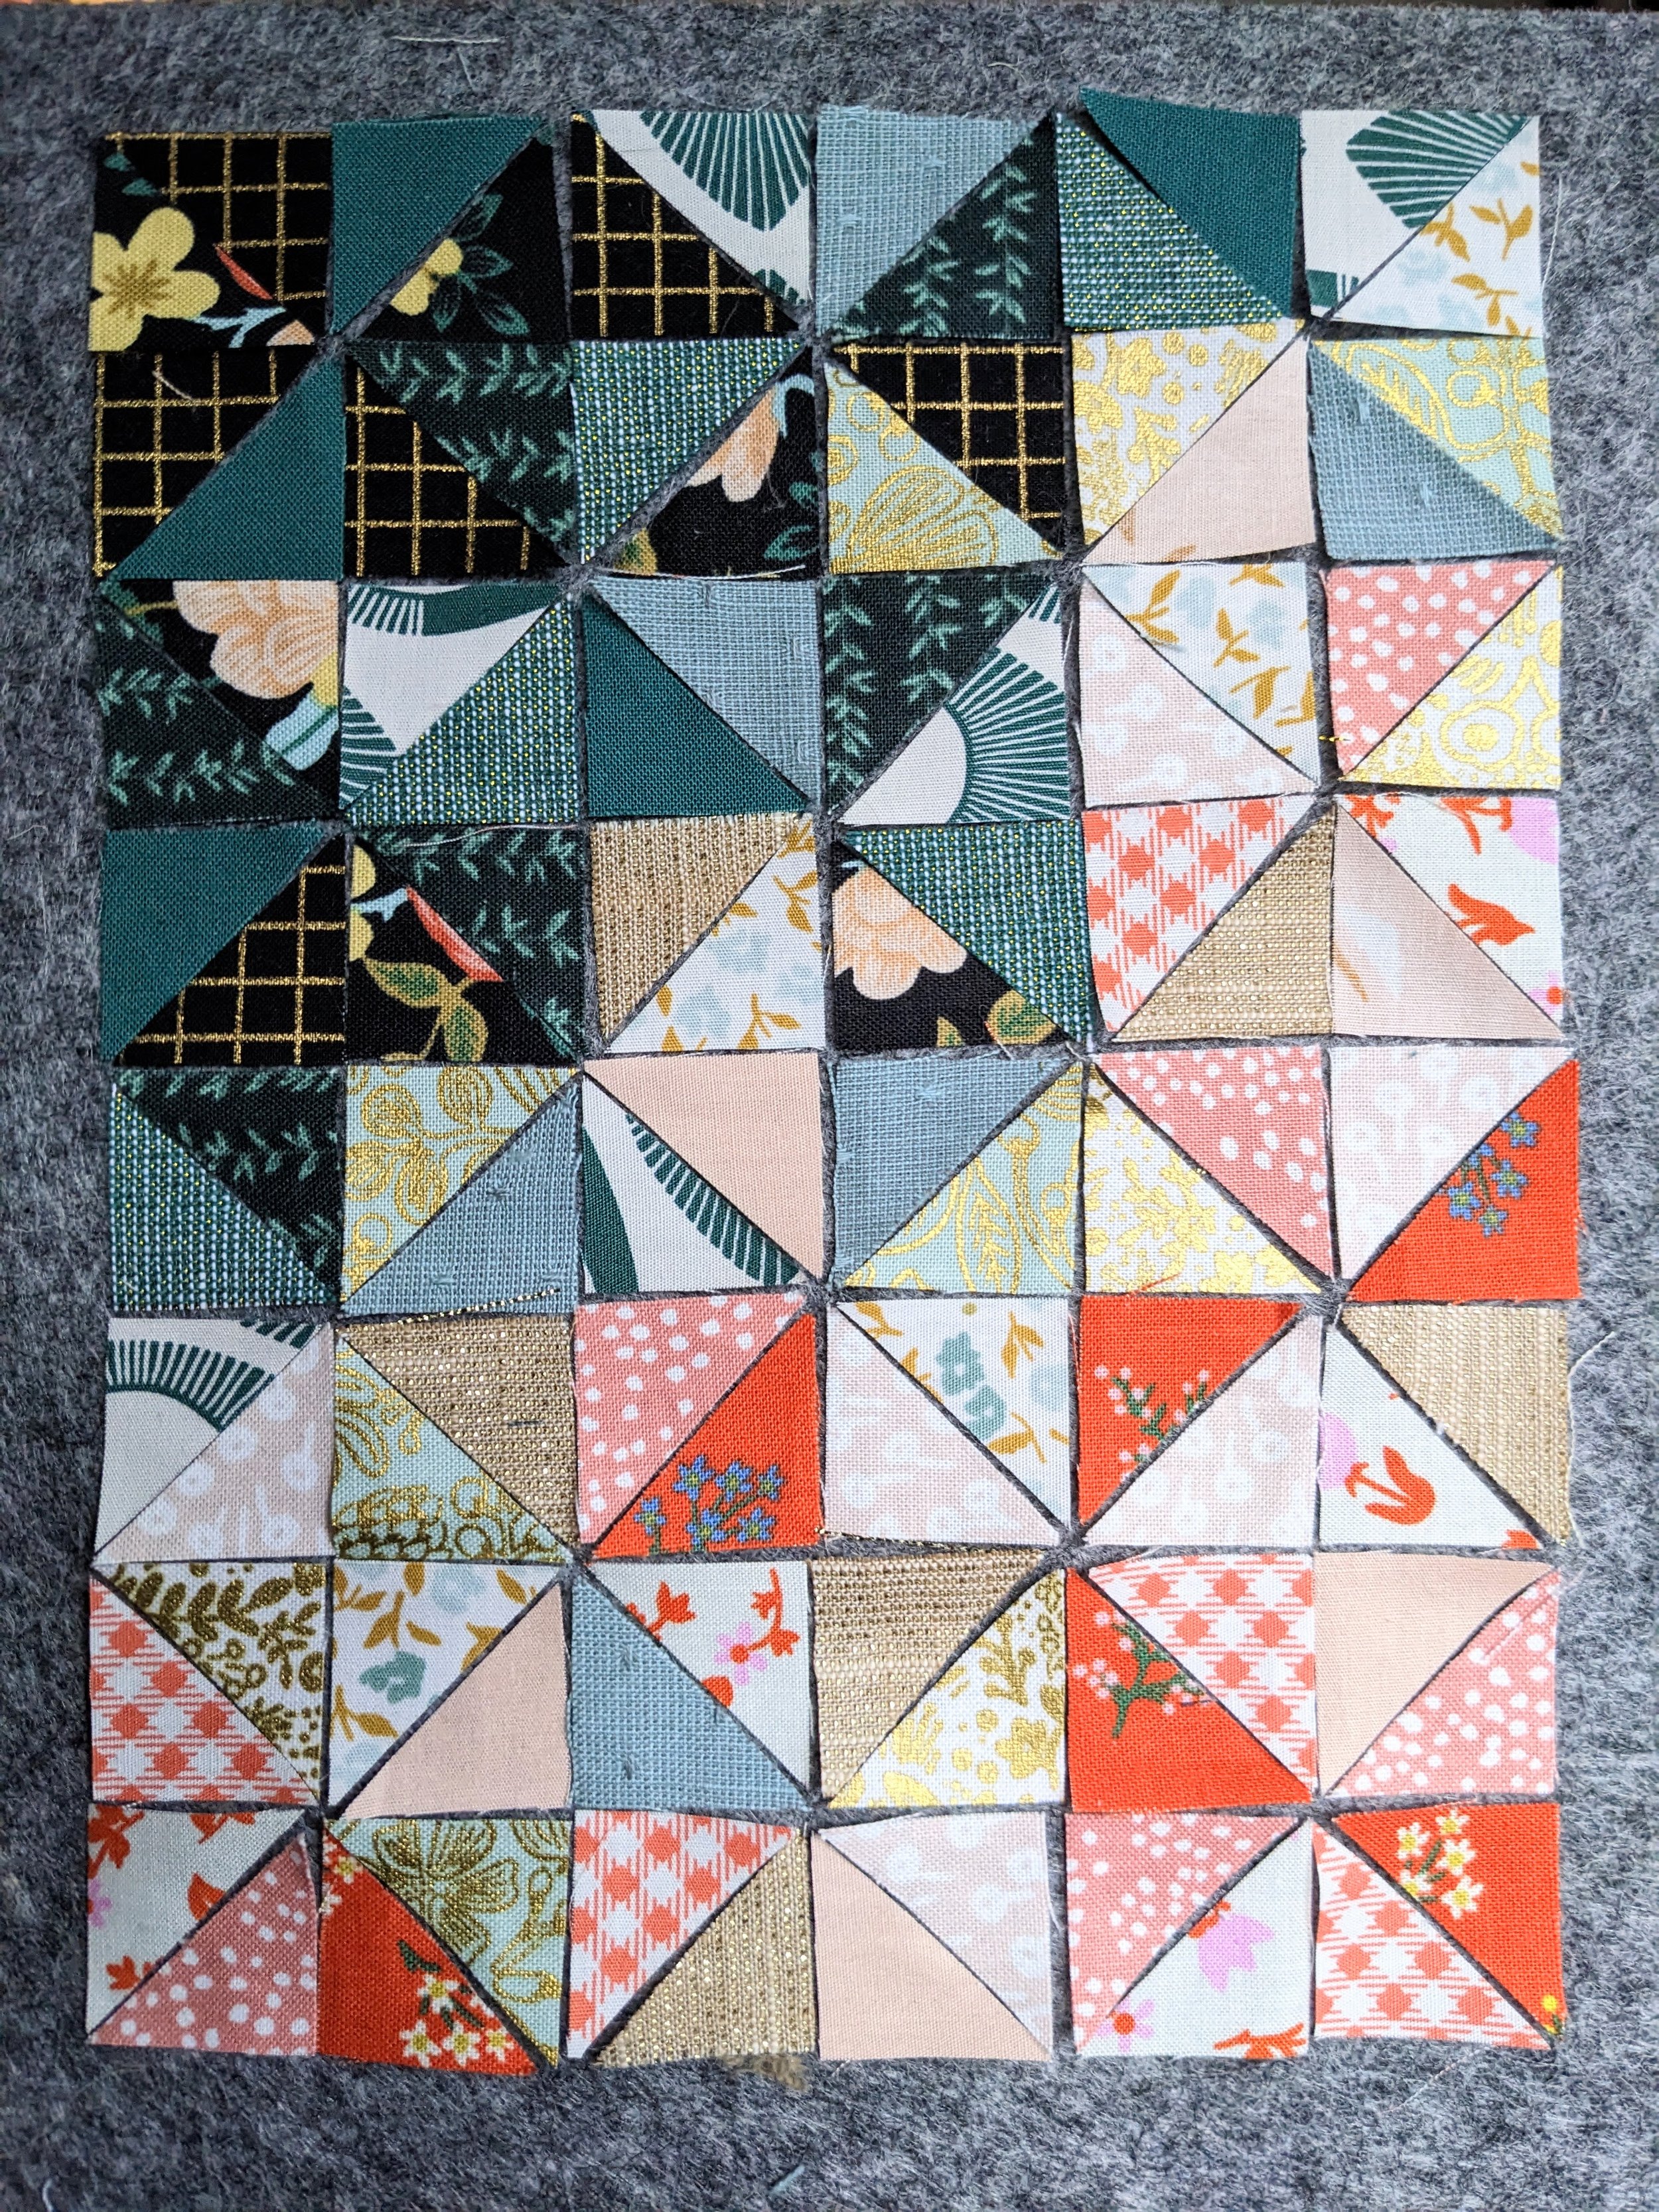
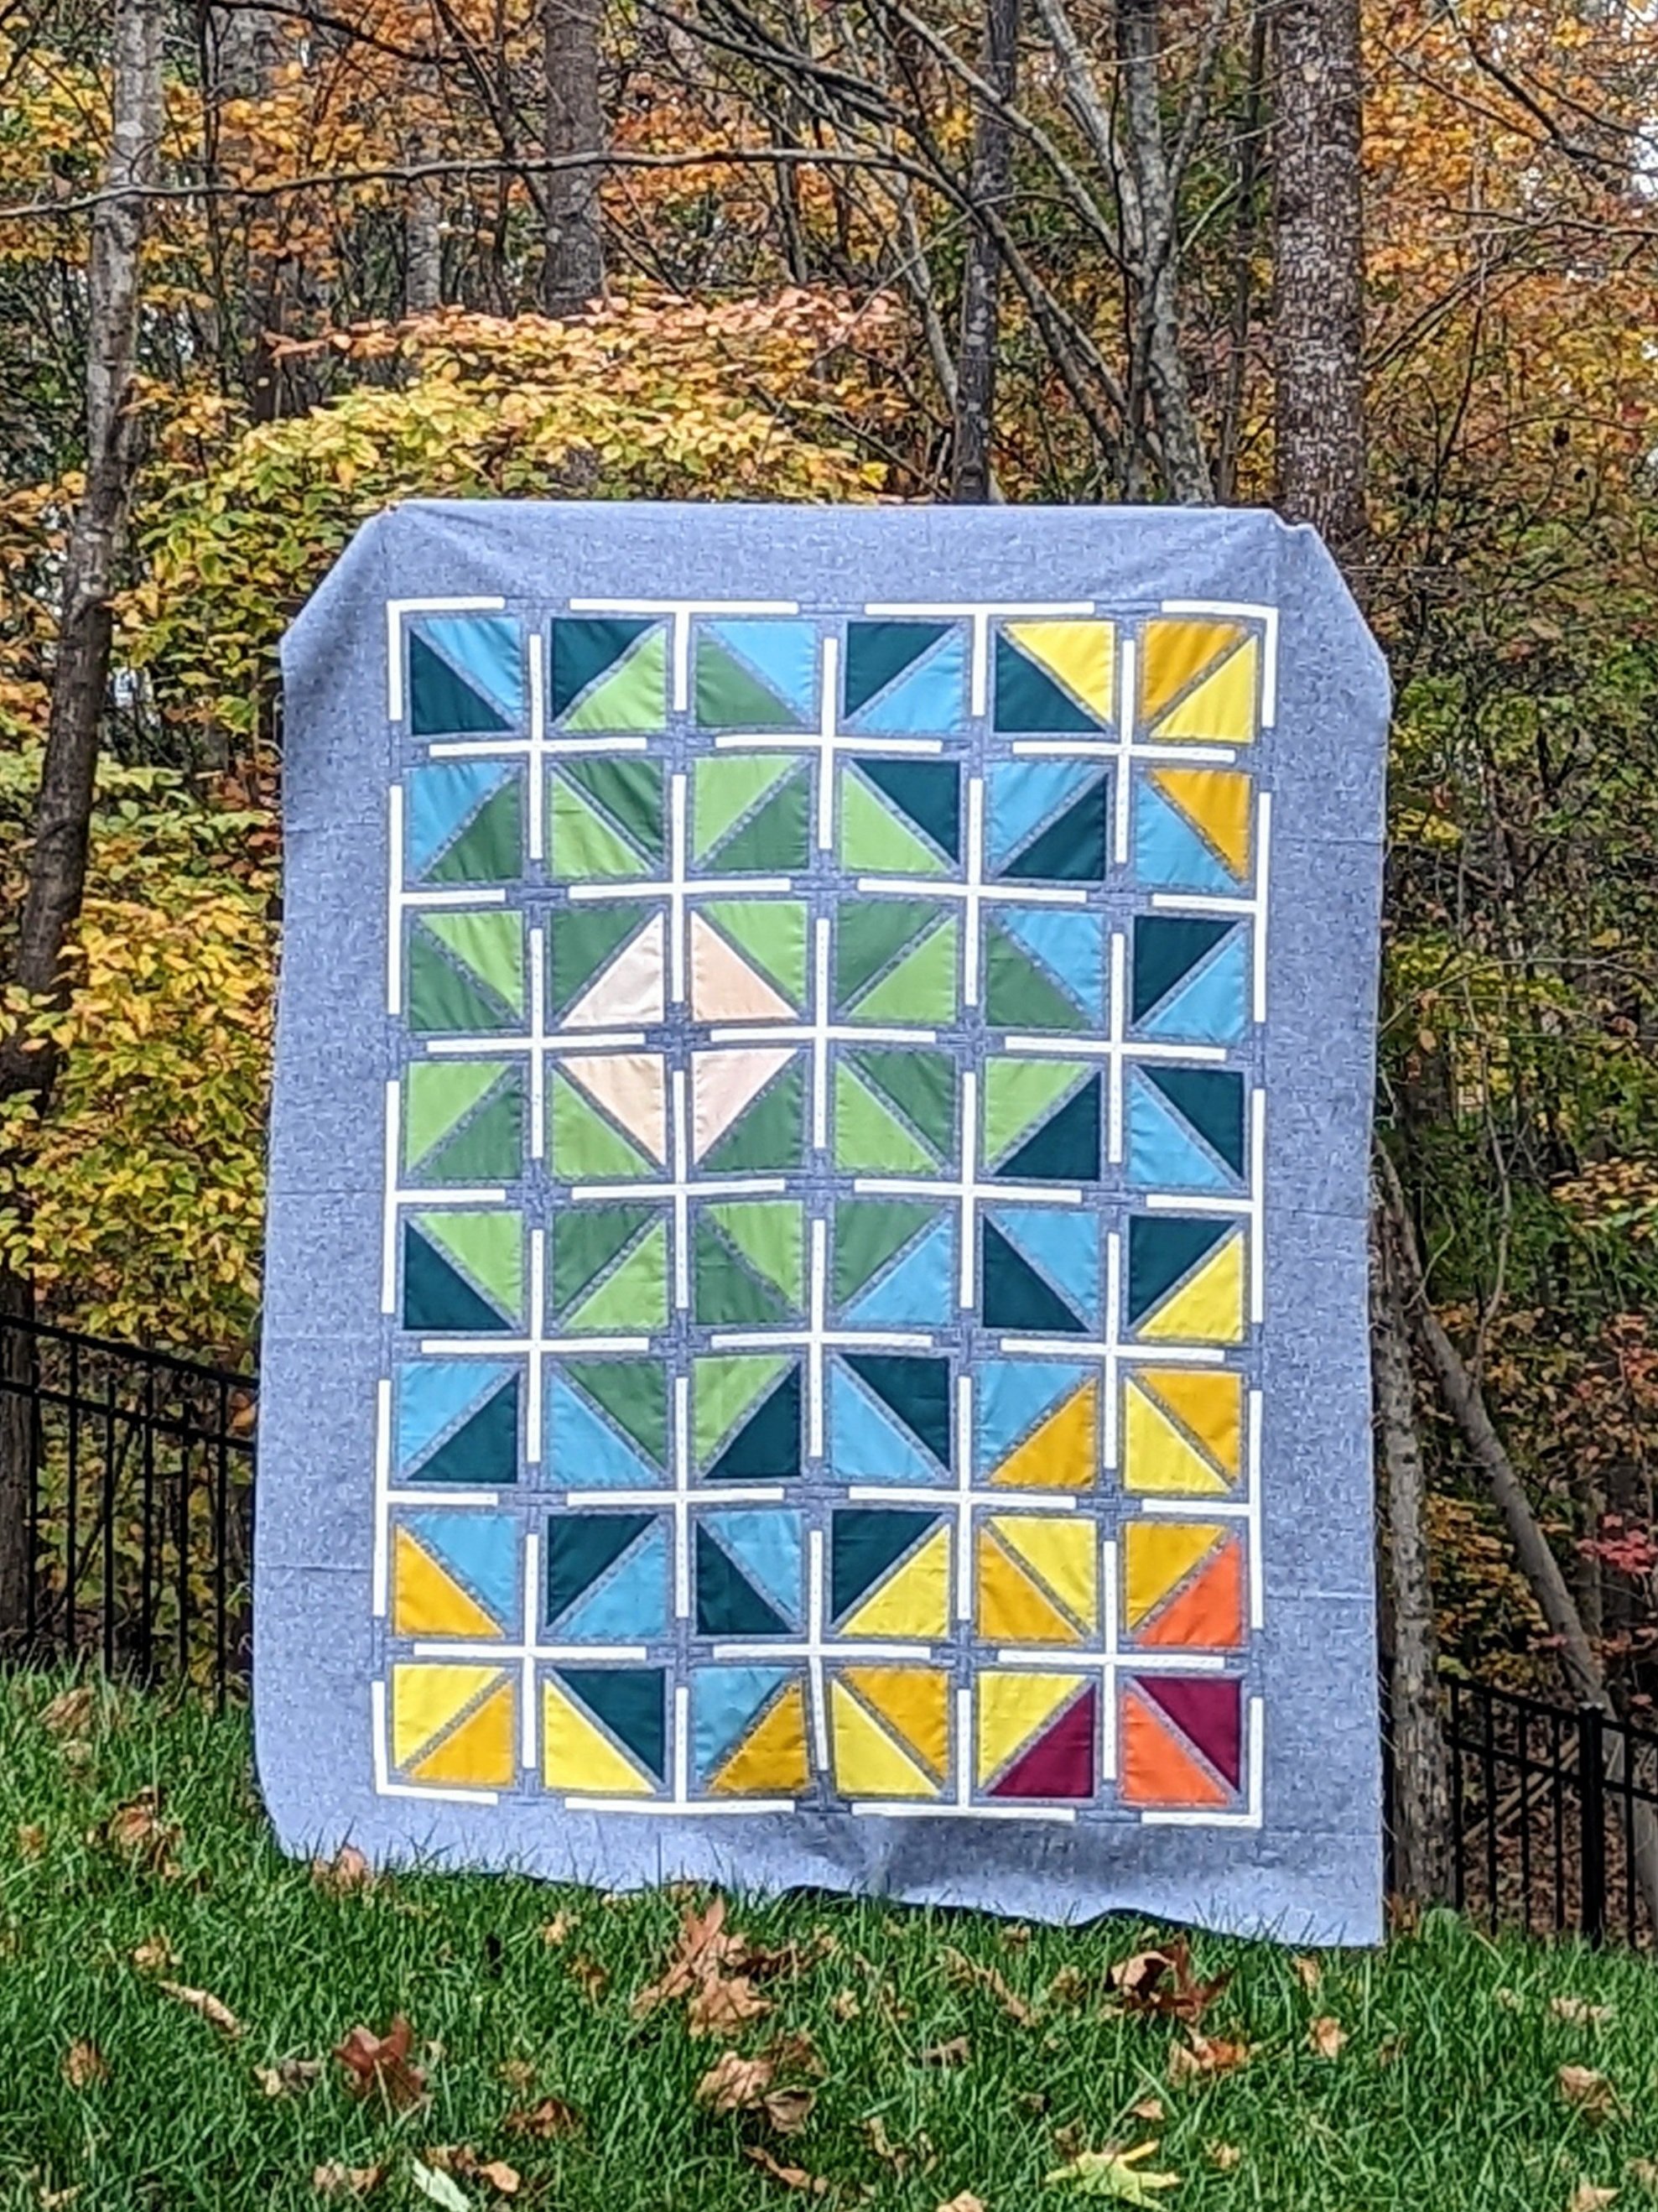
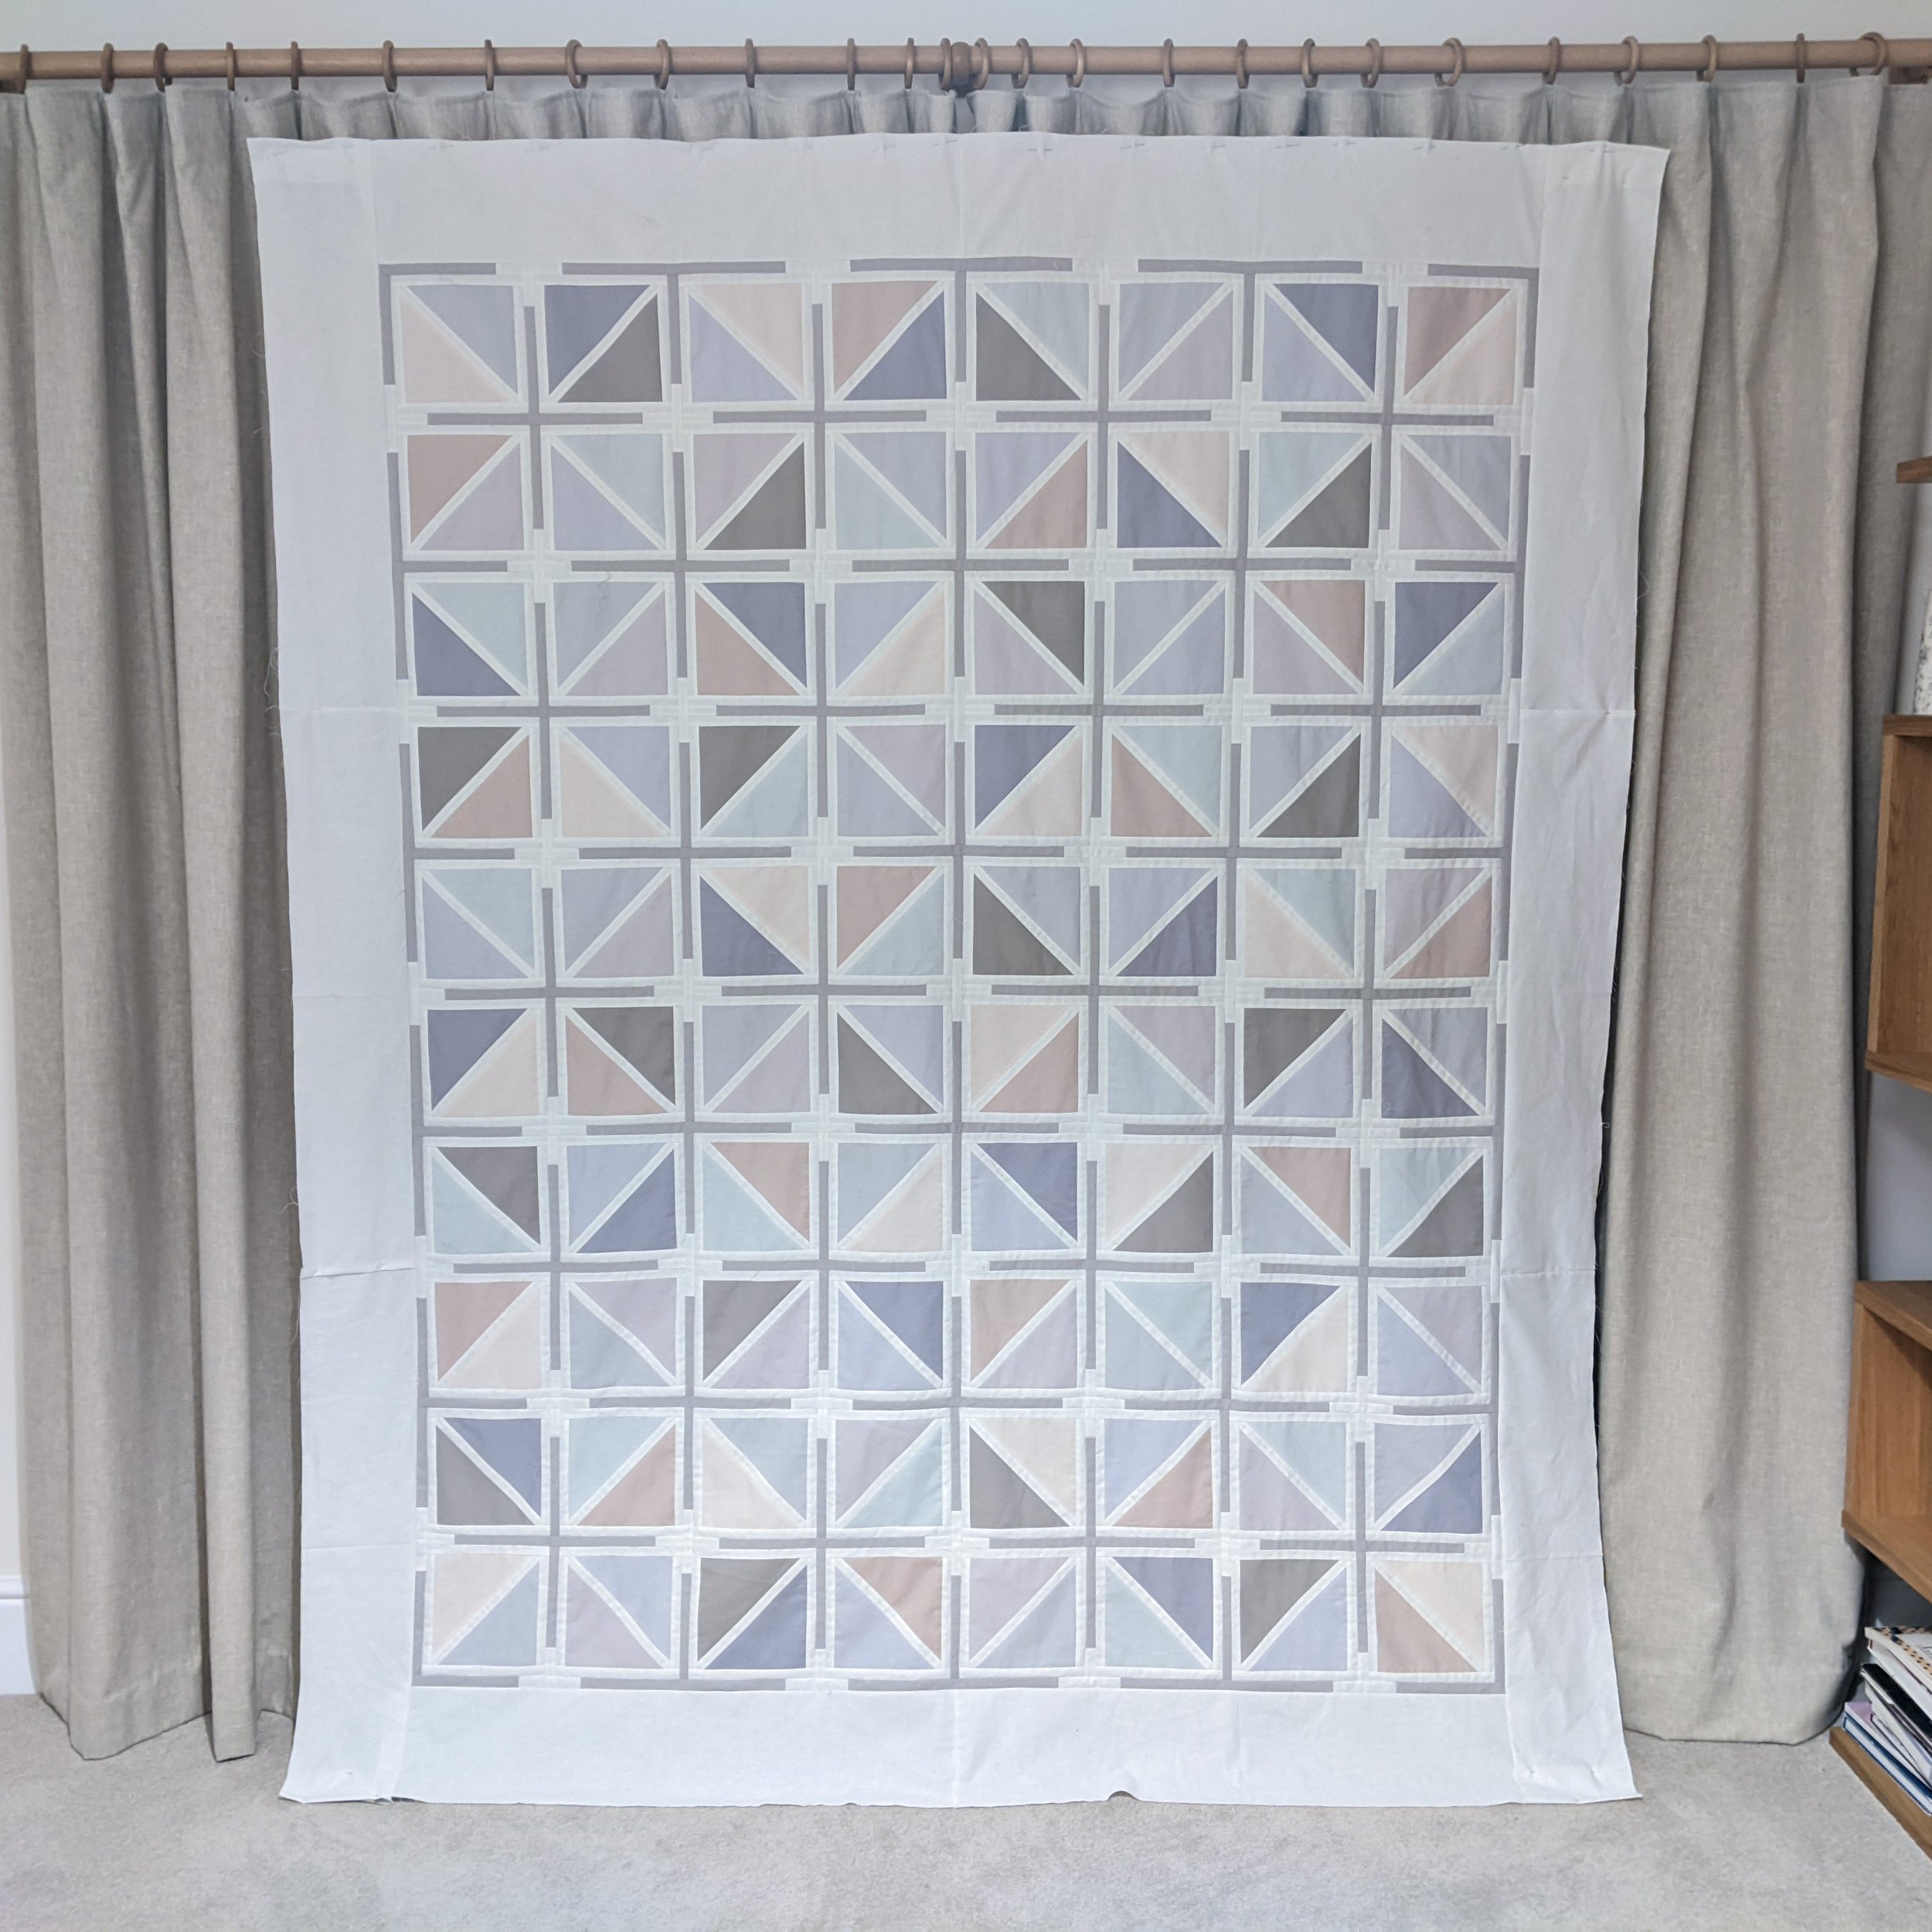
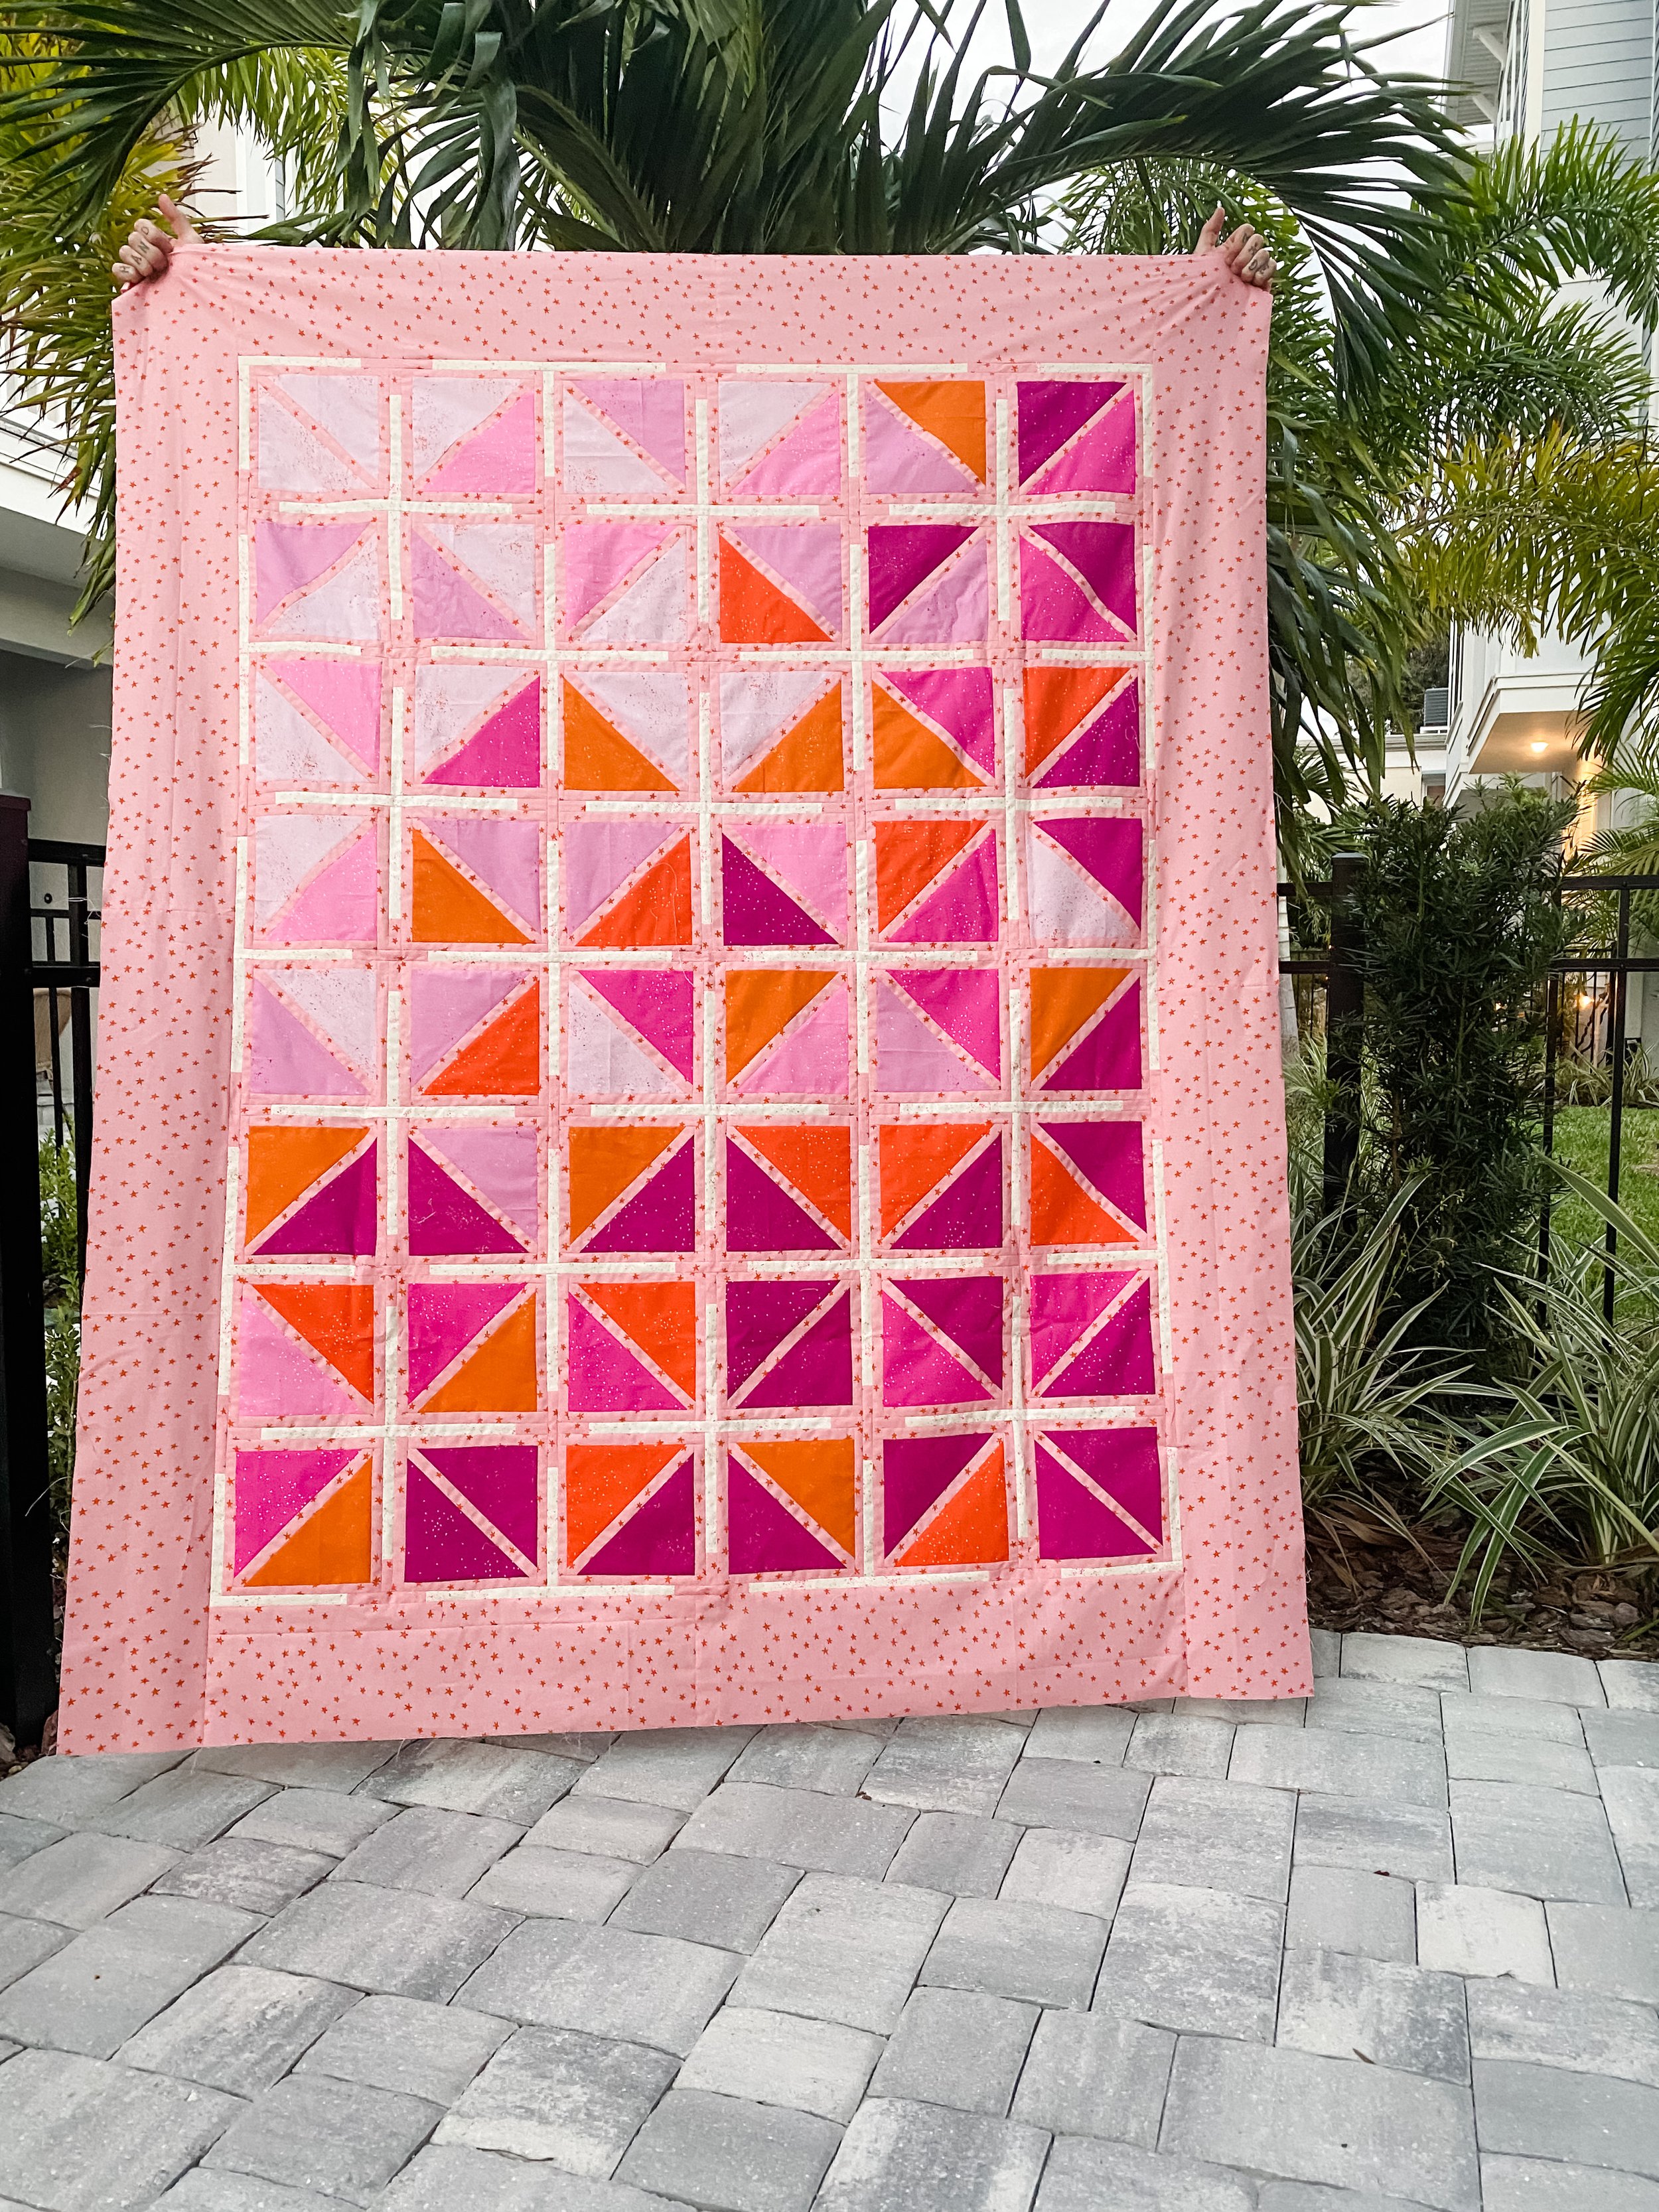
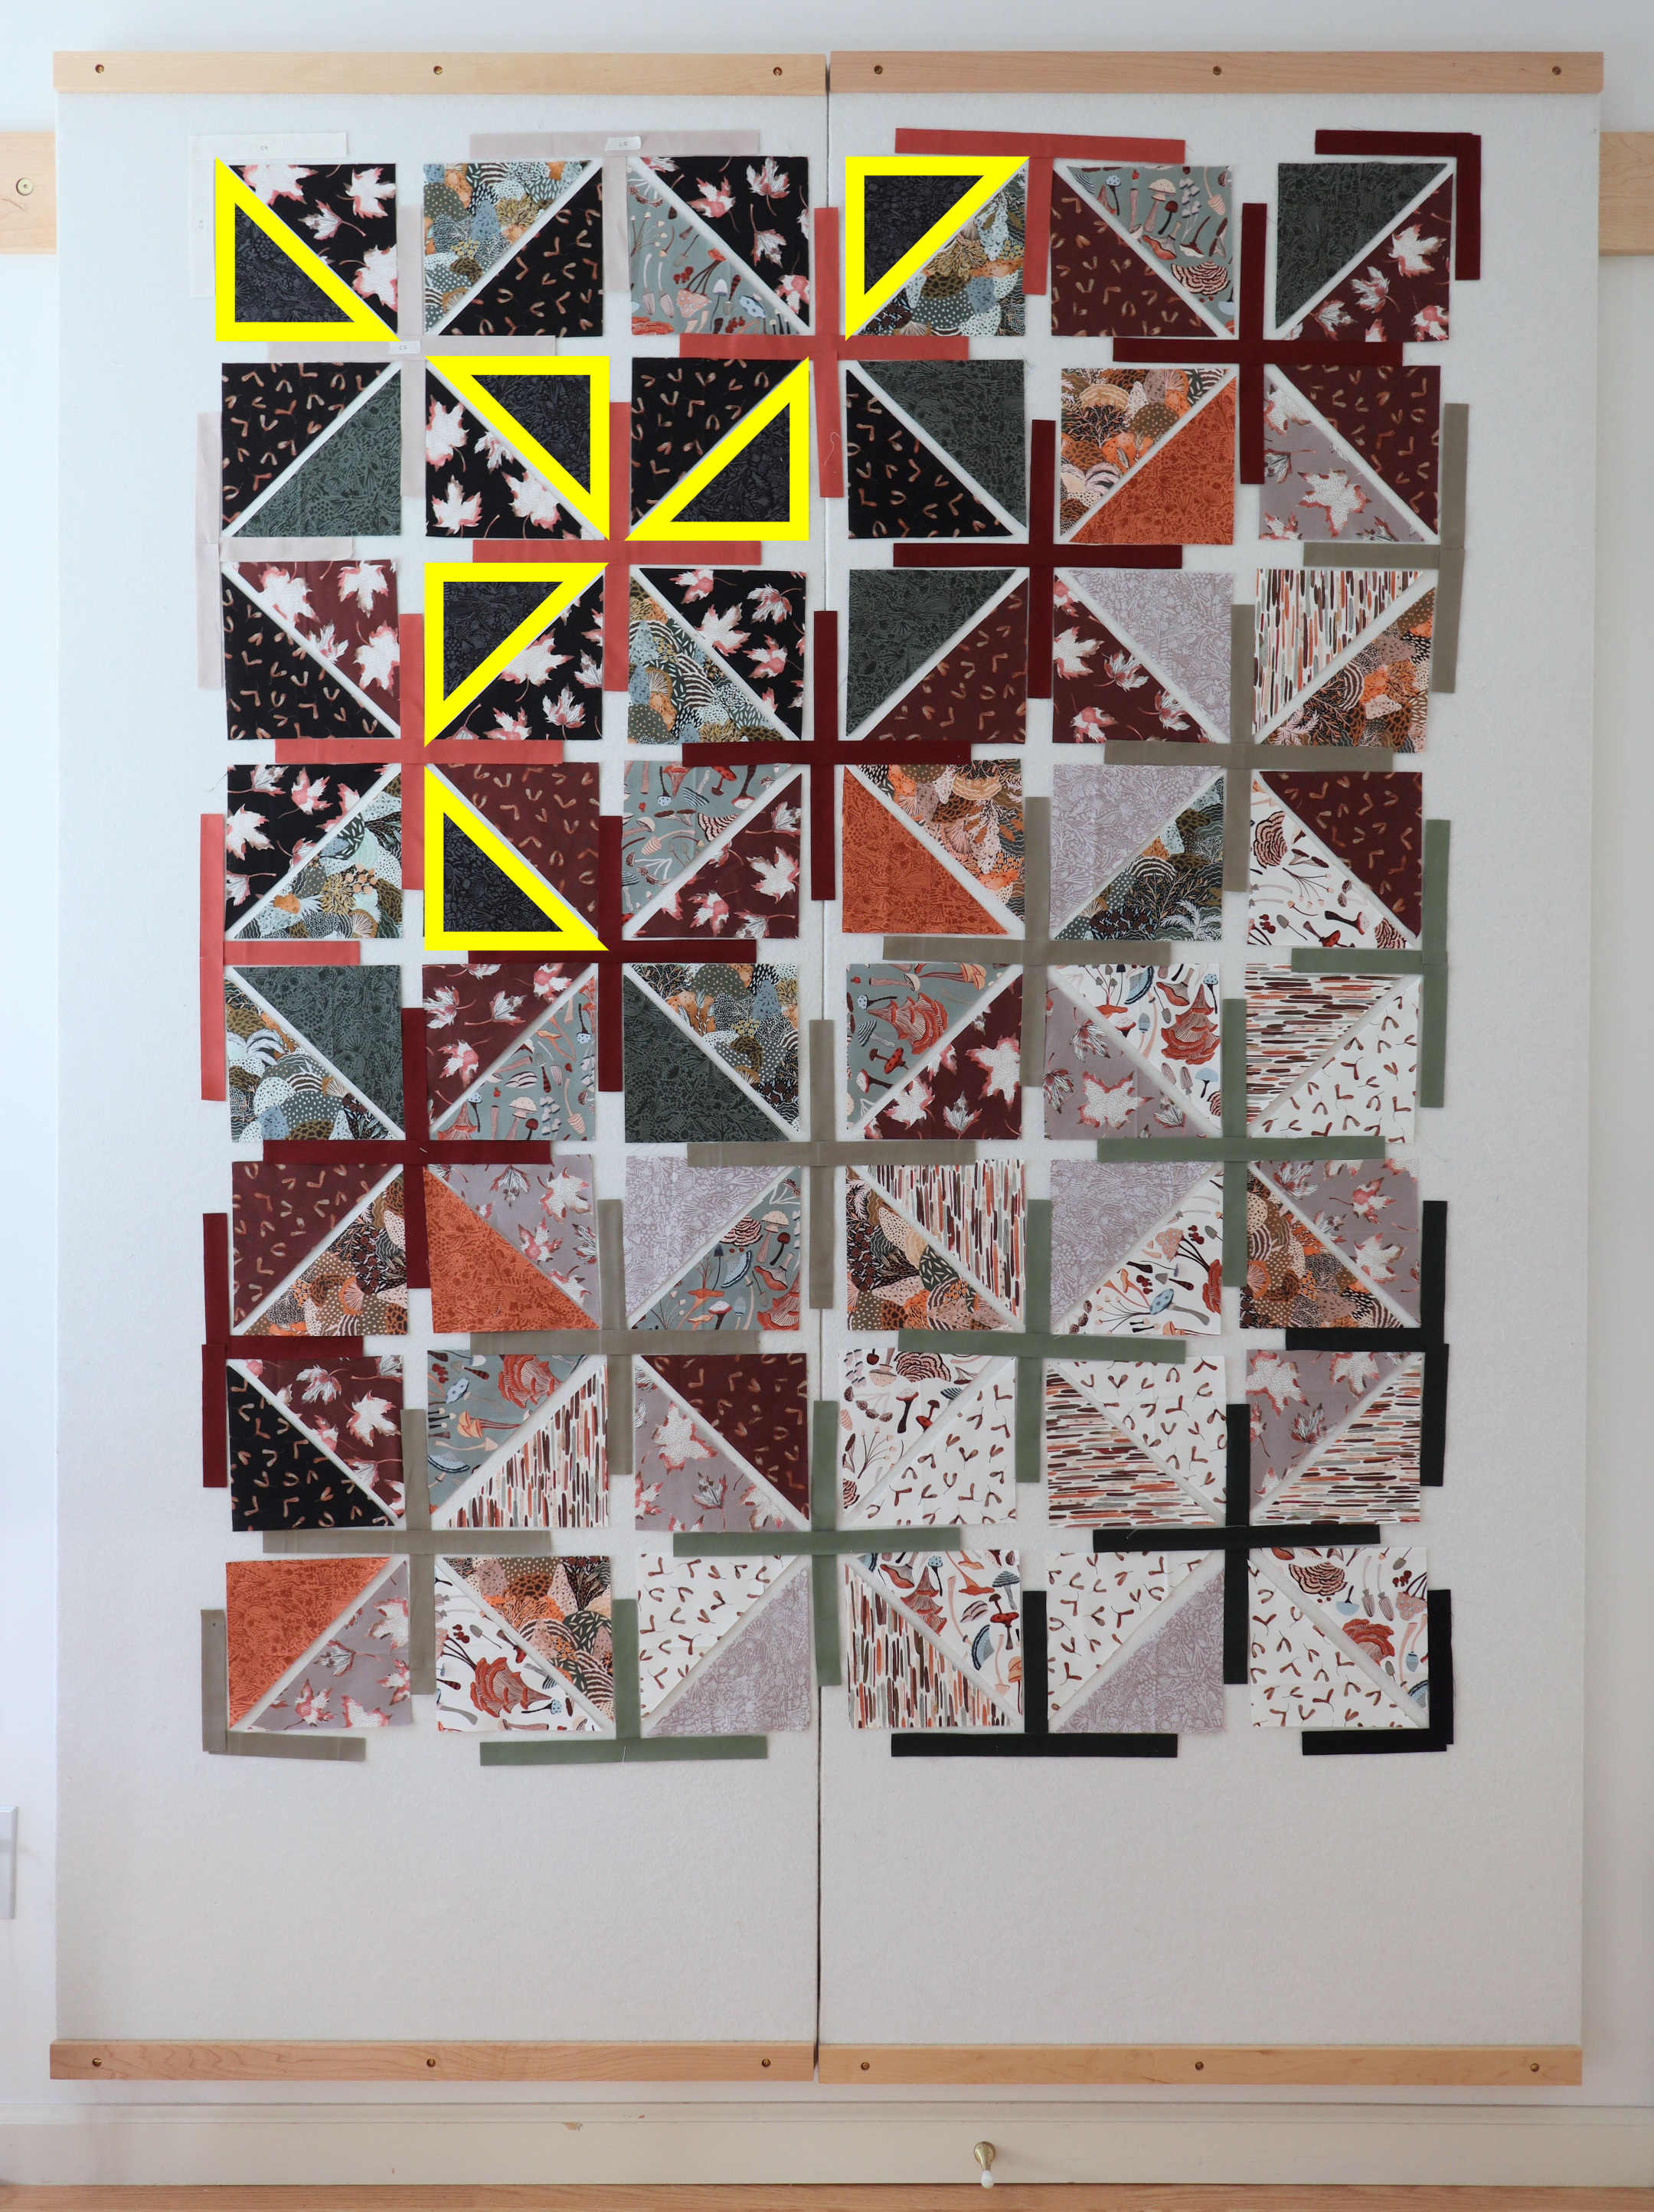
There are a million ways to design your layout! You can create an ombre pattern like I did in both of my layouts, you can evenly disperse all your fabrics throughout for a more scrappy look, or you can create a design within the quilt top. Check out the photos below of some of my tester team’s quilts for ideas! Whatever you choose, you’ll want to balance your colors. For the ombre and scrappy layouts, I have a couple tips to help you with this.
TIP #1: VARY THE DIRECTION
As you’re placing your pieces, try to place them so that each piece is turned in a different direction. This creates movement throughout your quilt, which allows your eyes to bounce around rather than get “stuck” in any one spot. So if you look at the highlighted layout below, you’ll find that (for the most part) I tried to turn one piece to point to the top left, one to the top right, one to the bottom left, and one to the bottom right. Those that do face the same direction, I space farther apart.
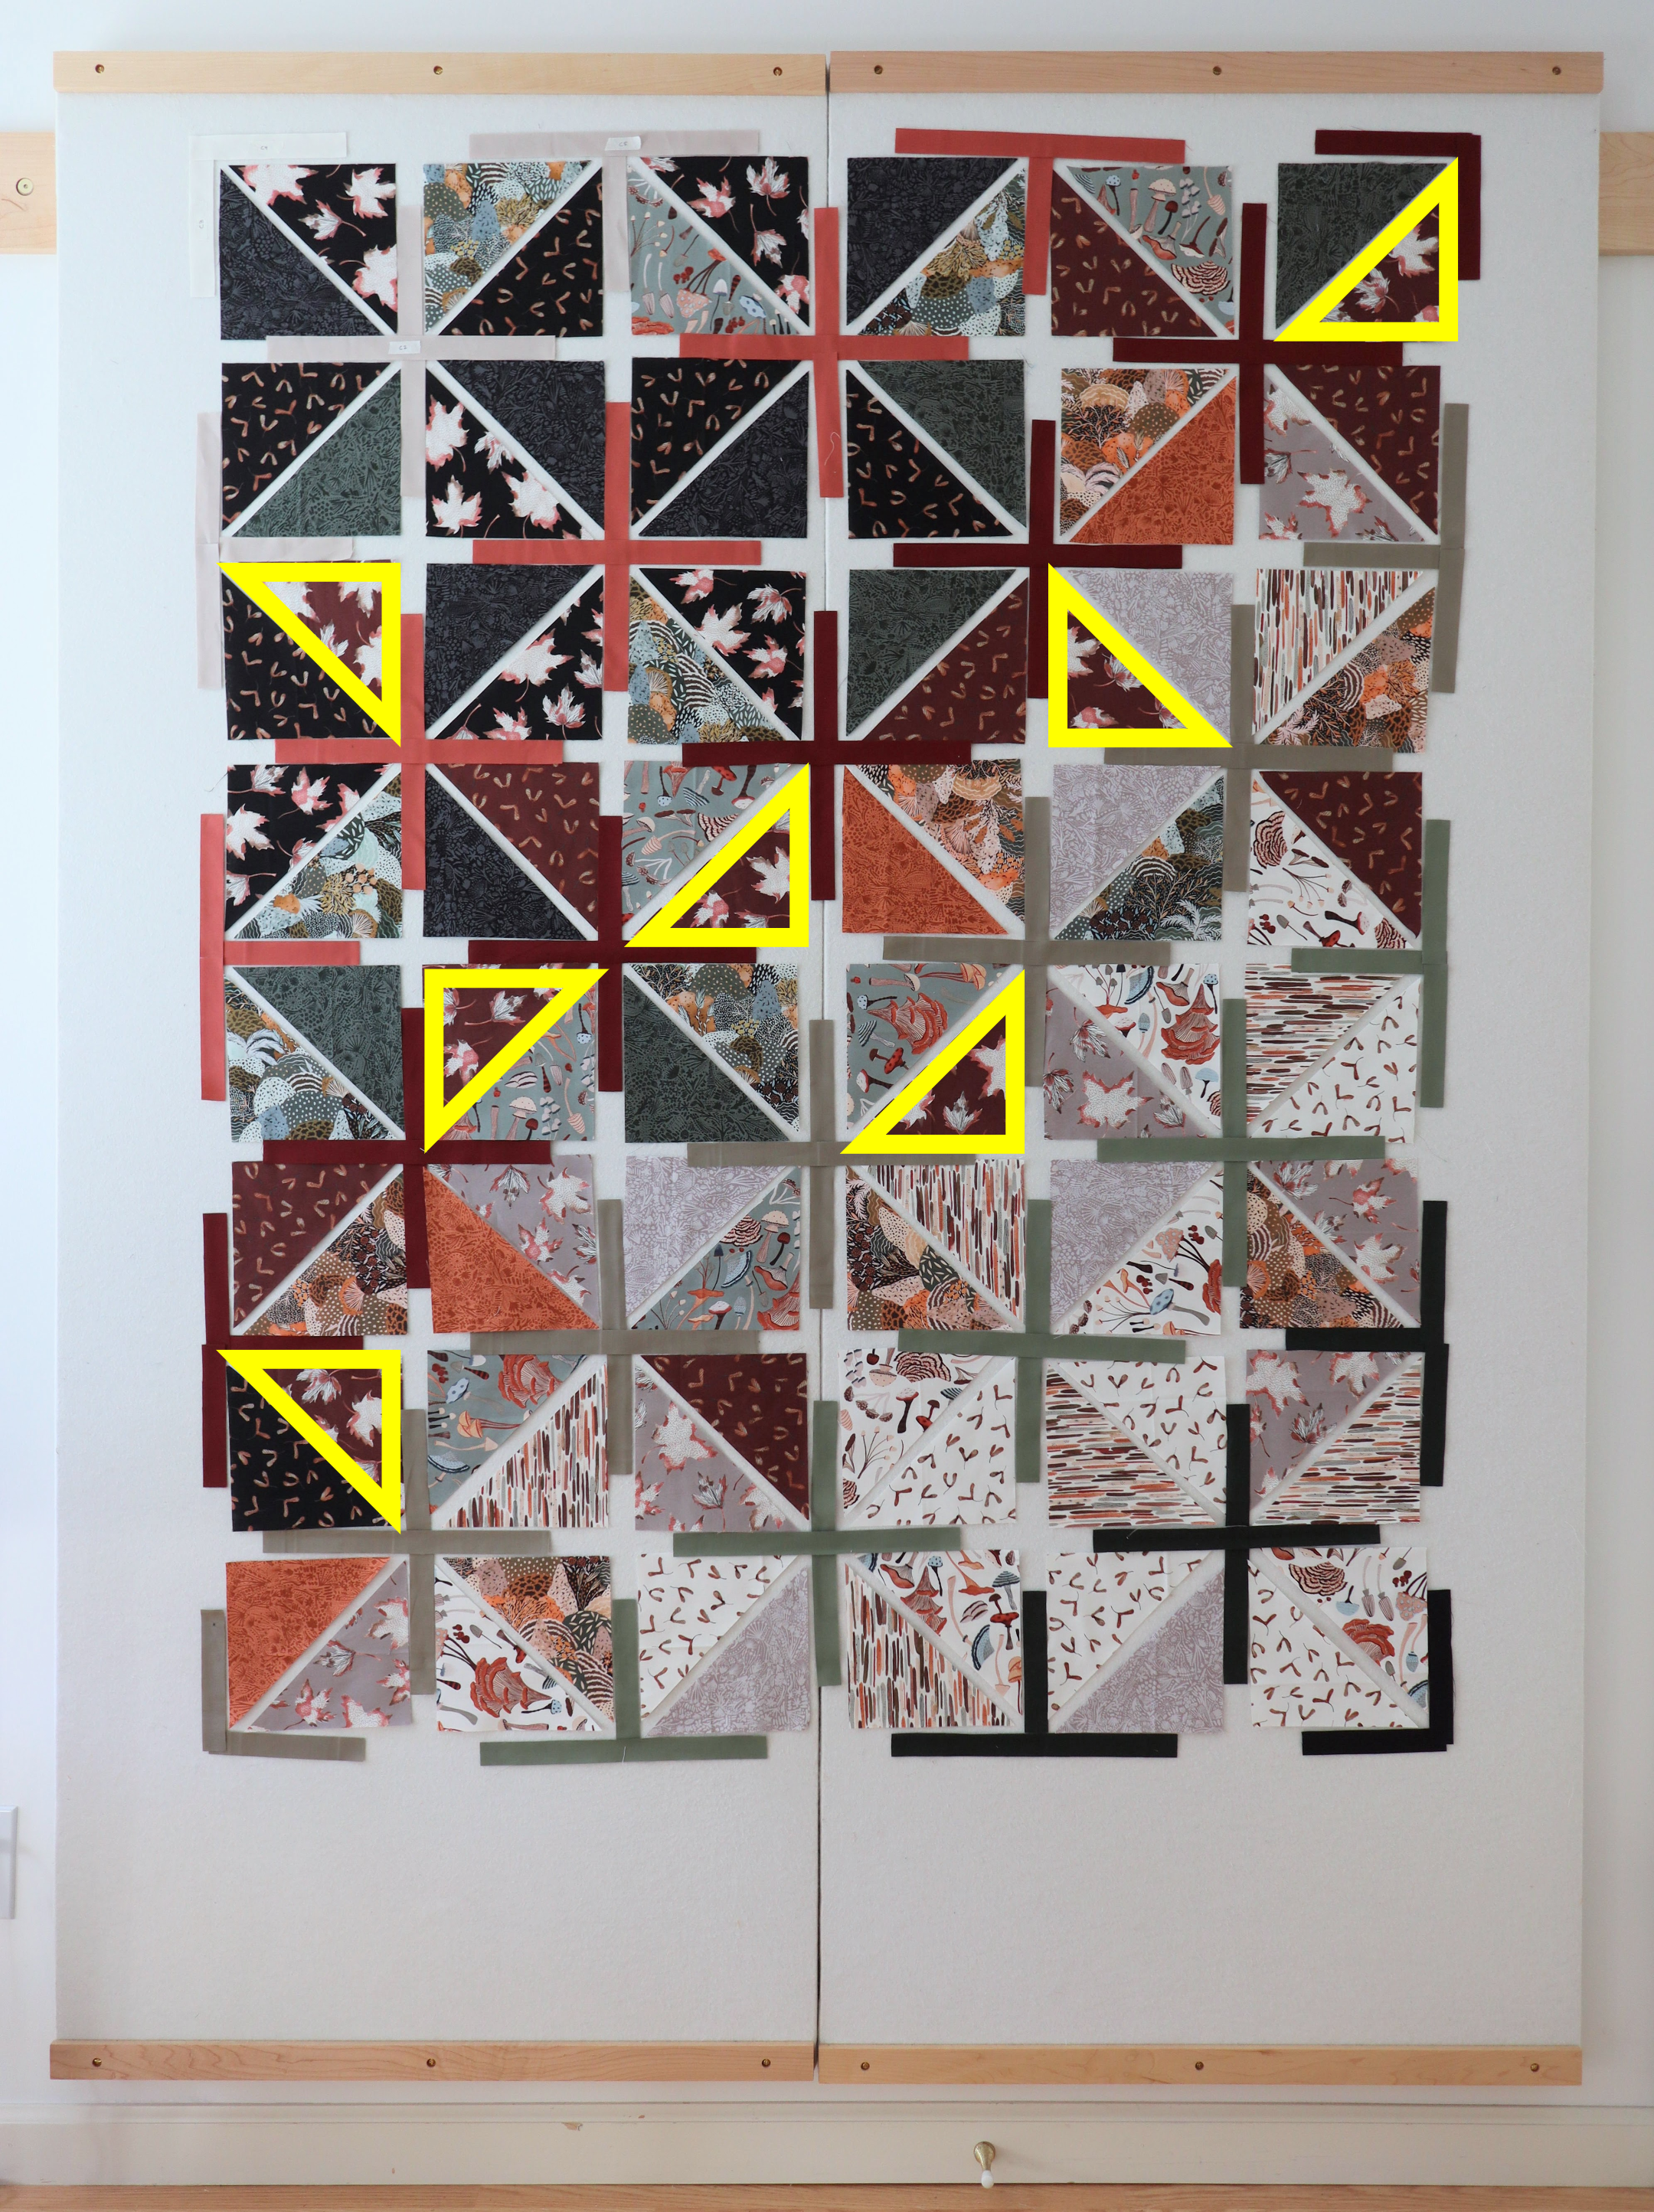
TIP #2: BALANCE YOUR SPACING
Make sure to spread your same fabric pieces throughout either the whole quilt or throughout the section where you want them. It helps to stand back and kind of squint your eyes to see the overall color balance. If I’m using patterned fabrics that are all generally the same color, I like to focus on each fabric pattern individually and make sure they’re balanced throughout the quilt and turned in a variety of directions. What you’re looking for is balance and movement. Every color or pattern doesn’t need to be perfectly spaced, but you don’t want all of one color or pattern in the same place. Again, this causes your eye to get “stuck” in one place rather than bounce around the quilt or move in a particular direction (if you’re using a gradient of colors).
If want to create a diagonal ombre look like my example below, you’ll notice that my colors in the top left and bottom right are more densely collected than the colors that are more towards the center, which are more spread out.
TIP #3: KEEP TRACK OF YOUR DESIGN
Once you have the perfect design laid out, remember that you will be moving all these pieces away from your layout space, either just to take down each individual block to piece it or because you can’t practically keep your quilt laid out in the middle of the living room for 9 weeks! And I don’t know about you, but when I move my pieces, even when I’m very careful, I inevitably end up mixing some of them up. So, find a way to keep track of your design in a way that makes sense to you. Here are some ideas:
If you’re using a design board that can stay up, take a photo of each block to reference as you sew.
Take a photo of the whole design that you can reference throughout.
Label all the pieces in each block in a way that makes sense to you.
Make a mini design like Katie’s that you can reference throughout.
Questions?
If you have comments or questions about anything QAL related, let me know in the blog comments below or check out the Adjourn QAL Facebook Group!
Week 1 Sponsor & Prize

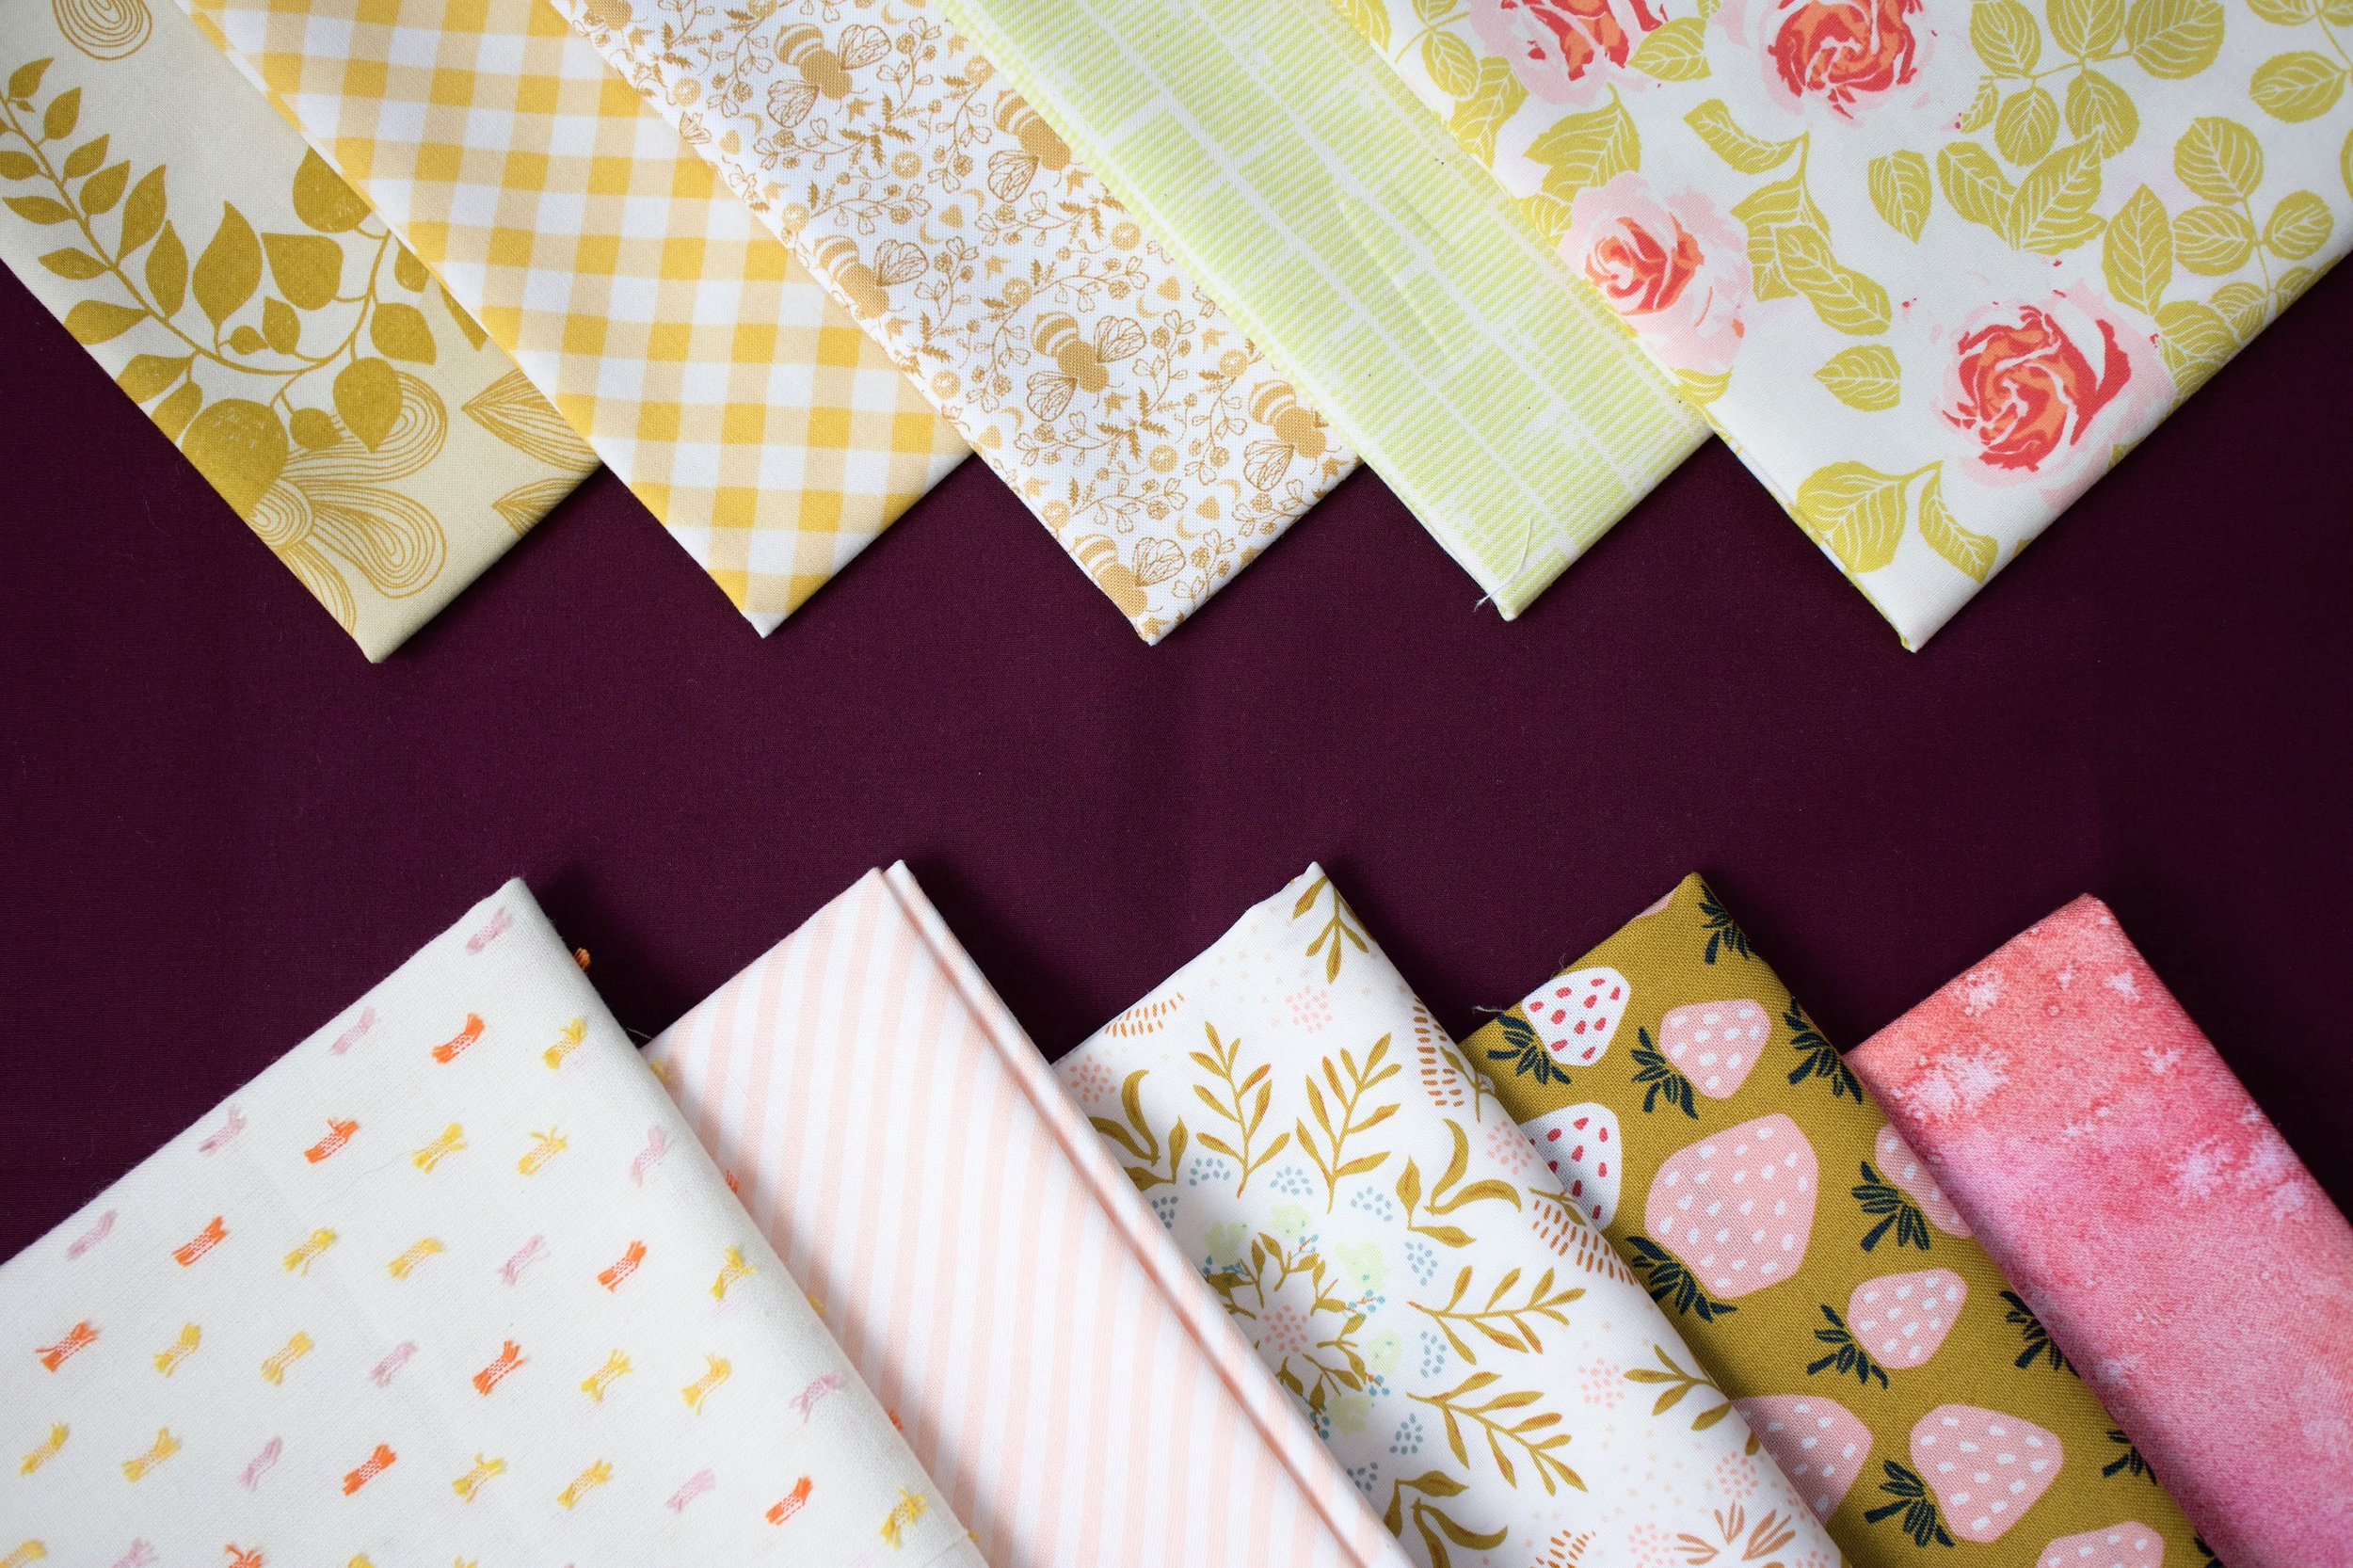
Say hello to Linli! She owns one of my go-to fabric shops: Lamb and Loom Fabrics! Linli has been an exceptional inspiration to me ever since I dove into the world of textures and wovens in my quilting. She puts together the most beautiful bundles, and I am always so amazed at her ability to curate fabric pulls with gorgeous colors and cozy, touchable textures. I really hope you’ll go check out all the amazing fabric she has to offer!
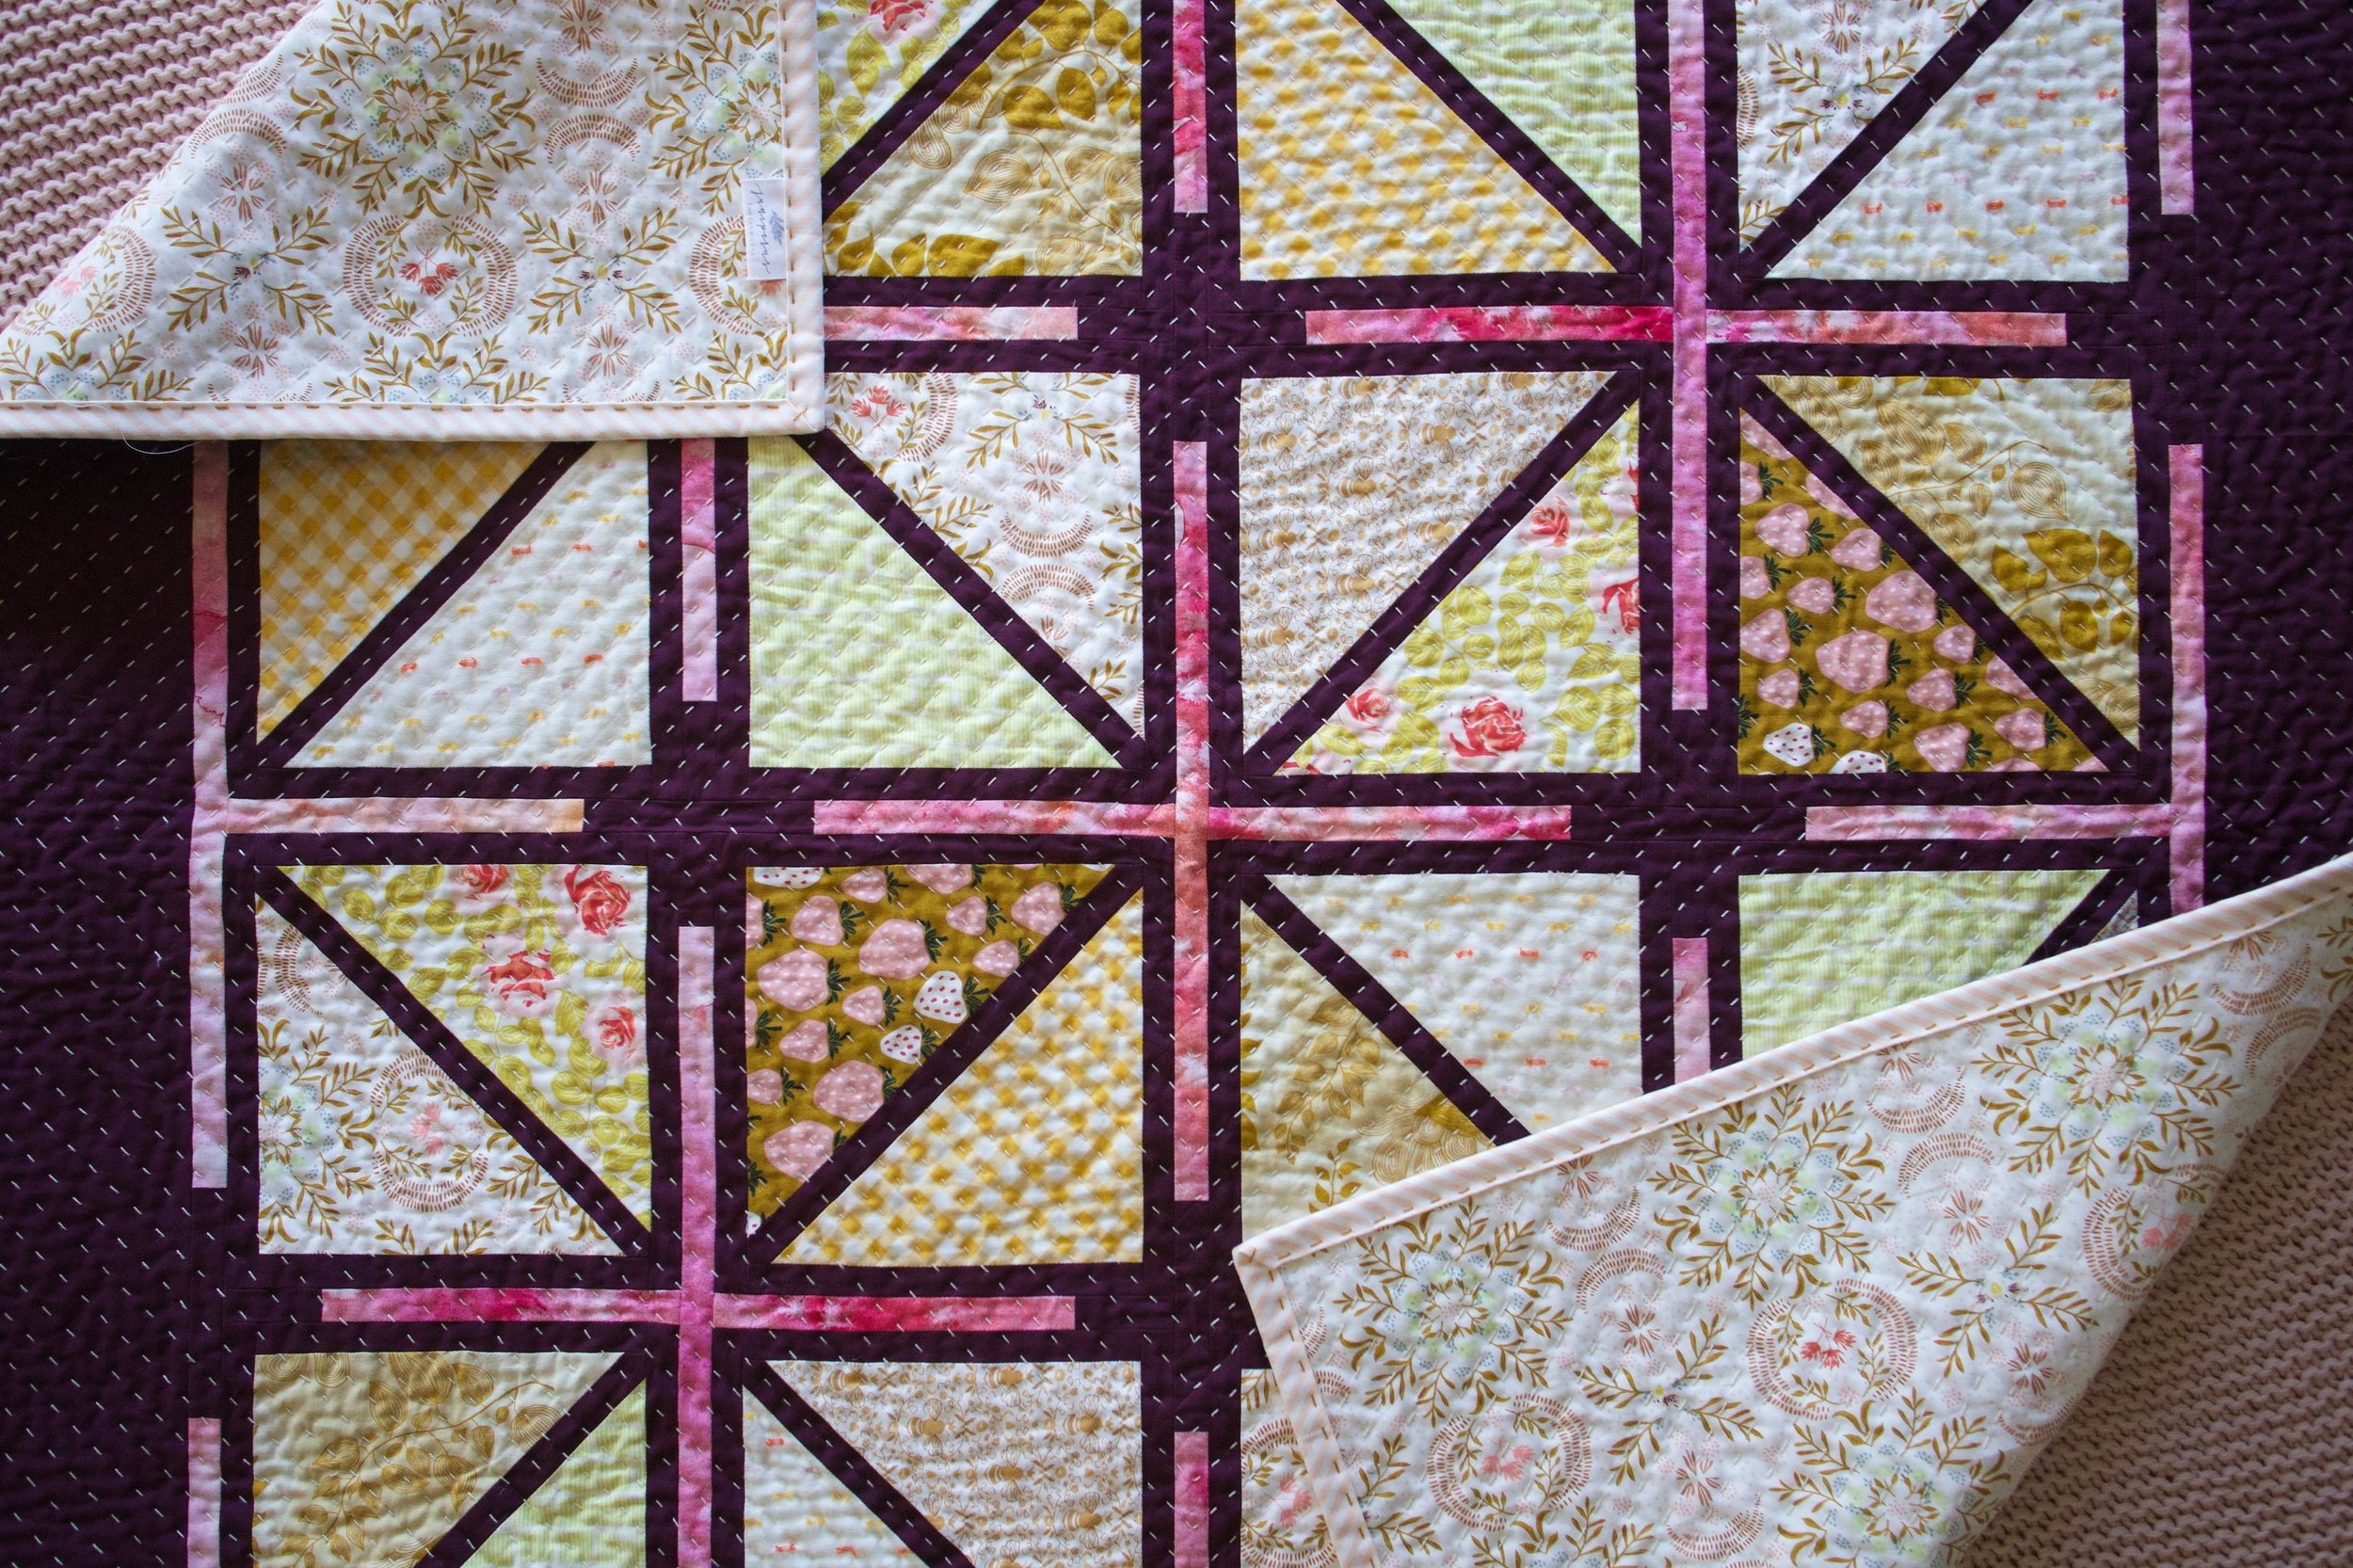
Lamb and Loom Fabrics is sponsoring Week 1 and she is giving away this baby size Adjourn Quilt kit! We collaborated on putting this kit together back when the Adjourn Quilt was being released and it is such a fun, bright bundle with plenty of texture and lovely patterns in its fabric selection. I especially love that pop of bright pink in the crosses!
HOW TO WIN:
Post a picture of your QAL progress to Instagram using the hashtag #AdjournQAL. You must have a public Instagram profile to participate.
You do not need to be caught up to the current QAL week goals to enter, all progress is celebrated!
Your photo must be posted by 12am on Monday, February 20th. The winner will be picked randomly from all qualifying posts and announced on the 20th. Good luck!