
The Basics of Pin Basting
This post is a part of the Adjourn Quilt Along Bonus Weeks!
Pin basting is my go-to basting method! If you’ve never tried it before or haven’t had much success with it in the past, now’s your chance to master it! All you need for this basting method is your quilt top, batting, backing fabric, and 1-2 sets of size 2 curved basting pins. For a throw-sized quilt, I recommend 2 sets. I also recommend masking/painter’s tape to help make things a lot easier when layering everything, but this is optional. (This tape is also handy for hanging heavy finished quilts on the wall for photos!)
First, you’ll need to find a large hard flat space to lay out your quilt backing, batting, and top. This can either be a large space on your floor or a large desk. A desk will be more difficult as you’ll need to shift the quilt as you go, but I did this for a few years when my floor was mostly carpet, which made floor basting impossible.
Spread out your backing fabric on the floor so it lays flat (with the right side of the fabric facing the floor) and tape around the outside to secure it to the floor (if you’re using tape). If you’re working on a table, center your backing fabric on the table, you’ll be working from the center out.

Then layer the batting on top, making sure to spread it out so there are no bubbles, wrinkles, or folds.

Finally, layer your quilt top, making sure it’s centered on your backing fabric with at least 4-5 inches of batting and backing fabric all the way around.

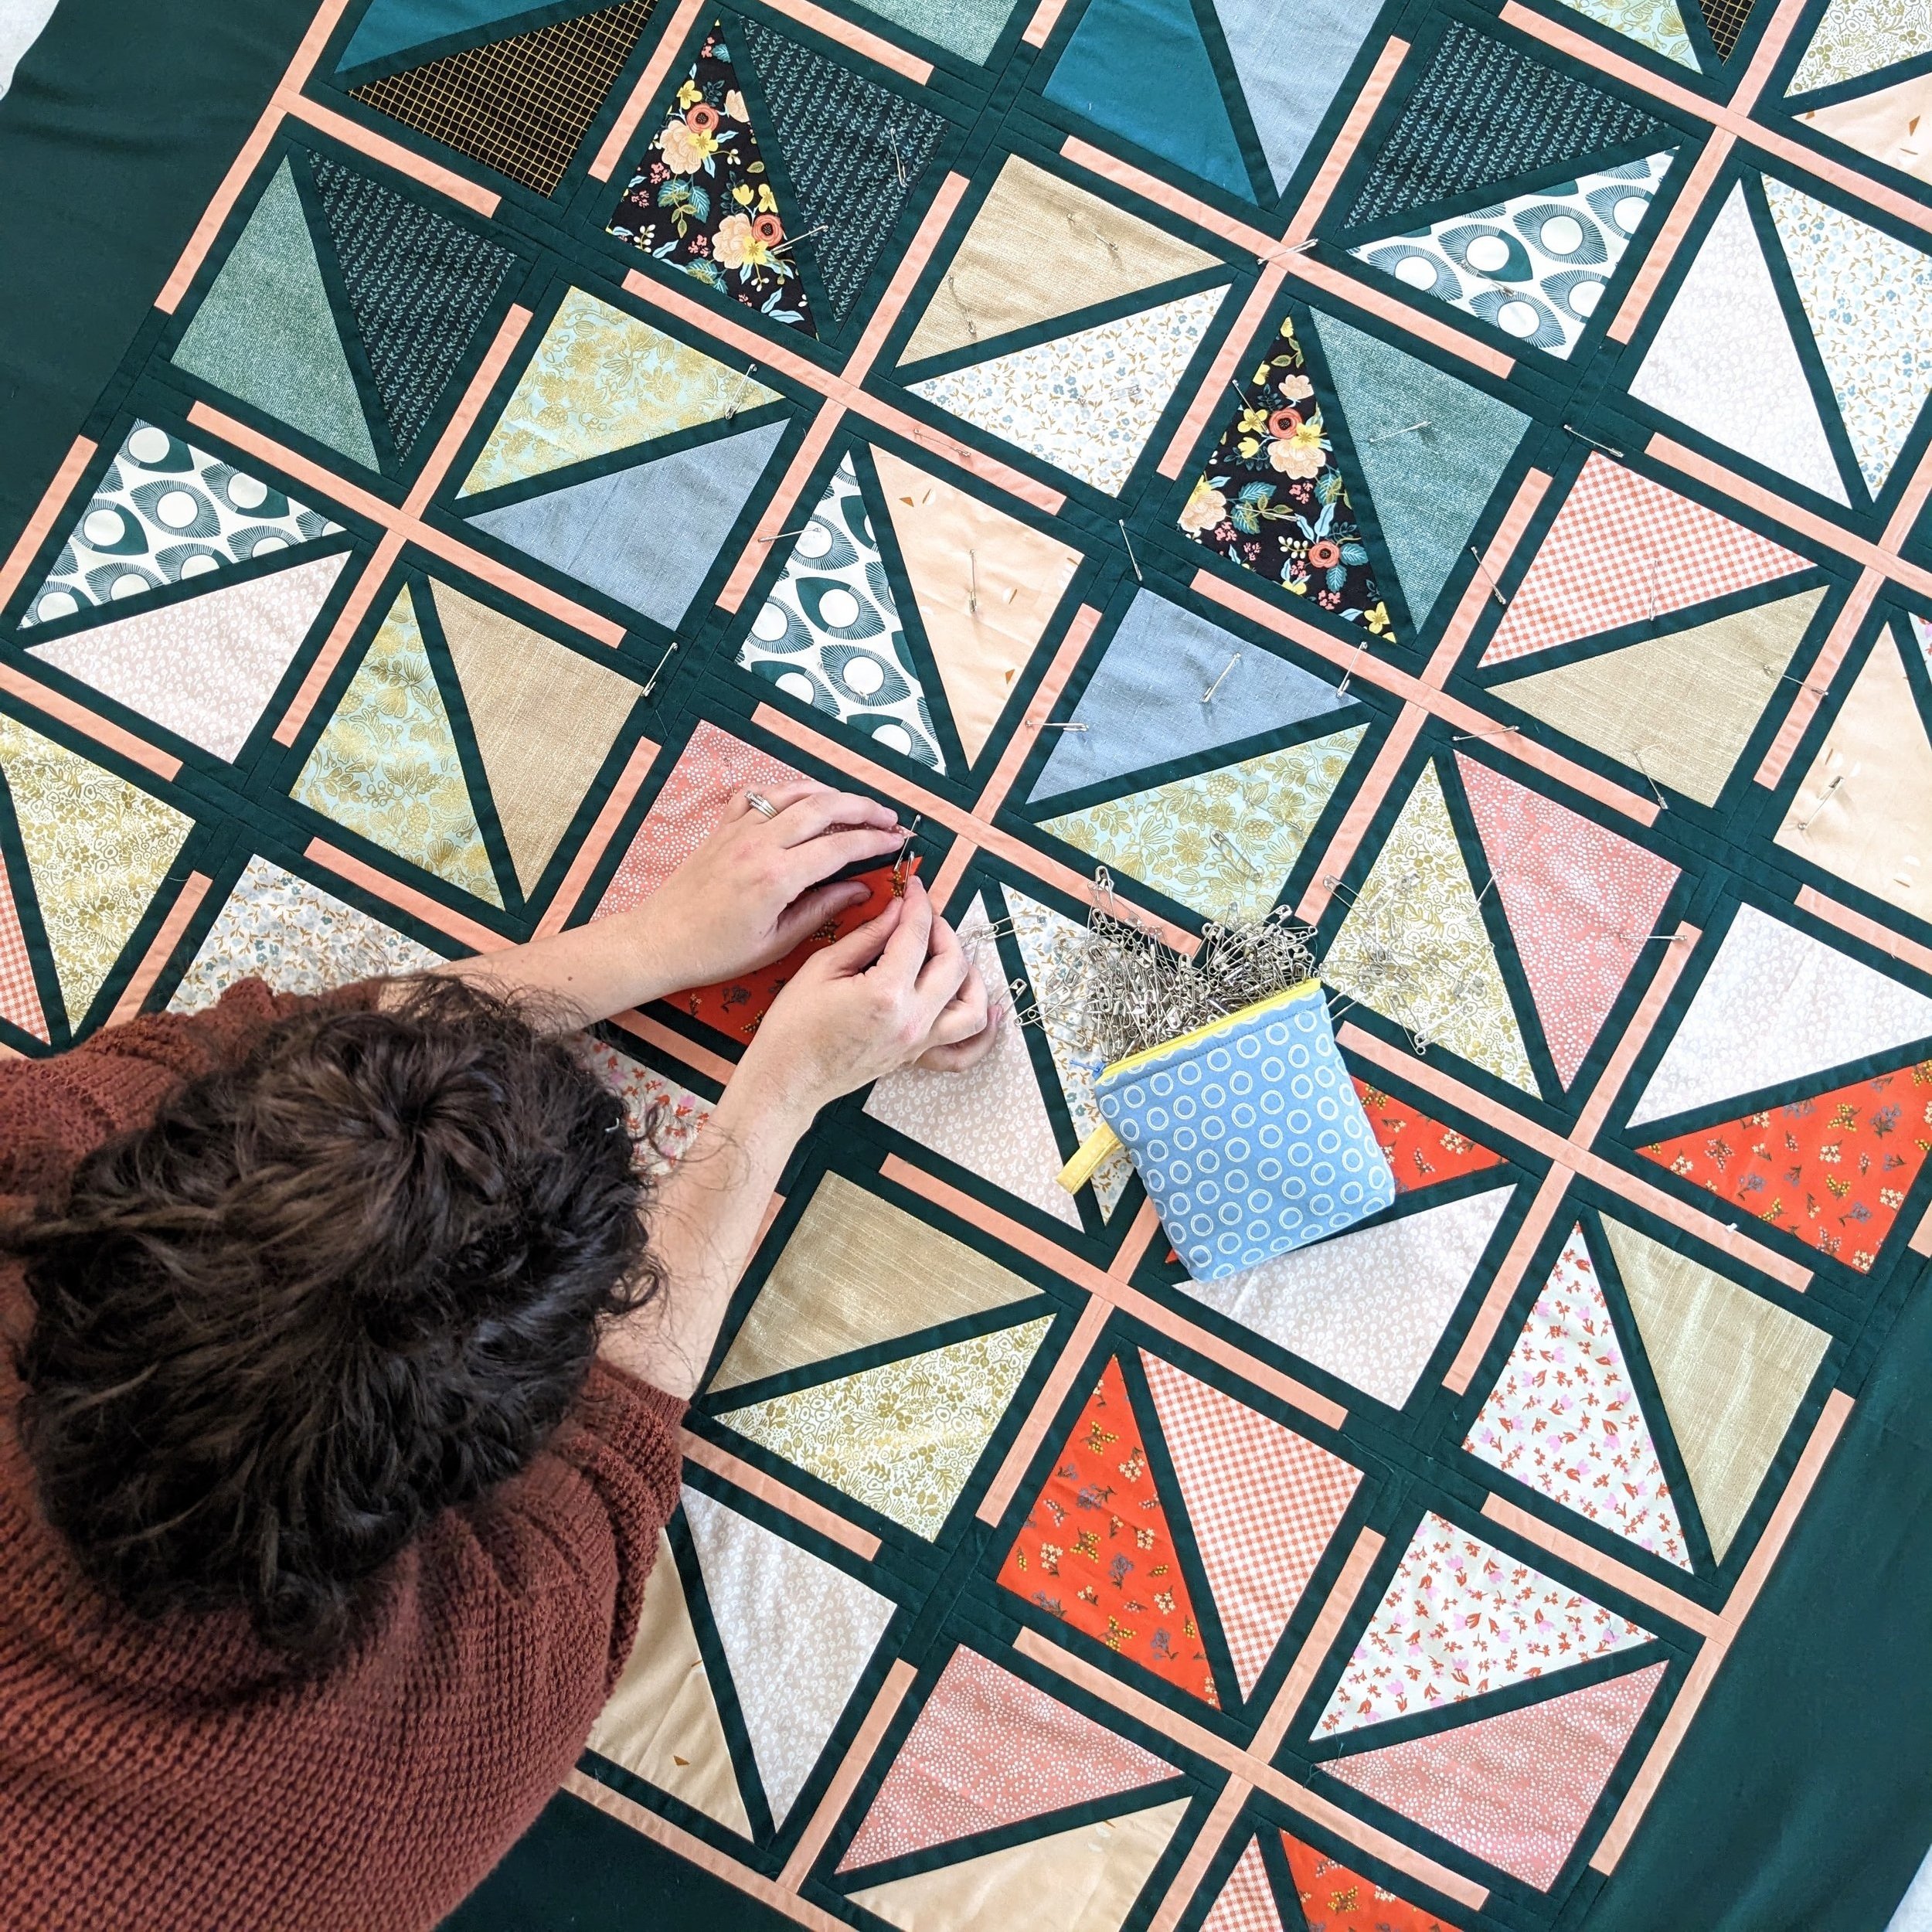
If you have a very geometric design in your quilt, like the Adjourn does, I recommend using a large ruler to help you square up the design on your quilt top. Use the grid marks to make sure long piecing lines or stitch lines are straight and square. You can see me doing this in the time lapse below! I used the ruler to help me make sure all those skinny 1/2 inch strips stayed straight and in line with each other.
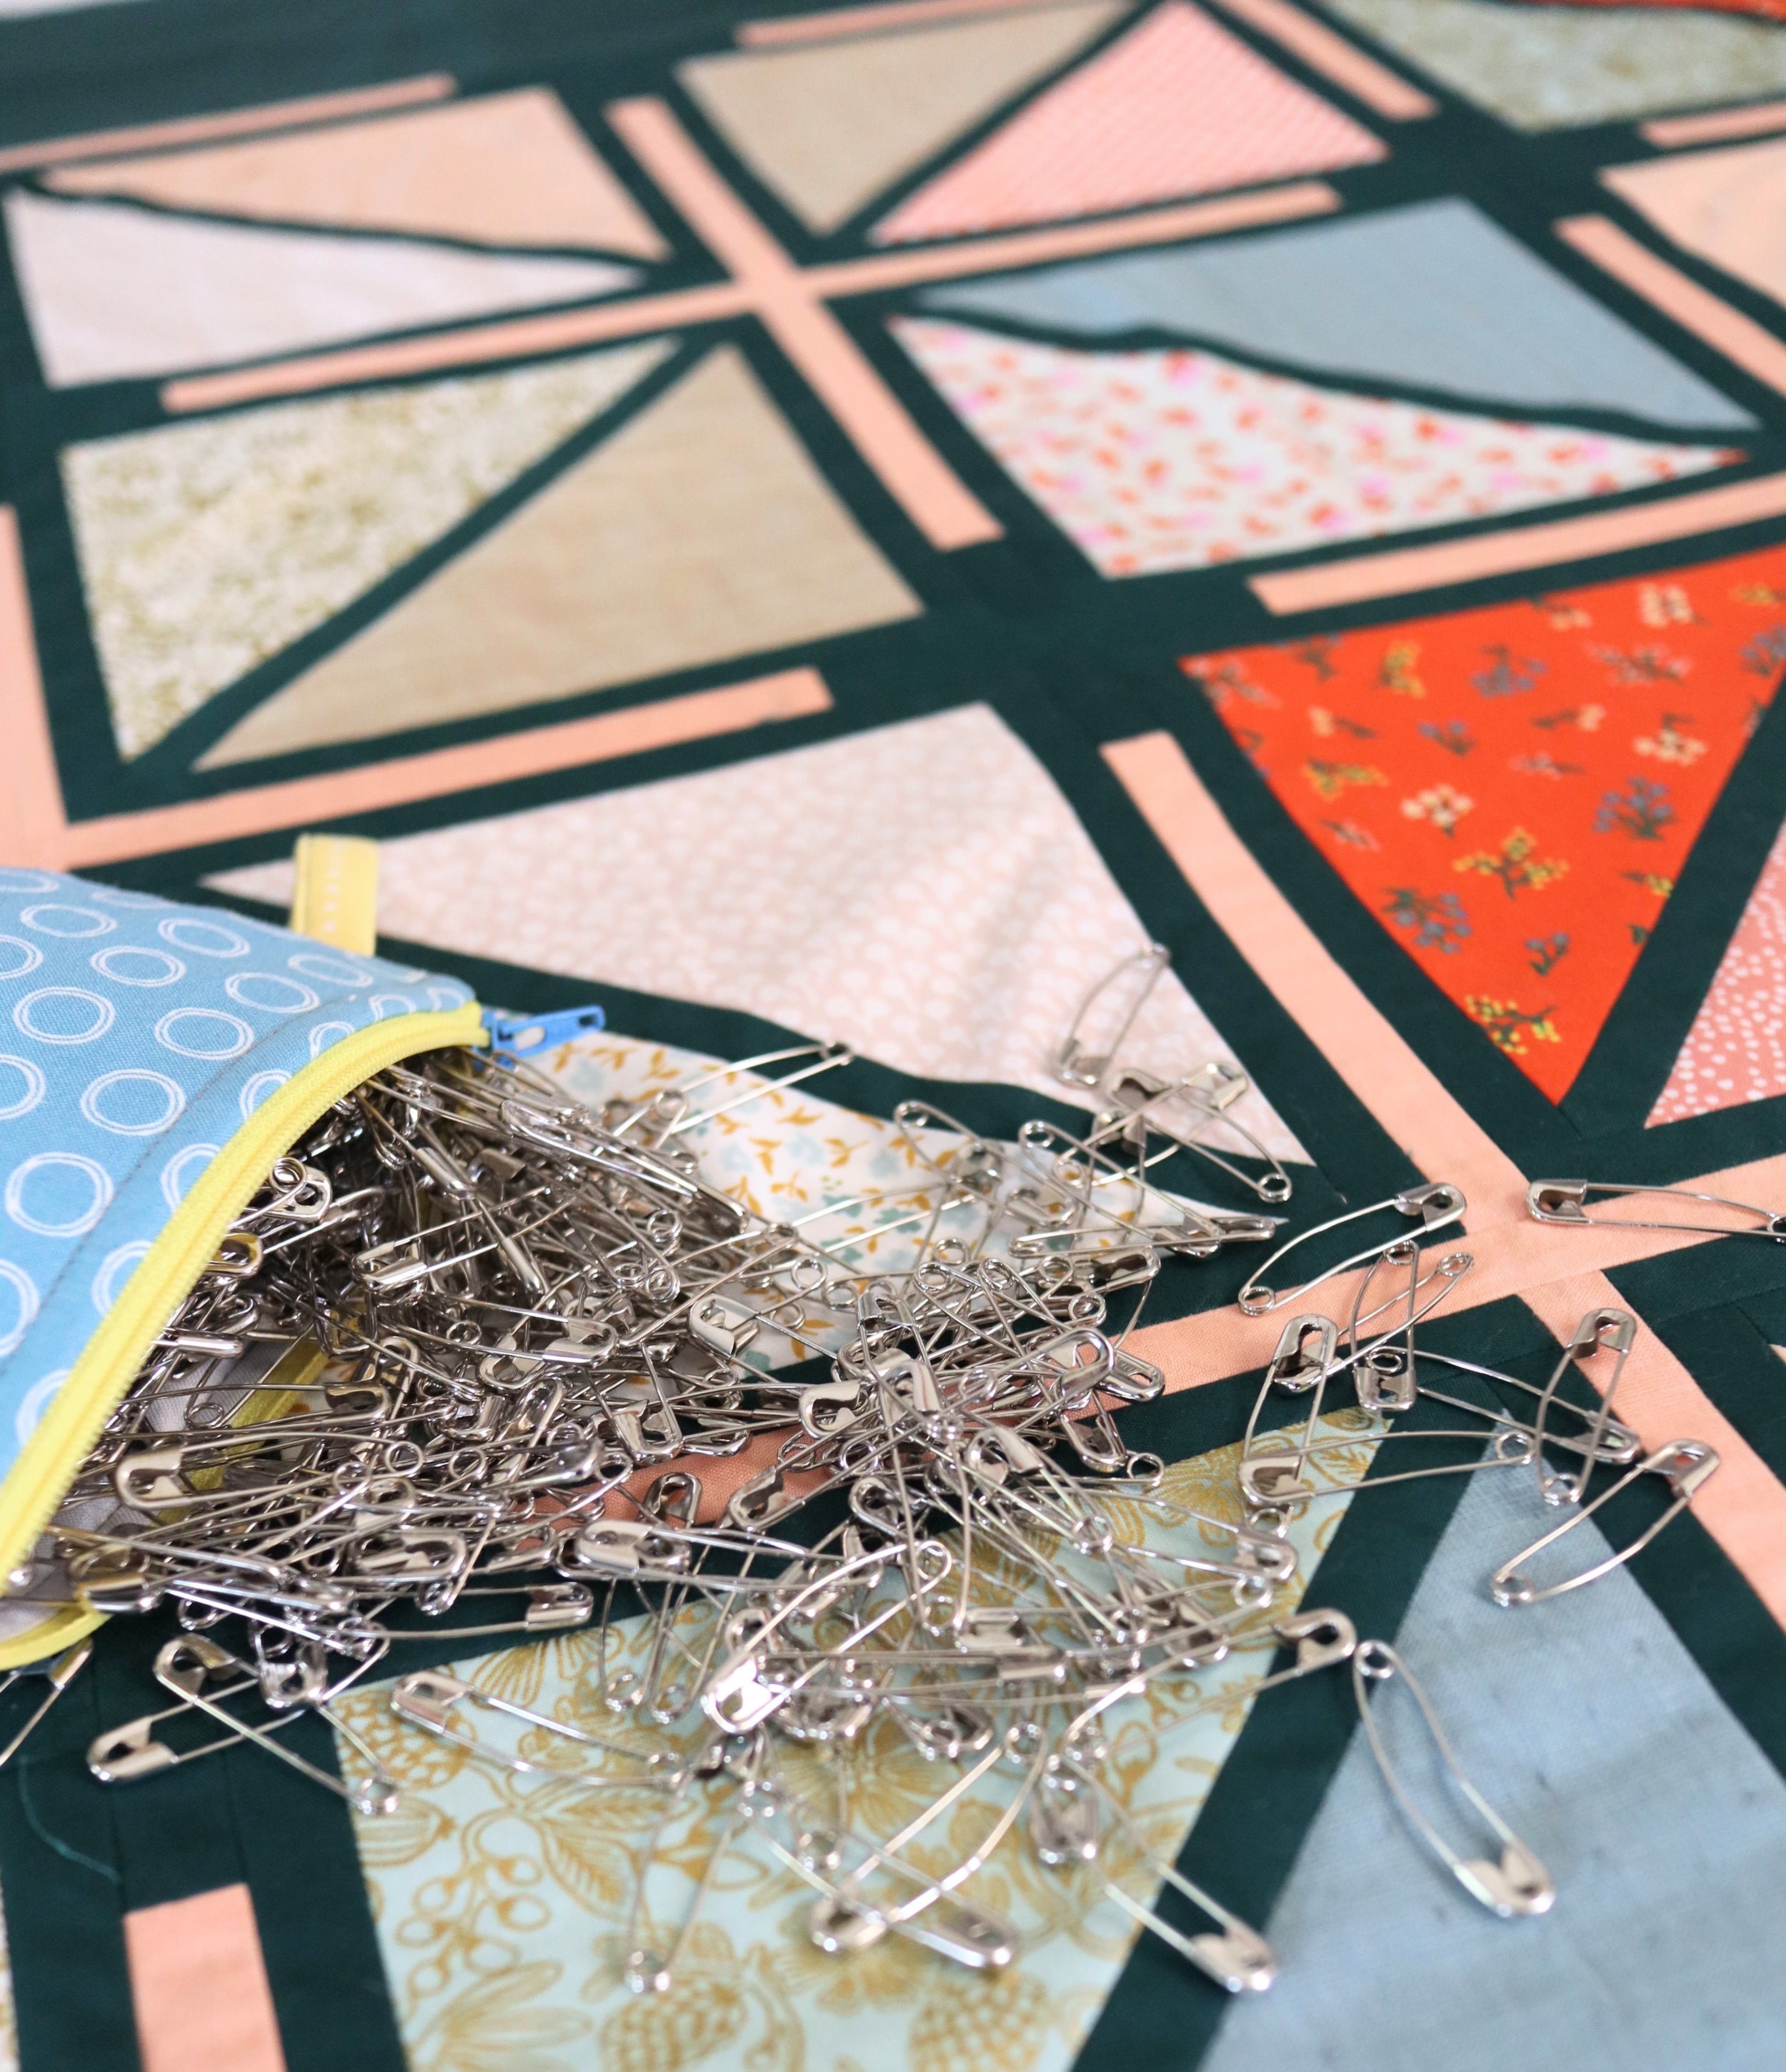
Once everything is laid out and squared up, it’s time to start adding pins! If you’ve never used basting pins before, they’re basically a curved safety pin. The curve makes it easy to push through multiple layers of fabric and back out again before securing it. I like using this method because it’s not messy like spray basting, and I’ve found that it keeps everything from shifting as you quilt better than any other method. I have a couple tips and techniques for pin basting to keep in mind as you go...

TIP #1: Start from the center of your quilt and work outward. Just like with your quilting, you’ll want to start in the center and work your way to the edges to keep things from shifting too much as you work. If you’re working on a table, I recommend pinning everything on the table starting at the center, then shifting the quilt in one direction, making sure to spread everything out and square it up as you go, then pin that section before moving on to another. I’ve done small and large quilts this way with no problem!
In the time lapse below, you can see the overall direction I go while basting...
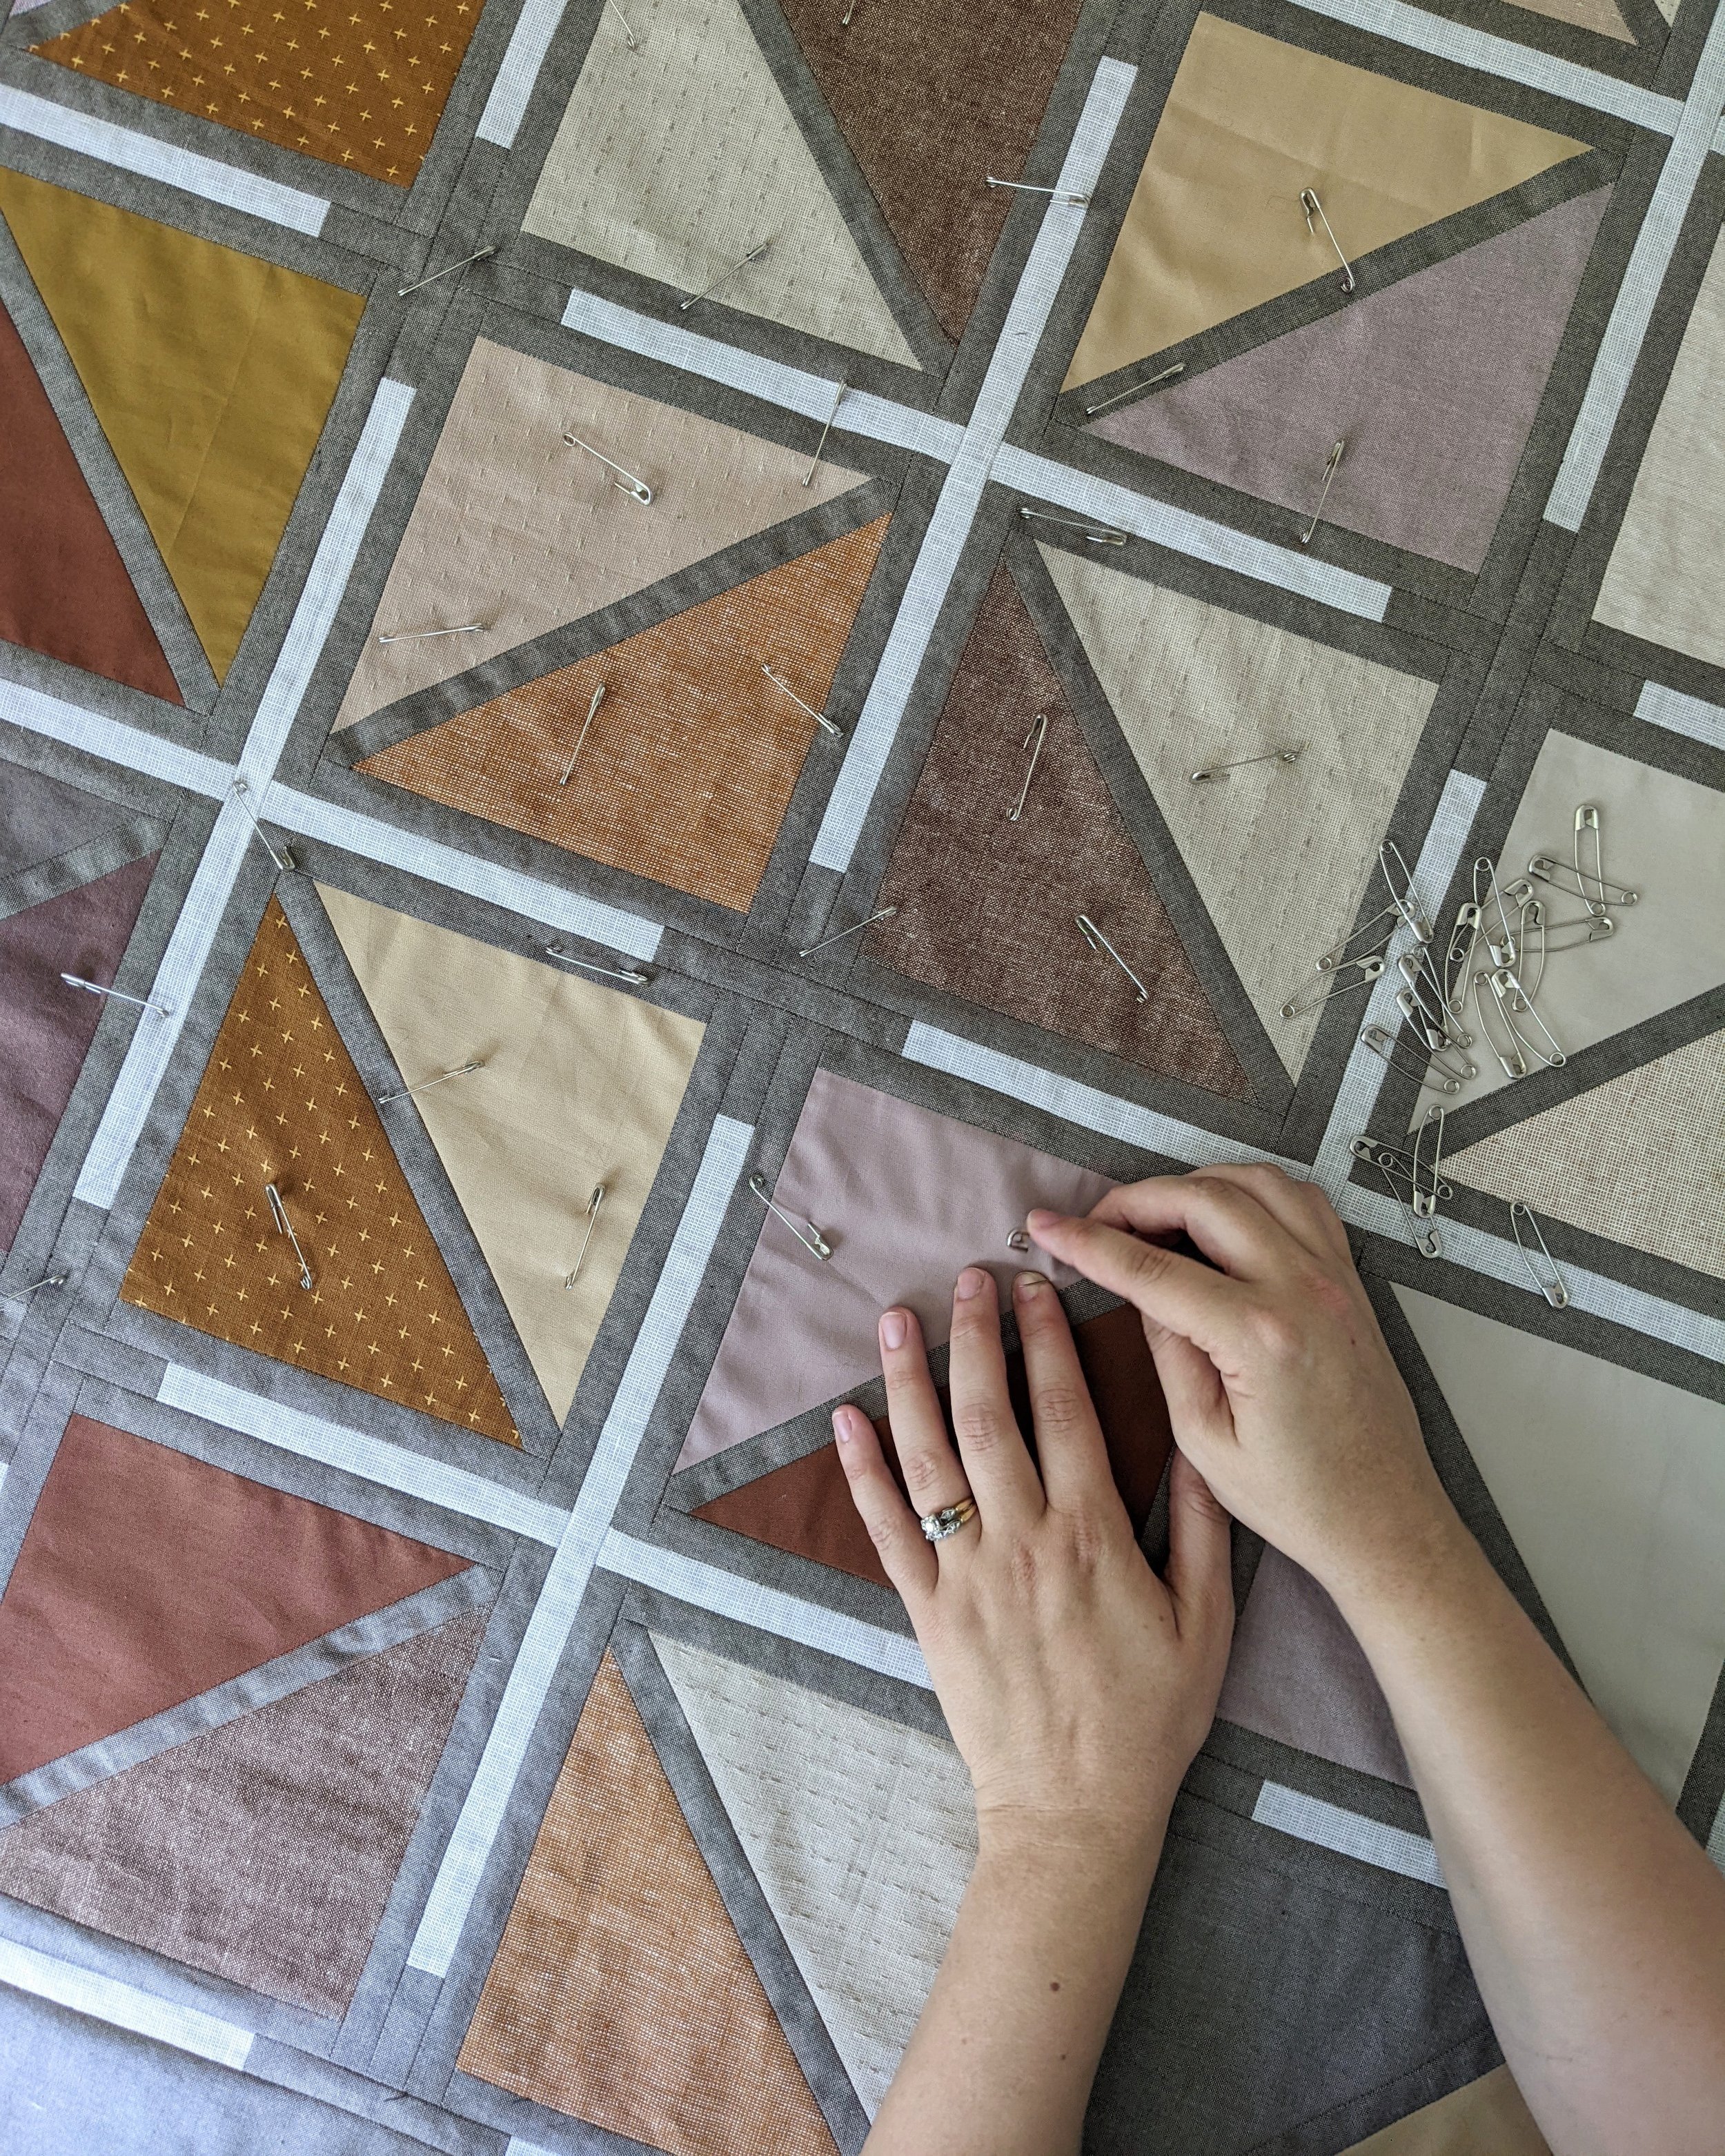
TIP # 2: Use the direction of the pin to secure skinny strips. When I’m pinning a skinny, straight strip that I really want to stay in place, I place my pin in the direction of the strip so that it can’t shift in either direction, not even a little bit! I do this with seams that I want to keep particularly straight as well. It also helps with lining up a double-sided quilt where you’re planning a quilting design that will need to be aligned on the front an back.
You can see in the wall hanging below that I pinned into the seams of the center cross, the diagonal strips, as well as the outer border strips because this was double sided and I particularly wanted all the seams to line up and stay square.

TIP #3: Space your pins around 3-5 inches apart. The more pins you use, the most secure your quilt top will be, BUT the slower you will have to quilt. Every time you sew up to a pin, you’ll have to stop to remove it, so I like to keep this in mind when I’m deciding how to space my pins. For quilting designs or quilt tops that I really want to keep perfectly aligned, I pin VERY close (like my double sided quilt above!), but for quilts are okay to have a small amount of shift, I’m fine keeping the pins a little farther apart.
That’s it! Pin basting is pretty simple, but very effective! Check out my blog post on straight-line quilting next week to find out how to stitch a quilting design with basting pins in mind.
QUESTIONS?
If you have comments or questions, let me know in the blog comments below!
Happy quilting!
Note: This post may contain affiliate links and I may earn a small commission when you click on the links, at no additional cost to you. As an Amazon Affiliate, I earn from qualifying purchases.